A routine I call “kindergarten exercises” is for horses and riders needing to learn more about the rhythmic application and timing of aids. These exercises translate human thought into a common language both horse and rider can understand: the aids.
As an Amazon Associate, Dressage Today may earn an affiliate commission when you buy through links on our site. Products links are selected by Dressage Today editors.
Although these exercises sound very intellectual, they are really simple. They are kindergarten basics—the beginning of concepts I learned from Karl Mikolka, a former chief rider of the Spanish Riding School and a master of dressage exercise.
By doing these exercises, you’ll teach your horse to respond to your leg and rein aids in an increasingly sophisticated manner. Developmentally, the horse learns how to respond to the aids in three phases: The horse relaxes from the rhythmic application of his rider’s aids. Once he is relaxed, he can become more obedient to properly timed aids and yield to them. As he gains understanding, he becomes quick and light enough to the aids so that he engages his hindquarters and responds to the half halt by carrying increased weight behind, giving his rider the “desired effect” by responding to every nuance of his rider’s seat and aids. In this article, we’ll do nine exercises to help you achieve the benefits of the final phase.
Phase One: Relaxation to the Aids
The first six basic exercises can be done on the longe line or on a 20-meter circle. The goal of these exercises is to relax your horse so he accepts the rein and leg aids. Do them in the rising trot, posting on the correct diagonal—that is, you sit as the horse’s outside front and inside hind leg are landing.
Exercise 1: Apply the inside rein aid rhythmically by closing the finger of your inside hand every other sitting moment of the rising trot. You will do this six times, so the exercise takes place over 12 strides. Over these strides, say a simple phrase that describes what you are doing so that every other time you sit and apply the aid you say one word. For example, an appropriate phrase would be: “Horse … here … is … my … inside … hand.” In six words, you are rhythmically telling the horse about your inside rein aids. You want your horse to acknowledge your rein aid by softening his jaw and beginning to flex and bend his neck slightly to the inside. You don’t want him to resist or pull the rein out of your hand. I’ve found horses relax and don’t resist. Wait a few strides before moving on to the next exercise.
Exercise 2: Squeeze the fingers of your outside hand on every other sitting moment. On those six beats say, “Horse … here … is … my … outside … hand.” The horse will acknowledge your rein aid by softening and relaxing in his poll and yielding longitudinally (from back-to-front)—not by bending to the outside. Wait a few strides again before going on to the next exercise.

Exercise 3: Softly close the fingers of your inside hand and close the inside calf (not the entire leg) at the same sitting moment. Be sure to keep your leg long as you use it. When you use the leg on the sitting moment, it is easy to make the common mistake of squeezing the leg upward. Now verbalize your wishes by saying, “Horse … here … is … my … inside … leg.” Or you can say, “Horse … relax … your … rib … cage” or “stomach” or “bel-ly.” Again, you’ll be applying the aids at every other sitting moment. Your horse should be starting to relax into this exercise.
Exercise 4: After a short break, you will close your fingers on your outside hand and close your outside knee against the saddle—again, on every other sitting moment. Say, “Horse … here … is … my … outside … knee.” Or you can tell him the response that you want him to have: “Horse … re … lax … your … shoul- … ders.”
Exercise 5: Next, do the same on the inside by closing the inside fingers and closing the inside knee against the saddle. Say something like this: “Horse … here … is … my … inside … knee.” You and your horse will more clearly understand the basic concept that your hand and knee should be able to relax the horse’s shoulders and eventually control those shoulders.
Exercise 6: Finally, close your outside hand and your outside calf on every other sitting moment. Say, “Horse … re- … lax … your … stomach.” Now you’re referring to his outside ribcage. From these outside aids, your horse might become a little rounder or slow down.
Notice how the exercises have influenced you and your horse. The rider usually gains a feeling for how to coordinate the aids and an understanding of how the aids develop in communicating with the horse. The horse usually allows his rider to put the pressure of a soft aid on him without becoming tense. In fact, these six basic exercises alternate your inside and outside aids to create a “web of aids” around your horse that help him to balance and stay relaxed and on the aids.
Now give your horse the “stretch test” to stretch the topline and confirm his willingness to see the bridle. Every other time you sit, give your inside rein and encourage the horse to stretch into the outside rein. So if you were tracking to the left you would say, “Horse … stretch … into … the … outside … rein.” Then do the same on the outside: Give with the outside rein to encourage the horse to stretch into the inside rein. You can say, “Horse … stretch … into … the … inside … rein.”
Throughout these exercises, you and your horse have established a clear rhythm of rising trot, and you have used that beat to help you apply the aids rhythmically. Since the horse responds to a rhythmical application of the aids, the rider’s understanding of the language of the horse is usually enhanced, and the horse, by now, is relaxed and on the aids.
Phase Two: Asking for Obedience
Once your horse is relaxed and on the aids, ask him for obedience to the aids.
Exercise 7: Return to the exercise using your inside hand and inside leg aids in the rhythm of every other sitting moment on a 20-meter circle, but this time post on the wrong diagonal. You want to influence the horse’s motion in this exercise, so the timing of your leg aid needs to be at the moment when your horse can best respond to you. If your horse’s weight is on his inside hind leg, he’s not able to respond to your inside leg. By posting on the wrong diagonal, you are closing your leg at the moment when the inside hind leg is off the ground—when you’re best able to influence your horse’s inside hind leg. Increase the intensity of your leg aid, and your horse will show obedience to the leg by stepping away from it and enlarging the 20-meter circle in leg yield.
You also can do this exercise in sitting trot. You will recognize when the horse’s inside hind leg is in the air by feeling the moment when your inside knee goes down. The rider’s knee drops when the corresponding front leg of the horse is on the ground and the hind leg is in the air.
In this exercise, use the aid only three times so your horse won’t start to drift through the outside aids. You want a predetermined size and number of leg yielding strides. You can ask your horse to move out a horse’s width or a hoof width, but it should be predetermined by you. As you use your calf three times over three strides, you can say: “Enlarge … two … three” every sitting moment. If you need a breather, use the calf three times over six strides, asking every other stride. The rhythm will be slower, and you would say, “Enlarge … relax … two … relax … three.”
Exercise 8: Your horse also needs to be obedient to your rein aids. Start by going back to the first exercise we did: Apply the inside rein aid rhythmically by closing the fingers of your inside hand every other sitting moment of the rising trot. Sit on the wrong diagonal again because it is easiest for the horse to flex and bend when the inside shoulder is back. Ask for three different degrees of inside flexion. In the first step (if the horse is tracking left), ask him to look a little bit left by increasing the closing of your inside fingers. In he second step, ask him to look a little more left and in the third step, the most left. Say, “Left … more … most.” Remember that these are subtle exercises. You won’t be pulling or cranking.
Exercise 9: Next ask your horse to follow your leading rein on the outside. This teaches him to yield by moving his shoulders out slightly. So if you’re going around a corner, your inside leg and outside rein can help you move farther into the corner. If tracking right, you should be able to lead the horse to the left with a left opening rein. Don’t exaggerate. Your left hand can move out as far as—but not beyond—your left knee.
Remember that these obedience exercises are subtle. You can use any three words that describe what you’re trying to do and the way in which you are trying to do it. You might say, “Lead … more … most.”
After your horse is relaxed with a soft jaw, ribcage and back, he can feel your aids and is better able to be obedient. Then you can look forward to the third phase of your horse’s understanding when his response has the quickness and lightness necessary to increase his engagement and self-carriage and deliver the desired effect of the aids. The development of this understanding and physical strength is gradual. We wouldn’t expect a young horse to step under and engage like a Grand Prix horse because he needs time to become supple and strong, but his understanding and willingness to engage and carry weight is growing.
Phase Three: The Aid Has the Desired Effect
These kindergarten exercises have hopefully promoted relaxation and, in turn, helped to develop a supple, elastic contact. Used alternately on the right and then the left, the exercises have created a web of aids around your horse that you apply in the rhythm of your horse’s movement.
When the horse is surrounded by aids and is relaxed within them, it is synonymous with being on the bit. You have taken your human thought and communicated it to your horse in his language. Finally, you have reached the third phase of your horse’s development in terms of his understanding of the aids. Here’s what you can expect to feel so far:
• Your inside leg should be able to bring the horse’s inside hind leg under and increase his engagement.
• When you want to enlarge the circle, he should respond within two strides. (“Enlarge … enlarge.”)
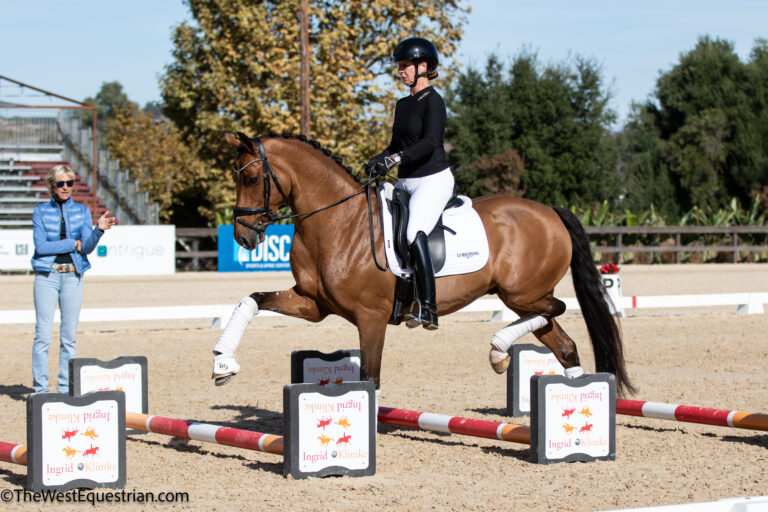
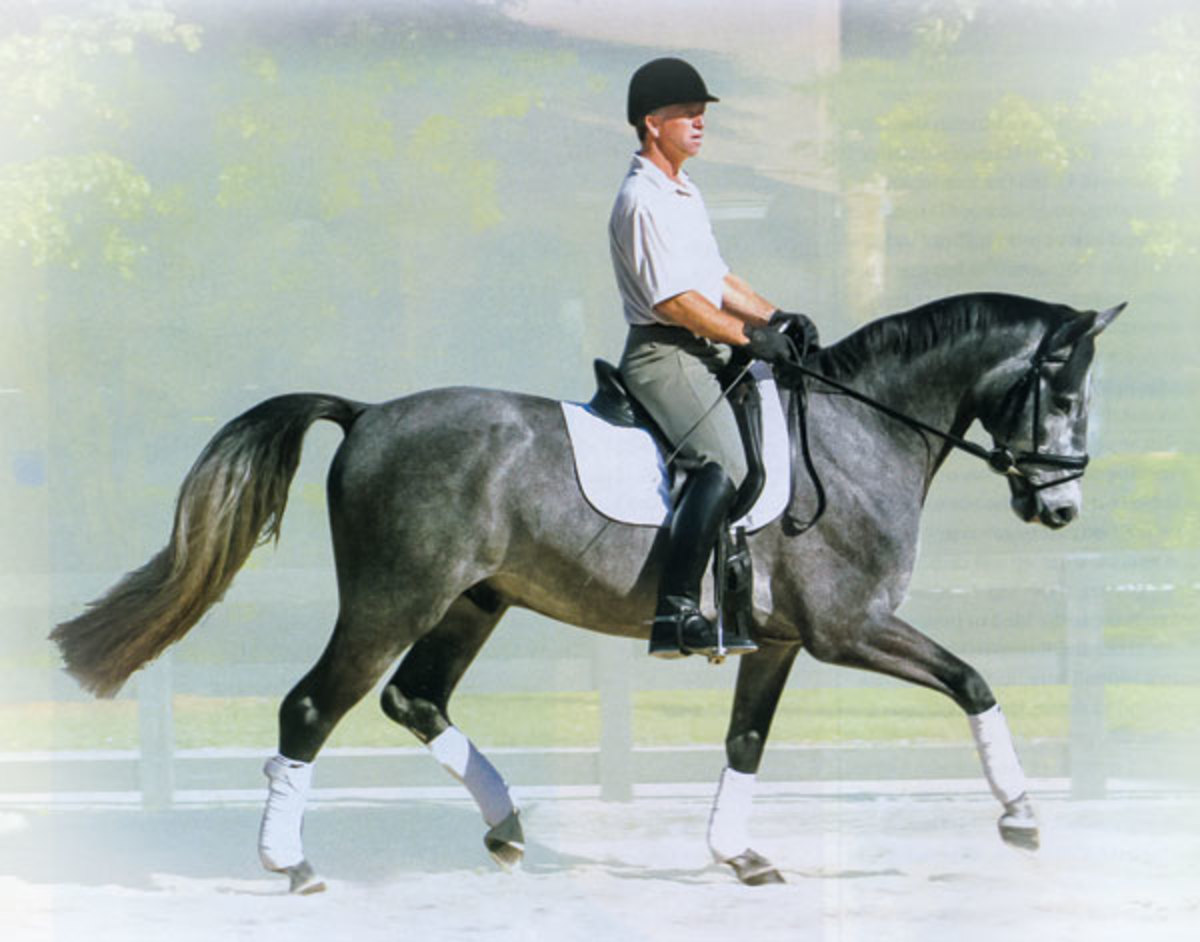
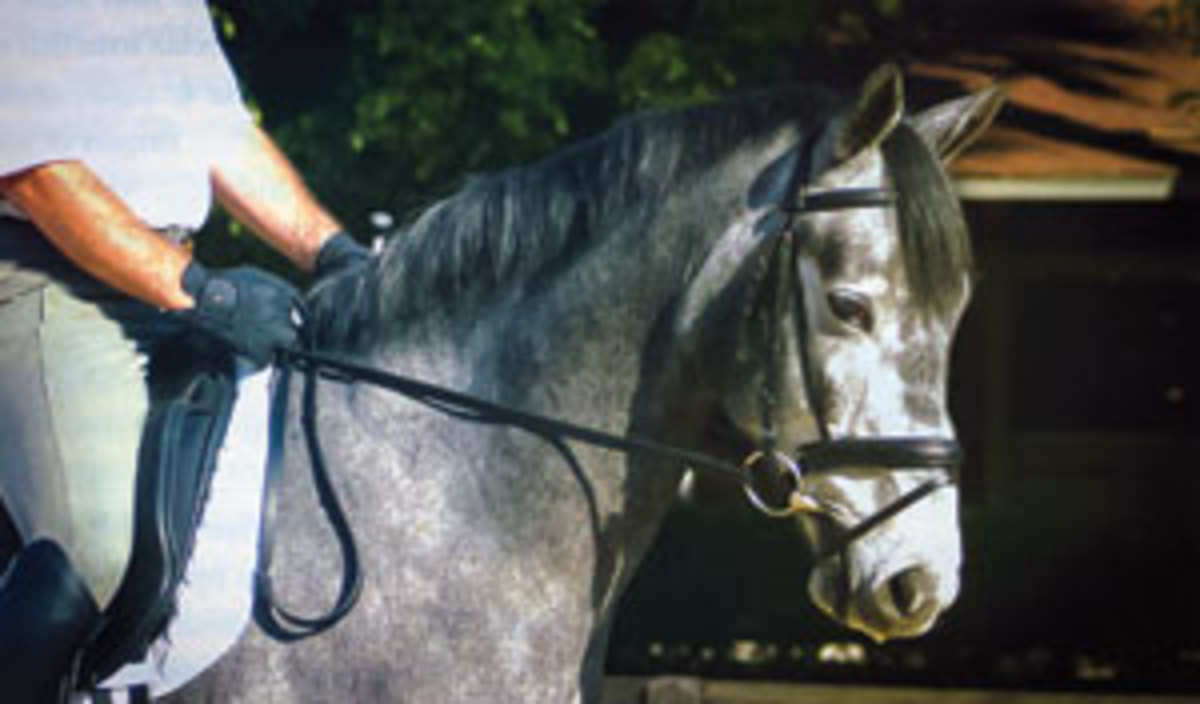
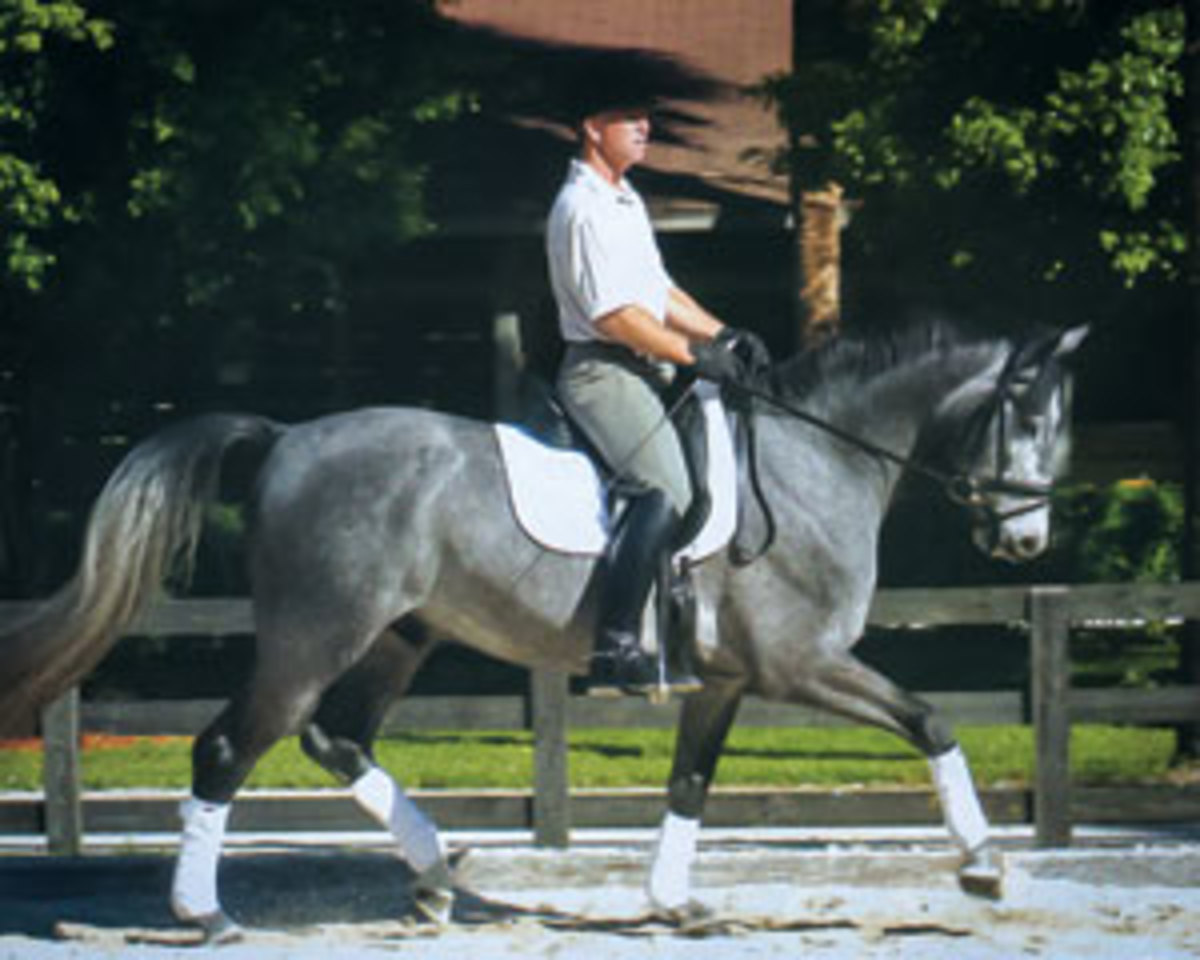
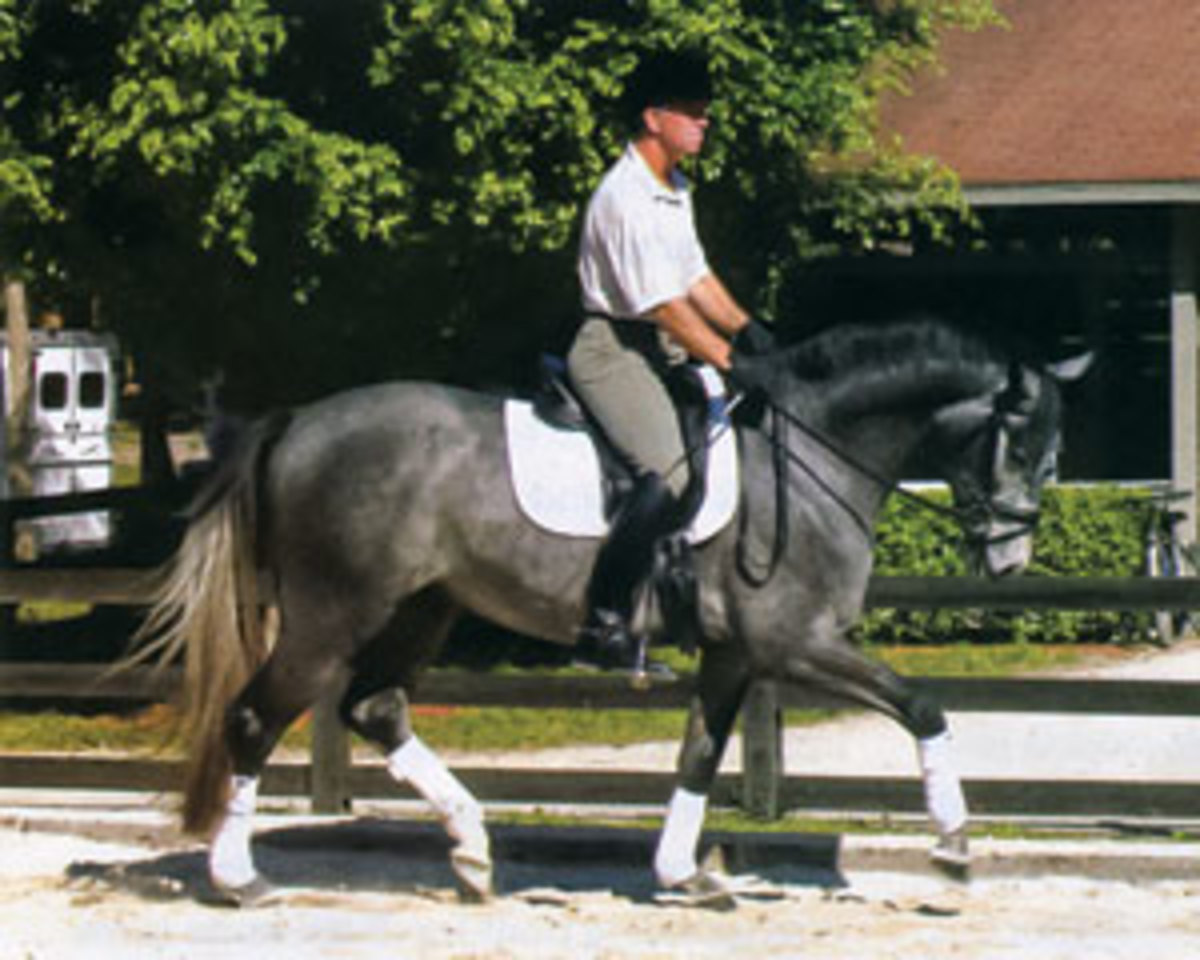
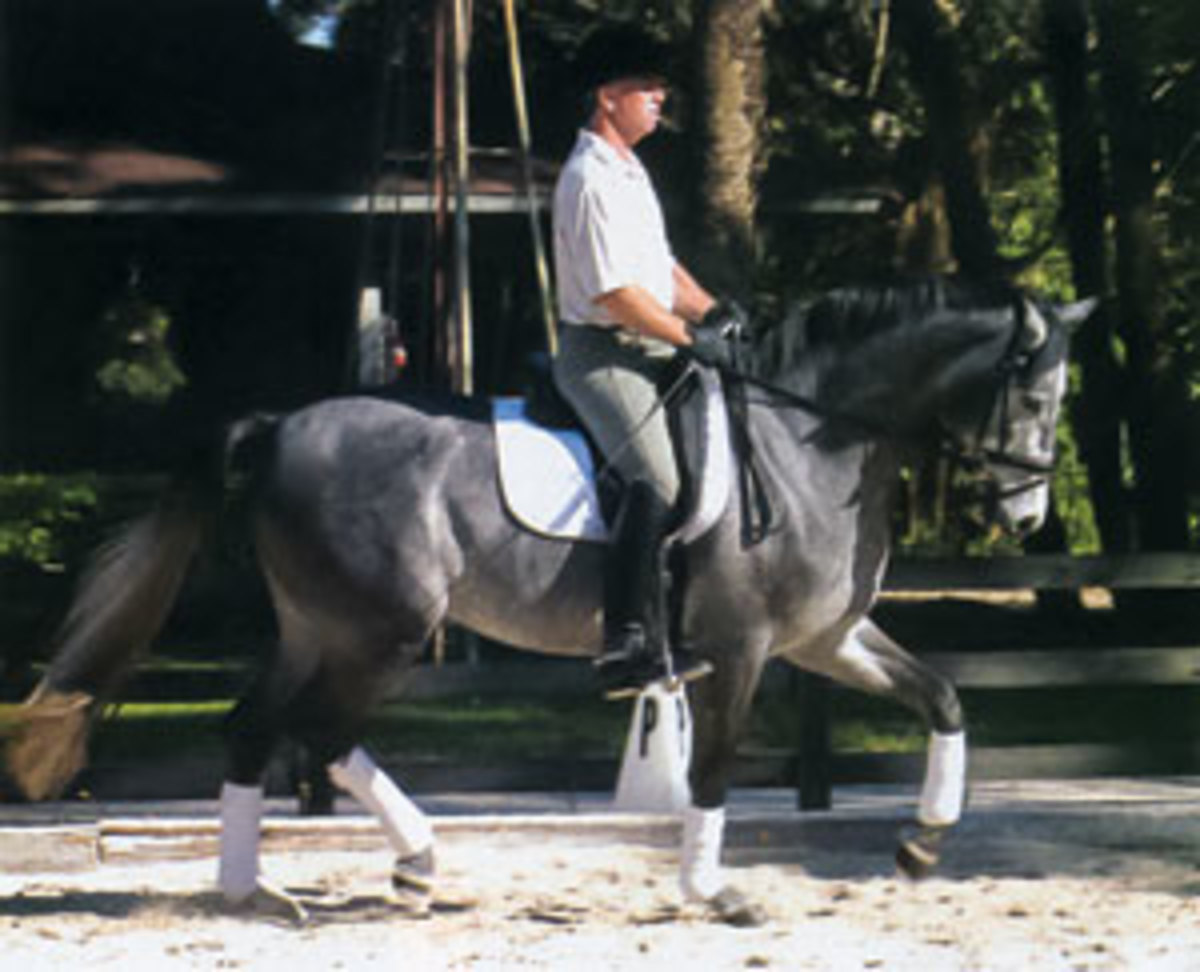
• When you increase the intensity of the closing of your fingers on the outside, he should slow the tempo to a count of two: “Slow … down” (see top photo).
• When you want to make a transition from trot to walk, sit and apply the aids in rhythm when your inside knee goes down. The first half halt slows him down; the second half halt slows him down a little more—without losing activity. By the third half halt, the horse knows to make a smooth transition to the walk. In this transition you might say, “Slow … down … walk.”
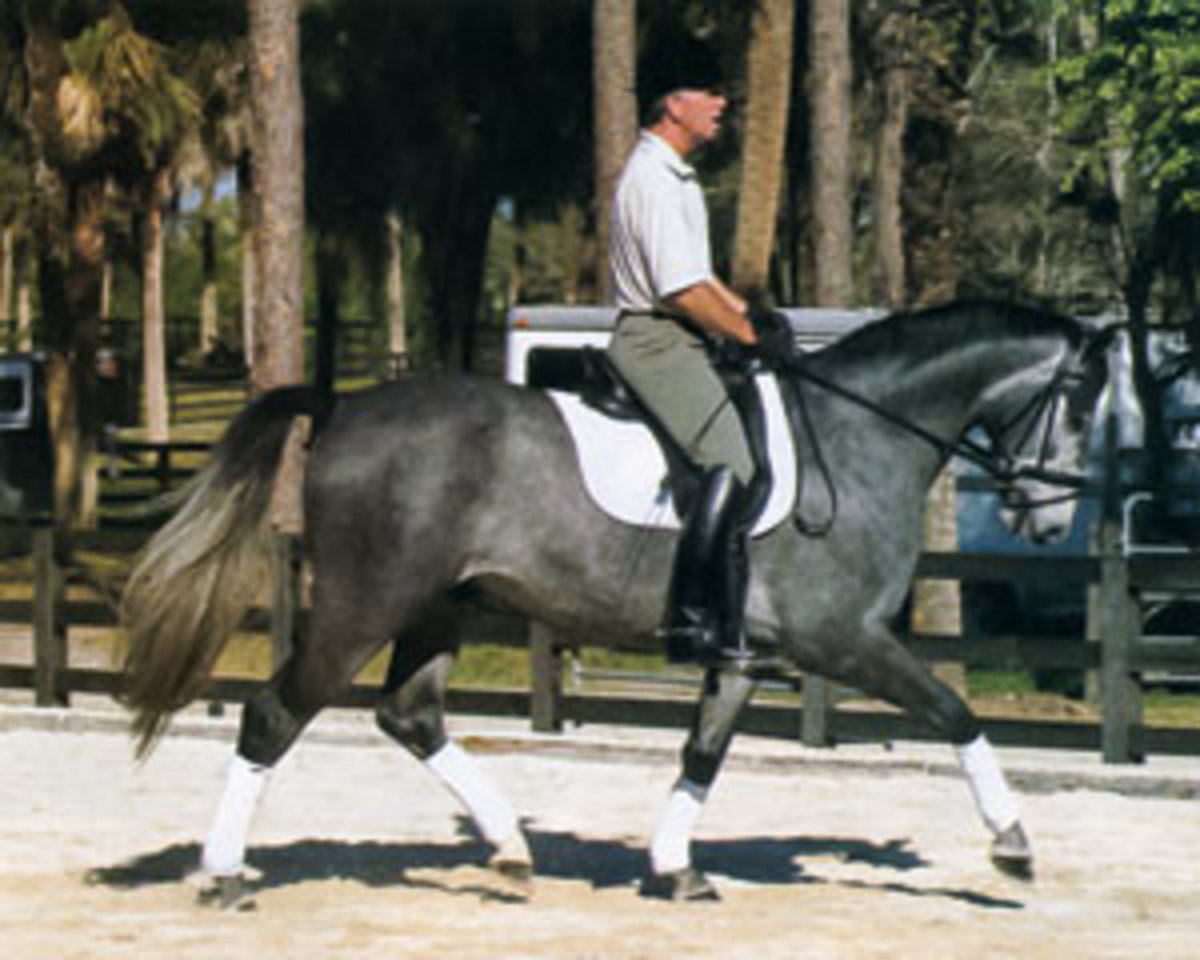
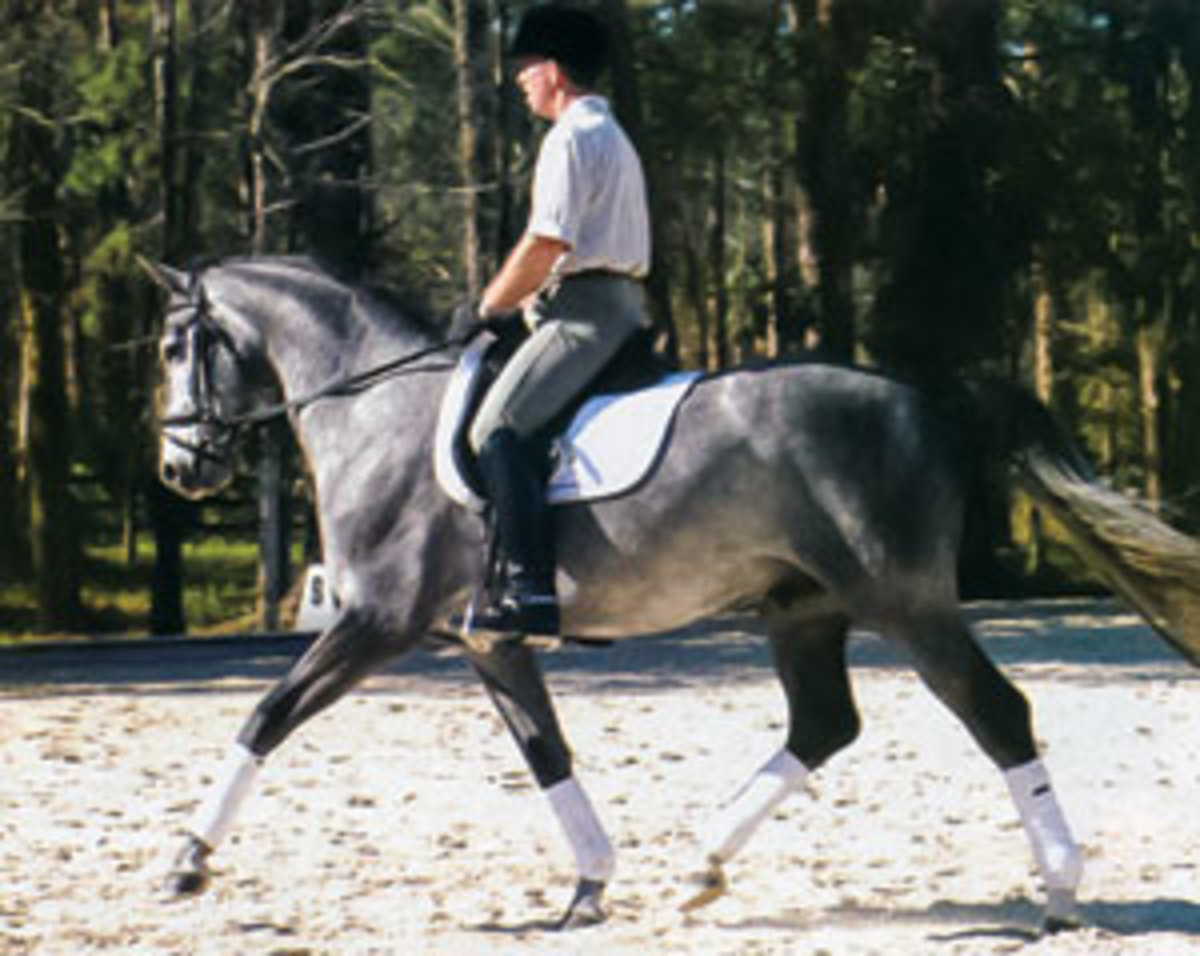
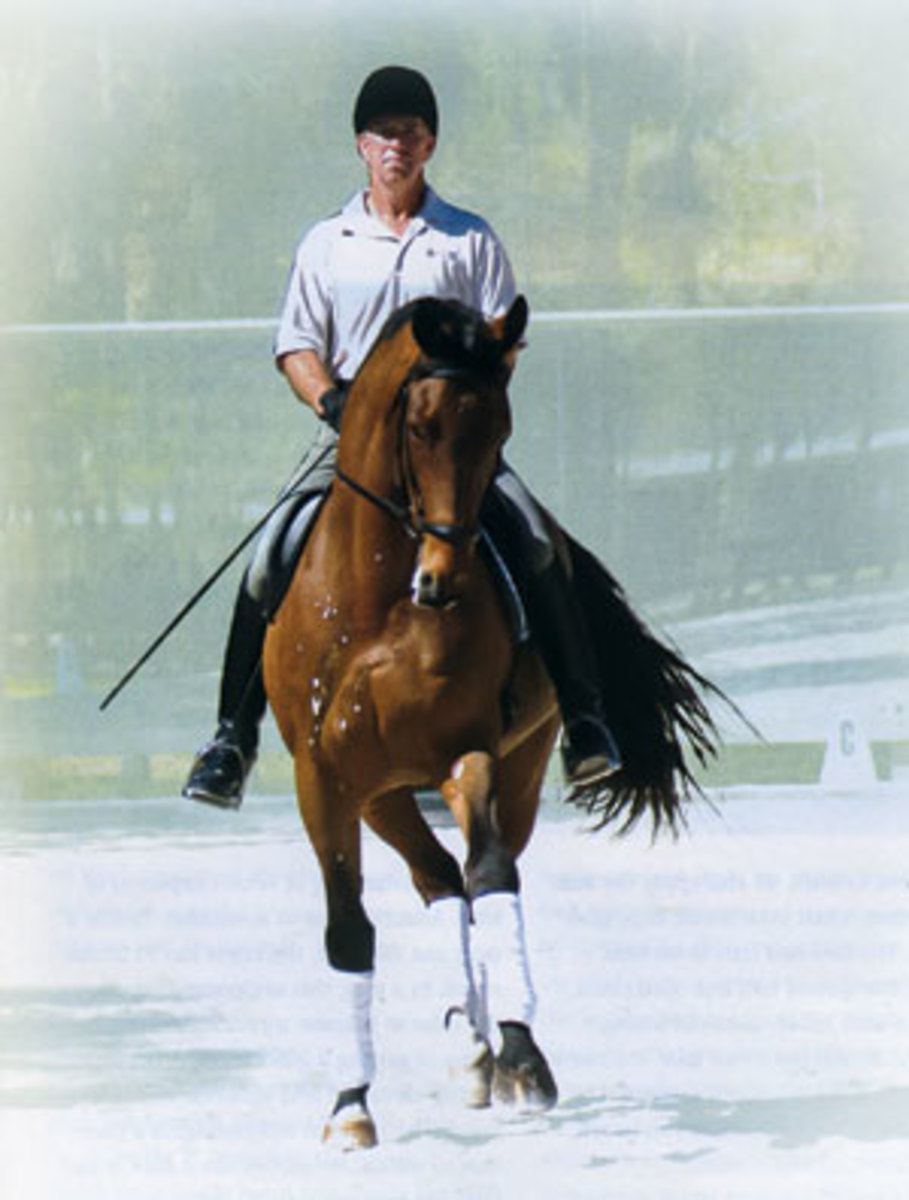
Over time, the desired effect of a half halt is to be able to shift some of the horse’s weight back to his hindquarter (see bottom photo). This brings the concept of the kindergarten exercises to another level involving collection. In collection, there is greater expectation in terms of the horse’s response because of his understanding of what’s expected of him.
A crucial idea to remember: Before a rider can demand, the horse has to understand. In a way, this understanding allows the rider to become more demanding in terms of getting a quicker response, producing elevation and lightness of the forehand. The horse in self-carriage is a pleasure to watch. He moves like a dancer and feels like a sports car.
I hope these exercises have promoted attention to the rhythm and timing of your aids. If you’re a dancer, you know where your partner’s feet are. Riding is a dance form, and you need to know where your horse’s feet are and how to move with and influence him in harmonious rhythm.
Graduate School Theory:
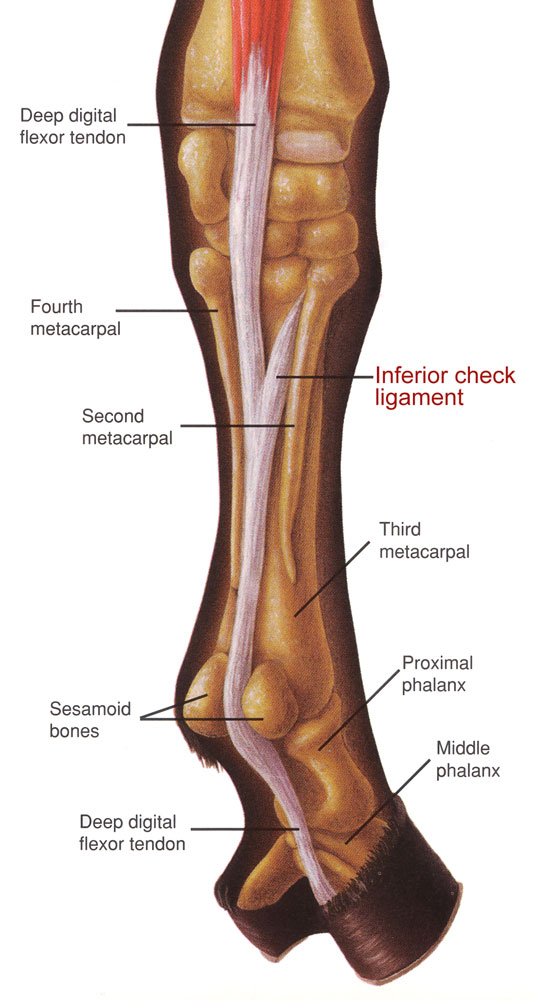
Understand the three ways that a horse’s hind legs work
There are three ways in which a horse’s hind legs work: thrusting power, reach and carrying power (engagement). A good dressage horse must be well developed in his ability and strength to utilize all three.
Well-developed hind legs also require a strong, supple back to create the suspension bridge that connects the horse from back to front. The three ways in which the hind legs work are interrelated because each continuously builds on the other. The educated rider understands which of three he is asking the horse to do and how to ask for it.
Thrust (Pushing Power)
Thrust refers to the horse’s ability to push himself forward off the ground. The hind leg that thrusts does so from a position of engagement in which it is solidly on the ground with the three joints of the leg bent equally carrying the weight. The horse then pushes against or off the ground with a powerful thrust that either propels him forward (in extended trot, for example) or up (as in passage) or to an extreme leap into the air (such as to a capriole).
To influence thrusting power, we ask the horse to go forward or we drive him when the desired hind leg is on the ground. In practical terms, this means that we would ask for a canter depart, for example, when the horse’s outside hind is on the ground at the first step of the canter stride, or we might ask for an extended trot when the inside hind is on the ground so that the horse can propel himself forward by pushing against the ground.
Reach
When the horse’s weight is on the outside hind, the rider can influence the inside hind to create greater closing—or articulation—of the joints and greater reach. When asking for greater reach, we include the flight pattern of a hind leg when it is at its highest point and is articulated the most. At this moment, the opposite hind leg is on the ground and engaged, preparing for the moment of thrust. Movement within the horse’s stride happens rather quickly but as the rider is finding the rhythm of his horse, we want him to find the definite moment in time at which the leg is at its highest point—when it’s easiest to influence the flight pattern.
In leg yielding, for example, we ask the horse to enlarge the circle at this moment so he can move his inside hind leg farther under his body toward the outside of the circle—either directing his inside hind foot into the hoof print of his outside front or toward a point under the outside stirrup of the rider.
Carrying Power (Engagement)
In the half halt that creates carrying power, we are asking the horse to slow down and carry more weight when his hind leg joints are closed and his hind foot is on the ground. The levade, in which the horse sits on his hindquarters, is the ultimate example of this kind of closing of the joints while carrying the weight.
The timing of the half halt to the outside hind is the same as that used for the half halt to ask for reach from the inside hind since the outside hind leg is on the ground when the inside is in the air. The meaning of the term “engagement” has evolved over the years. Whereas the term used to imply “reach,” the current FEI working definition is:
“Increased flexion of the joints of the hind leg during its weight-bearing phase. This causes a relative lowering of the hindquarters/raising of the forehand, thus shifting more of the task of load bearing to the hindquarters. A prerequisite for upward/thrust impulsion.”
As the horse’s hind legs are strengthened in all three ways, he will reach a point at which collected gaits are possible. A certain degree of collection is necessary for voltes and lateral work, but collection really starts in the transitions—or in those few strides of preparation for a trot-to-halt transition, walk-to-canter transition or canter-to-walk transition.
Collection is the culmination of carrying power, thrusting power and reach being developed equally. The quality of collection evolves, so the collected trot of a Grand Prix horse will be more lofty and powerful than that of a Second Level horse.
Using the Concepts of the Kindergarten Exercises
Even though I don’t do the kindergarten exercises in my day-to-day riding anymore, the rhythmic timing of my aids has become automatic and the concepts behind the exercises never leave my mind. For example, when I notice that a horse responds incorrectly to an aid, I watch the aid applied to learn in which phase the correct response is lost. Is it lost because of lack of relaxation (phase one) or lack of obedience to the aid (phase two)? Or maybe my horse is obedient, but the aid isn’t having the desired effect. Does he articulate the joints of the hind leg or does he just step away like a pedestrian, shuffling his feet, without the quickness and lightness that is ultimately required? On a higher level, you need to rely on a prompt response so that the timing of your aids works for you. For example, in the half pass, your horse has to yield to your outside leg aid in a similar rhythm to that which you taught him in the leg yield. You need to understand that when your outside knee is going down, your horse’s outside hind leg is crossing over. When you close your outside leg you need to have the ability to bring his outside hind further under, and it needs to happen promptly in order for your horse to stay in balance and deliver an elegant performance.
George Williams finished sixth at the World Cup Final in Sweden in 2003, riding Chuck and Joann Smith’s Westfalen mare Rocher. He is currently the president of the USDF and a member of the U.S. Equestrian Federation dressage committee, and he splits his time between Ohio and Florida.