This month, I want to share with you my checklist that I use to begin every ride and every lesson. I have found this easy-to-follow checklist to be a great tool to check in on your horse’s responsiveness to each of the aids. It also serves as a starting point, giving you information on where your focus needs to be to ensure that you keep your standards high and your aids quiet. This checklist tunes you into how your horse is feeling on any given day and can help you plan the training session accordingly. As the rider, it is your responsibility to make the horse as sensitive to the aid as you want. If you feel like you are aiding all the time and getting no response, it is your responsibility to sharpen the horse up.
Step 1: Test the Driving Aid
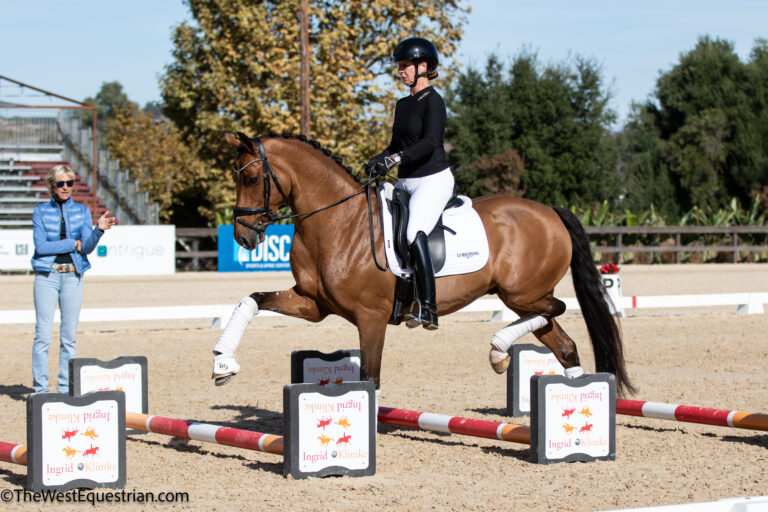
When you put your leg on, what kind of response do you get? How much leg has to be applied for you to get a response? Is this “volume” of aid acceptable to you? This can be tested in any transition but in the beginning of the ride, I like to simply test the reaction from walk to trot. If the response is lackluster, I may give a tap with the whip behind the leg to get a quicker response. Always go back and test the original aid again. You may have to repeat several times until you get the horse to react with your desired volume of aid. For example, many dressage riders like their horse’s very quick and reactive to the driving aid. It is nearly impossible to get through an FEI test if the horse is behind the aids. However, a timid, older adult rider may feel insecure if the horse is very eager to move forward so they may feel more comfortable riding with a little more leg and a slower response. Personal preference does come into play here. Ten years ago I was more accepting of my horses having slower reactions. Today, after having more experience training horses, I am much more demanding of reactivity right from the beginning of training the young horse. Do you want your horse to respond to the lightest brush of the leg or do you want to have to squeeze a bit? Find the volume that you want to be your ideal aid and create the response from that.
Step 2: Test the Lateral Leg Aid
After the horse is responding well to the forward driving aid, it is now time to test the response to the lateral leg aid. This can be accomplished in the leg yield, turn on the forehand or testing the bend on a circle. Add the inside leg in whichever exercise you choose. How easily does the horse yield in the ribcage? Like with the driving aid, if you do not get the desired response, give a bump with the leg the horse is resisting to moving away from or tap with the whip behind your leg. The lateral leg aid tests one leg at a time as opposed to the driving aid, in which both legs work together.
Step 3: Test the Bit Acceptance
The horse should be accepting of the bit from the first moment you sit in the saddle. Some horses who come out very stiff can be pretty resistant in the connection and it is throughout the ride that we create increased throughness by bending and suppling the horse.
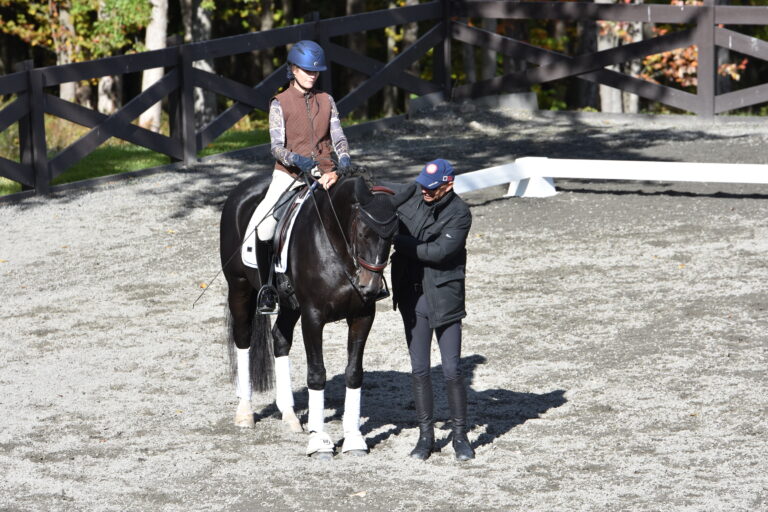
Bit acceptance is a pre-requisite for throughness. When you close your fist, does the horse soften in response or does he stiffen his jaw against your hand? You can test the bit acceptance simply at the halt, usually after the horse has warmed up and has a desire to go forward, by gently flexing the horse right and left and looking for the crest of the mane to “flip.” It’s a very subtle amount of flexion, only enough to see the horse’s inside eyelashes. When your horse is flexed to the left, you will see the right side of the crest bulging to the right and when the horse is flexed to the right, the left side of the crest bulges to the left. As you shift from left flexion to right flexion, you will see the crest “flip” or “pop” in the moment of the change in flexion from one side to the other.
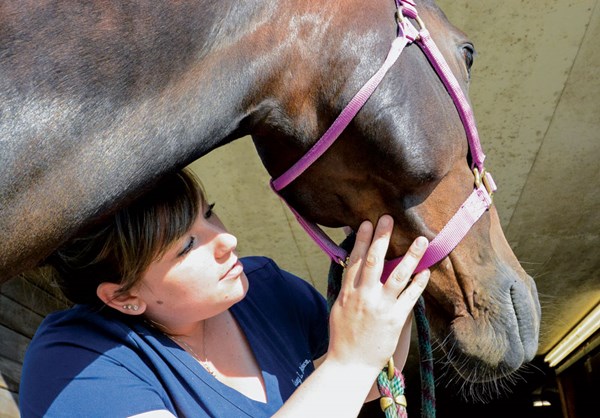
This simple test can give you lots of information. Do you find it more difficult to flex one side than the other? One of my young horses really struggled with the flexion to the right. Even when attempting to flex right, the right side would still stay bulging. I diligently worked on this for a few minutes each ride for about a week and by the end of the week, she could easily flex from left to right and this added poll suppleness transferred to her other work. This stiffness on one side of the poll showed me that my mare stayed too often in left flexion with her right shoulder drifting out, which I was able to remedy with a variety of exercises.
Only use a very small amount of rein aid here and the aid should be applied one rein at a time. This exercise is not to be confused with the too-often-seen, see-sawing of the neck to create a forced and false roundness.
Once the horse is soft in the bridle, I will walk forward and continue the ride. If the horse grabs the bit and stiffens, I will go back to the halt and quietly flex him again. If the horse becomes resistant and begins to back up, send him forward in the walk or trot and work on some bending lines before coming back to the halt exercise. Always remember that the horse must be ridden actively from behind into the hand. This is why this test should come after the horse is committed to the acceptance of the driving aid.
Step 4: Test the Half Halt
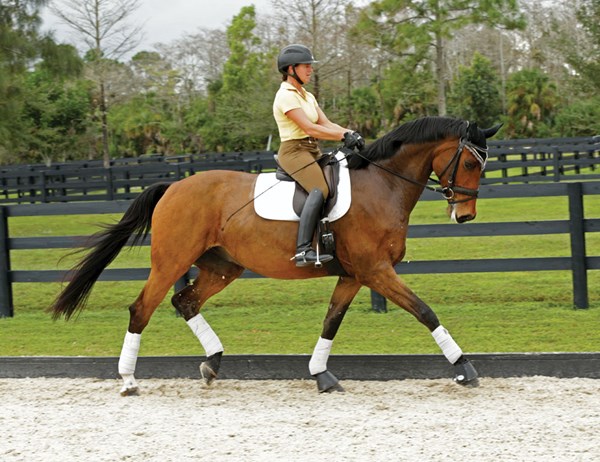
After we feel secure in our horses’ responses to the forward and lateral leg aids and bit acceptance, we can test the reaction to the half halt. This can be tested in downward transitions either between gaits or within gaits. I like to begin my test with full halts and once the horse is responsive to those, I will test the half halt by riding tempo changes in trot or canter. This is also a great tool because it tests the driving aid as well. I like to call this “riding the accordion” of the horse’s trot or canter. We should be able to expand the gait forward and then compress it. These downward transitions test the horse’s willingness to respond to the rider’s restraining seat and closed fist by shifting weight to the hind legs and coming into a better balance.
If the response to the half halt is lackluster, go back to the full halt or use a figure to gain the desired response, such as riding a 10-meter or 15-meter circle after a canter lengthening or riding a square turn.
Once all the items are checked off the list, it is time to go to work strengthening, suppling and creating expression with our beautiful partner!
Keep your chin up, align your horse and ride forward! Until next time,
Jenna
Jenna Arnold is a USDF bronze, silver and gold medalist and bronze, silver and gold Freestyle Bar recipient. She is a writer and founder of Mindful Riding, a website and program dedicated to helping riders develop a more meaningful relationship with their horse and with themselves by balancing mind, body and spirit. She is the mother of two young daughters and runs Concordia Dressage with her husband, Martin Arnold, near Austin, Texas.