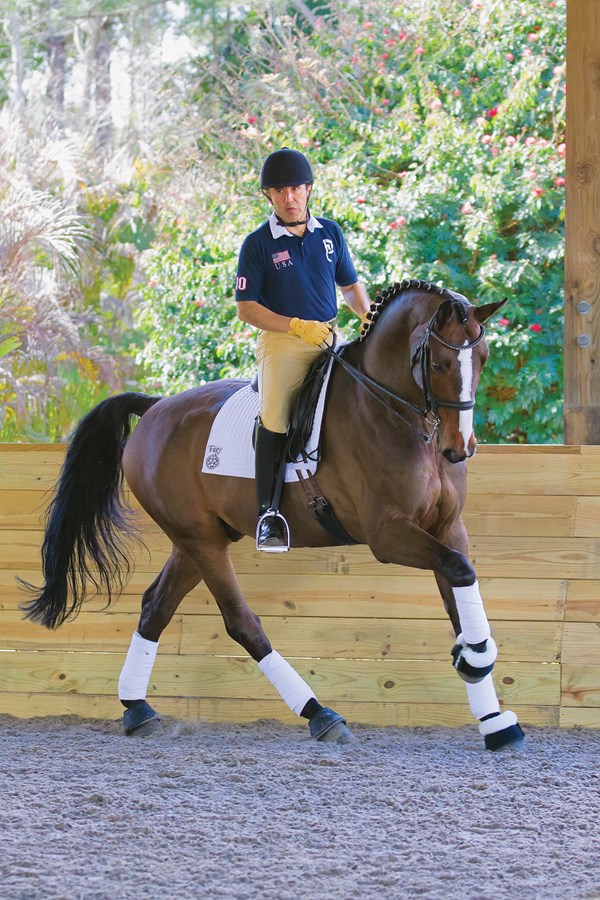
Riding a horse from level to level or from test to test is a clear way to prove that you are building a correct foundation as you progress from Training Level, Test 1, to your horse’s peak (whether that be Training Level, Test 2, or Grand Prix). This holds true for all movements, including the canter work. Rather than tell you, I would like to show you how the canter work progresses through the levels. In this article, we will work through the canter, from simple transitions to one-tempi changes on a straight line, so I can prove to you that each level not only tests that you are progressing but also prepares you to do so.
Before we begin the exercises, I want to make a few points clear. First, one of the great training dilemmas that we will face in these exercises is how to keep a horse happy without spoiling him. The answer is to think of him like a child since both thrive on structure and clear, fair boundaries. For example, left to his own devices, my son might try to disrespect me, eat candy all day and stay up all night. For his own health, I make sure to set limits that might not make him immediately happy but are better for him in the long run. The same goes for horses in training: If they ignore an aid, it must be corrected. Not because we want to be mean to our horses, rather we want them to feel happiness from feeling secure within structured expectations. Remember that horses are herd animals. They want a leader, and we must be a leader for them. For that reason, it is our responsibility to show them what is right and wrong. Let me be clear that in doing this, you must remove the word “hit” from your vocabulary. Never should a correction be made in anger. It must be clear and to the point, and then you must keep on riding, always maintaining a cool head. You can reprimand and correct, but never take advantage of your horse in an abusive way.
That leads me directly to my second point. Don’t ride to avoid mistakes.When schooling at home, if your horse makes a mistake and does not do what you ask or do it as well as he should, you have been given the opportunity to teach him something at that moment. With clear, precise and well-timed corrections, you can turn a mistake into a teachable moment. For example, I have heard people say, “well I was pulling on the inside rein because I was afraid he might do a flying change.” So what? If he does, then you go back and ride the exercise correctly until the horse understands what you want and follows suit. Never alter how you ride or compromise your position to avoid making a mistake. Too many people think that daily training should be mistake-free. I do not see how that is possible if the horse is to learn a new skill. Aim to train your horse in such a way that the aids are clear. That way, anyone schooled in dressage can ride after you. To me, that is the best compliment a trainer can get.
Lastly, before we move to the exercises, you should know I am strict about the proper use of the neck of a horse. Control of the neck, for me, is the key to getting a horse to use his back and hind legs correctly. The horse must seek the contact. Then I know that I am getting him to use, and thereby strengthen, his back muscles and balance.
So as we move forward to our canterwork, remember to focus on quality. Pay attention to the frame of your horse throughout every exercise. Let us now begin at the foundation of the canter, basic transitions.
Training Level:
Trot–Canter Transitions
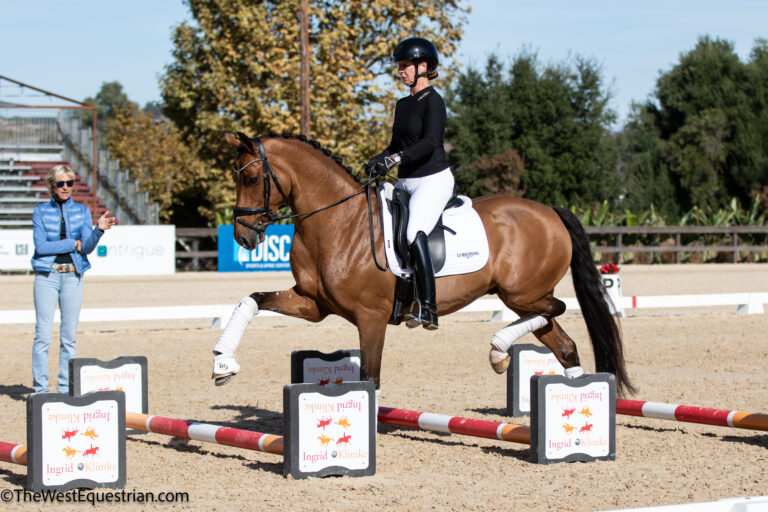
The canter is first introduced in the U.S. Dressage Federation’s (USDF) Introductory Test C. Though maintaining and transitioning into and out of the canter is one of the more basic requirements, it is key to moving up because it shows obedience and suppleness. As you progress into Training and First Level, the trot–canter-transition requirements become increasingly more demanding: They must be prompt as they begin to require the transition at a specific letter.
It may seem tedious and boring, but focusing now on flawless and fluid transitions at the beginning, instead of just getting to canter, will make a huge change in the training of your horse as you go forward. This will be especially true when you want to introduce straight, simple and/or flying changes. Let us walk through the aids to performa trot–canter transition:
1. On the track, develop a working trot on the right rein.
2. As you approach the corner between A and K, apply the inside leg at the girth and put your outside leg back behind the girth to ask your horse to step under with his outside hind and lift himself into canter. Think of your inside leg as the gas pedal.
3. Keep your reins steady and your core engaged. It is important to be clear in the transitions so that the horse is obedient and remains supple and through. Remember the important part of this work is not just to get to canter, but rather to have quality transitions.
Once you are able to get into canter, maintain your leg position with your inside leg asking for canter in the rhythm of the canter while your outside leg stays behind the girth. This leg position will become very important when you want to work on counter canter and flying changes in the future.
Develop the quality of the gait so that your horse covers ground in a three-beat rhythm without running. Sit quietly and go with his movement. Keep a steady, supple contact with your horse’s mouth so you can control where and how he carries his head and neck. Here is how, in the canter, you can work on developing the elements of the training scale (rhythm, relaxation, connection, impulsion and straightness) that you will need later as your training progresses:
First Level: Shallow Loops
Once you have control of the basic canter of the horse so that you can stay in canter on a circle and on a straight line, you can move to an exercise that is introduced in the First Level tests: the shallow loop. Like any other canter exercise that we are going to talk about here, the most important aspect of the shallow loop in canter is the quality of the canter itself. To introduce the shallow loop, I make it very shallow, indeed. If I am in left-lead canter on the track, after the short side I will start with coming only a stride or two off the track and then returning to the track. During this time, I am focused on riding left-lead canter so my left leg is asking for canter at the girth and my right leg is back. If the horse maintains relaxation and a nice, manageable canter with my very shallow loop, I will gradually make the loop a bit more steep until I am able to get to the centerline and back without any change in the tempo or relaxation of the canter. If the horse gets tense, then I go back to an easier line until he is relaxed again. Remember to make any turns gradual because a sharp turn will impact your horse’s balance. A well-preformed shallow loop is a great introduction to the Second Level counter-canter work.
Second Level: Simple Changes and Counter Canter
Simple changes begin in Second Level as the tests start to demand that the horse begins to learn some collection or carrying power. I love simple changes and use them daily with my upper-level horses because it helps me keep them responding promptly to my leg with the upward transitions. It also helps the horse to wait and sit in the canter, especially into the walk in the downward transitions. You will find that simple changes are a great way to introduce the sitting required in the canter pirouettes. They are also super for reinforcing the canter leads, should a horse get tense when you start teaching tempi changes. All of that being said, when teaching the simple change for the first time, one must be insistent and effective with his aids. Few horses do these well the first time, so be patient and look for that teachable moment (for one example, see “Second Level: Simple Changes” on p. 64).
The upperward transition should be prompt. In the initial teaching phase, I think about my outside rein holding as my outside leg goes back and my inside leg goes on. I want to be clear to my horse that I want to go directly to canter, not to trot. If nothing happens, then I reinforce with my inside leg that this change in leg position means something. The horse must remain sensitive to the changes in my leg position in order to learn one tempis in the future. For the downward transition, you may have to be quite firm with your hands and seat in order to teach your horse to walk and not trot. These transitions are learned through repetition, and you are looking for them to get easier as the horse begins to understand what you are asking.
Counter canter is a logical progression from the shallow loop found in First Level. When teaching counter canter, avoid any sharp turns or deep corners. Also remember that most horses will collect themselves as you start the counter canter, so be careful that the tempo does not slow as you transition into counter canter. I start to introduce counter canter as follows:
1. If I am in right-lead canter on the track, after the short side I change the rein on the short diagonal to E or B, thinking all the time about riding right-lead canter, so my left leg stays back behind the girth, and my right leg stays at the girth, asking for canter.
2. My left rein is still my outside rein and my right is still my inside rein. To help my horse understand, I maintain as light right flexion in the neck.
3. As I approach the corner, I turn early to avoid going too deep and throwing my horse off balance. The same holds true for the second corner.
With a horse that is just beginning to understand the counter canter, if I have successfully maintained the canter through the short side, I will go across the diagonal to go back to true-lead canter. On that diagonal, I ride a bit more forward to break up any tension the horse may have developed. If the horse breaks to trot on the short side, it’s not a big deal. Take this teachable moment and go back to walk, leg yield away from your inside leg, position with a slight inside bend and ask for counter canter from the walk. If the horse cannot process that transition, turn to the right, pick up the right-lead canter from the walk and try the counter canter again.
Third Level: Flying Changes
Teaching the flying changes can vary quite a bit from horse to horse, depending on temperament and natural quality of canter. Since it is a movement that we see horses do in the field, I believe that all horses can learn this, although certainly some have a harder time than others. The most important thing for me when teaching changes is that the horse starts to react when you switch your leg position and give the aid for the flying change. To help with this reaction, I will often tap the whip in coordination with my aids for the flying change. There are many ways to teach the flying change, but here is one exercise I like:
1. Start on a 20-meter circle at one end of the arena and cut the circle in half, essentially coming down the centerline on your turn.
2. Start with making canter–trot transitions. For example, if I am again in right-lead canter, I turn down the centerline, do a transition to trot and a transition to the left-lead canter on the straight line and then turn left at the end. Then I make a half-circle left, turn down the centerline, trot and then canter on the right lead and turn right.
3. Once you have confirmed this, do the same thing with transitions from canter to walk to (new lead) canter.
When all of these transitions are good, introduce the change:
1. Start from right to left, as most horses find this change easier. In right lead canter, have a whip in your left hand and turn down centerline.
2. In the turn, position your horse to the left and push him from your left leg into your right (new outside) rein.
3. Once you feel the horse in your right rein, tap with the whip by your left leg and at the same moment squeeze the right rein and switch your leg position, putting your right (new outside) leg back and left (new inside) leg forward and turn slightly to the left. Obviously, it all has to happen quickly.
I want the horse to understand that something has to happen when I shift my leg position so that is why I tap with the whip. Sometimes as horses are learning, they may buck or jump into the change. Don’t worry, they are just trying to figure out the change in balance.
Fourth Level: Multiple Changes
I do not start multiple flying changes on a line until my single flying changes to both sides happen on my aids and on whatever line I ride them. In this way I know that my horse is really understanding my aid for the flying change. Now I have to challenge him to think a little faster. Like the single flying changes, there are different ways to introduce multiple changes and tempi changes, but I have an exercise that I really like because not only does it help keep the horses focused between changes, it also works on his suppleness in the change. I want my horses to do the change without bracing in the neck or back.
1. Start in left-lead canter and ride a shallow serpentine.
2. After turning left in the loop, start to head right, thinking about leg yielding away from your right leg, pushing into the left rein. Do a flying change to the right.
3. Turn to the left, think leg yield into the right rein and ask for a flying change to the left. Turn to the right.
At the beginning you may fit only three changes in a long side because you may need more time to get things organized. As it becomes easier, make the turns less and less steep so that you are nearly on a straight line. The horse must jump for the change when you ask, not one stride after your aid.
FEI: Refining the Tempi Changes
If you have done your homework and put the time in to master all the aspects of the canter work through Fourth Level, refinining tempi changes for your upper-level work will be just another step in the progression.
To start the one-tempis, work pairs of changes on the centerline, making sure to start in both directions. Increase the number of pairs you can do on the centerline as you are ready. When the horse isable to do five to seven pairs of ones consistently and without stress, ask for more in a row, starting with three or four changes, a break, then another set. Return to just a pair of one-tempis if your horse gets confused.
What is so wonderful about this approach to all of the canter is that you finish with the culmination of all of your hard work. From your first transition to your one-tempi changes, it is always important that the horse maintains the correctness (rhythm, tempo, connection, etc.) of the canter.
At any level, if I have a horse that loses the quality of the canter during these exercises, for example becoming too slow, I use my teachable moments: Correct the problem and prevent the quality of the canter from deteriorating. By requiring success at that moment, I am setting my horse up for it in his future work.