Heather Sansom is the author of rider fitness ebooks Complete Core Workout for Rider, and a regular columnist in several equestrian publications including Dressage Today.?EquiFITT.com offers rider fitness clinics & workshops, Centered Riding? instruction, and convenient distance eCoaching for riders anywhere.? Subscribe to receive free monthly Equestrian Fittips, and download rider fitness eBooks at:??www.equifitt.com/resources.html
Have you ever had the experience of being told to sit up straight when you thought you already were? While symmetry is something we strive to achieve in dressage, we are all born with a “handicap” against perfect symmetry. From fingerprints to facial features and skeletal arrangement, true symmetry does not exist in a human body. We all have slight differences at the skeletal and muscular level that create one-sidedness. The spectrum of spinal imbalance ranges from extremes–such as scoliosis (sideways curvature of the spine), kyphosis (exceeding roundedness of the upper back) or lordosis (exceeding concavity of the lower back)–to much more subtle variations.
Postural imbalance due to spinal alignment can be divided into three types.
1.Lateral: affecting motion in the frontal plane, or side to side. Two examples are shoulder girdle straightness–one shoulder is carried higher than the other–or a spinal curve right or left.
2.Vertical: I call it that because it affects side alignment but is mechanically affecting position and motion in the sagittal plane, or forward and back. Examples are a rounded forward shoulders, humped upper back or hollow low back.
3.Axial rotation: affecting motion in the transverse plane. For example, the tendency to have a shoulder forward and one back affects equal ability to direct a horse’s bend in lateral movements.
The greater your need for symmetry, the greater your awareness of your natural lack of it and need to compensate in one direction a little more than another. You may not notice a slight curve in your spine to the right for example as you work through Training and First Levels. However, by Level Two, the same curvature and the compensating patterns your body has developed over the years to cope will have a noticeable effect on the ease with which you can perform movements, such as half pass to the left as compared to the right.
When I am working with riders in a clinic situation, my first clues to postural and biomechanical issues are often statements the rider makes about the horse’s lack of even ability for lateral movements, or “stiffness” on one rein over another. (While our horses are wonderful in their ability to learn our own asymmetries and adapt their understanding of our slightly asymmetrical aids, we do hope to make things as clear and fair to the horse as possible.)
Analysis
Generally speaking, these alignment issues are observable on the ground as well as mounted. For example, if you spend your day collapsing your ribcage slightly to the left, the chances of your fixing your position for your entire ride are very low.
- First, your brain and body think this posture is straight. Just remember a time when your coach adjusted you in the saddle and proclaimed you were finally straight; you probably felt crooked.
- Second, the muscles and fascial tissue on your left side will be shortened and tight. If you manage to start your ride straight, you will tend to revert as you fatigue, because these tissues will pull back to their accustomed length.
- Third, you may not have adequate core strength to resist or correct your default position.
- Finally, there is so much going on while mounted that often self-correction and muscle training end up at the bottom of the list of mental commands you give your body as you negotiate your ride. Two shoulders, elbows, hands, seat bones, upper thighs, lower legs and heels and one or two whips can make over 16 separate and simultaneous signals to your horse at any given time.
Life is simpler if you make better alignment more automatic through resetting your sense of straight, unblocking the tight and resistant forces. Key is developing the ability to isolate core muscles, which can be used to correct and maintain your better posture in motion.
An Example
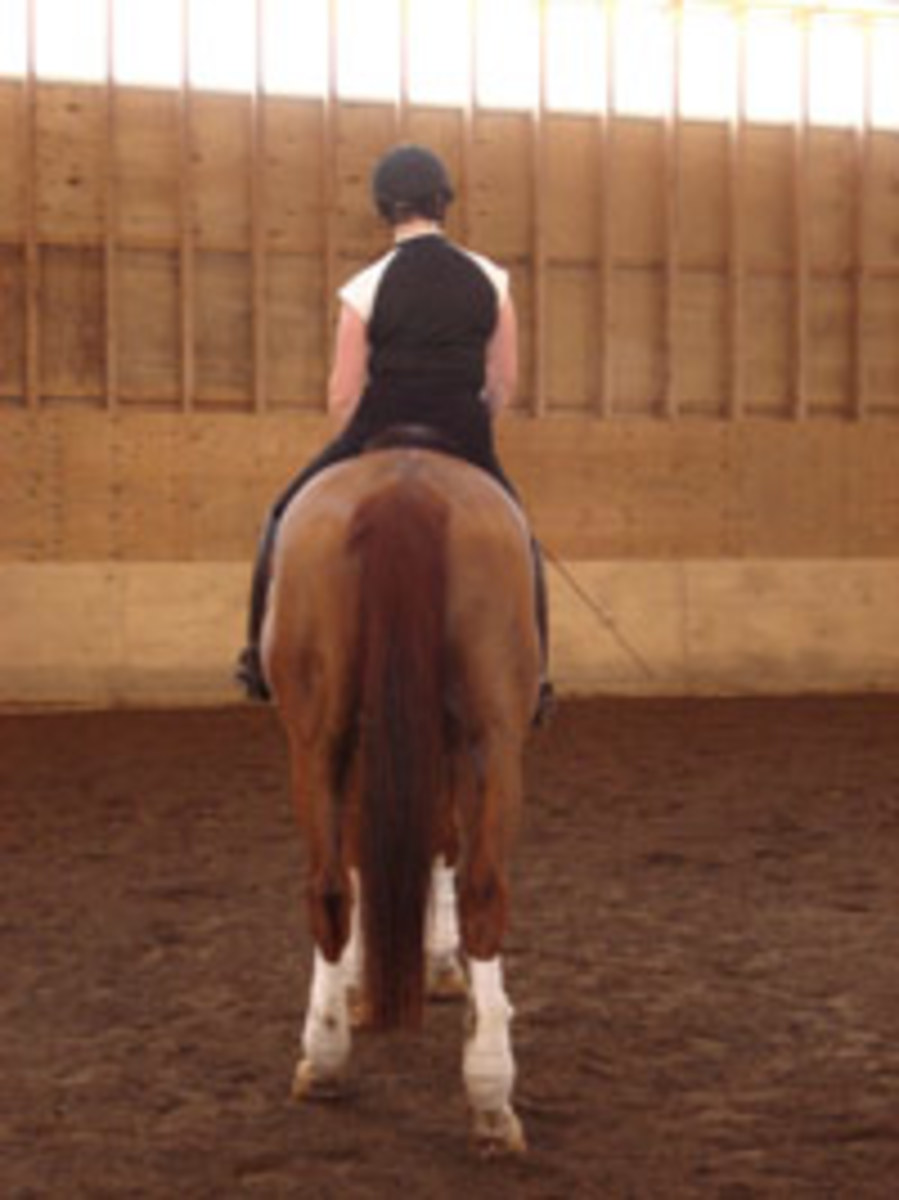
The rider in this photo shows a tendency to collapse to the left. She also shows a slight axial rotation with her left shoulder falling back, and right shoulder somewhat forward.
After observing Nancy ride, further flexibility testing confirmed that she was very tight in the ribs, especially on her left side. Tightness in the ribs and relative lack of mobility in the hips is quite common especially among middle-aged and older riders, but I have seen it in younger riders, as well.
Solution
Nancy and I did some body awareness and alignment work seated on an exercise ball and against a wall, so she could get a better sense of what straight felt like.
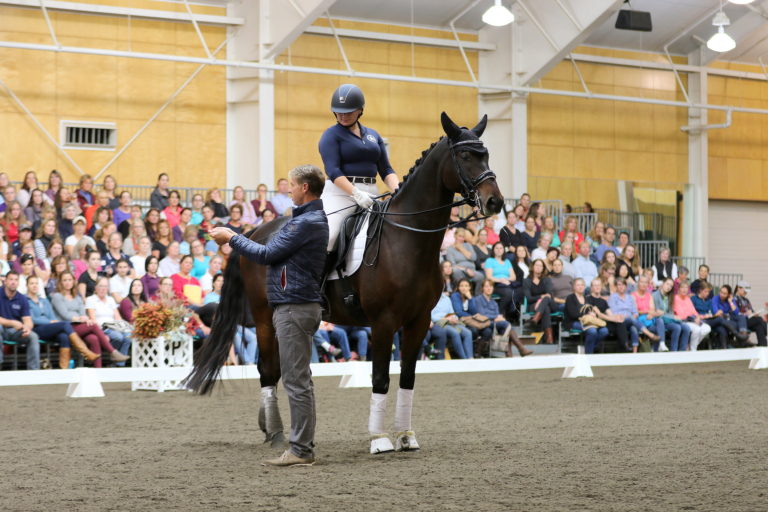
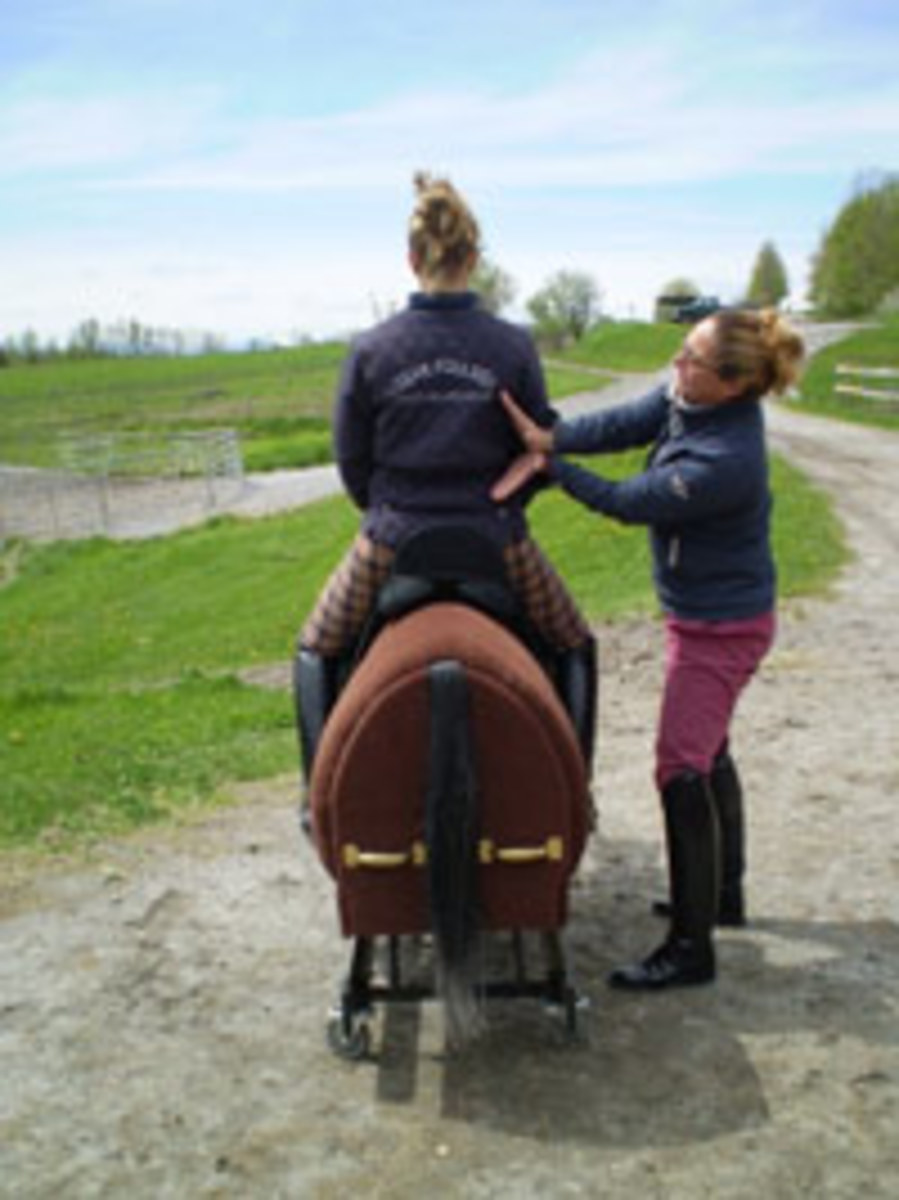
A horse simulator, or saddle rack, could also be used–especially to reinforce the ability to maintain the “new straight” as motion is introduced. Dressage trainer Ruth Hogan Poulsen has a strong emphasis on posture and muscle memory in her teaching and is pictured in this photo working with a student. Ground-based or work on simulator has the advantage of putting the rider at a height the instructor can reach to assist with positioning. It also makes it easier to work on your position when you can’t get to the barn.
The next step was to do some extended stretching through the ribcage area. I was working with Nancy at a Lisa Wilcox clinic, so we stretched in between her lessons each day to help unlock the tightness on her left side. While she was able to straighten up somewhat through the clinic, she did tend to revert to a left-collapsed position as she fatigued toward the end of her ride. She will also be doing some work to strengthen her obliques laterally and rotationally, so she has the stamina to correct and maintain alignment through her ride.
Because she naturally collapses left, even when standing on the ground, she may always be aware of correcting this tendency as she rides. However, once she has more control of her spine and shoulder placement and improved mobility in her hip/waist area, it will get easier for her to approximate true symmetry and achieve much clearer and more equal lateral bending aids–especially through her seat bone pressure.
Exercises
Daily stretching of problem areas is recommended. The tighter you are, the longer you should spend in the stretch on a regular basis to allow the ligament ends of your muscles and fascial tissue to untighten. Quick stretches really only reach muscle tissue at a superficial and temporary level. However, I do recommend quick stretches before riding to both warm up the area and to unblock tight areas before you get in the saddle. There is no sense taking the posture you had at the office into your ride.
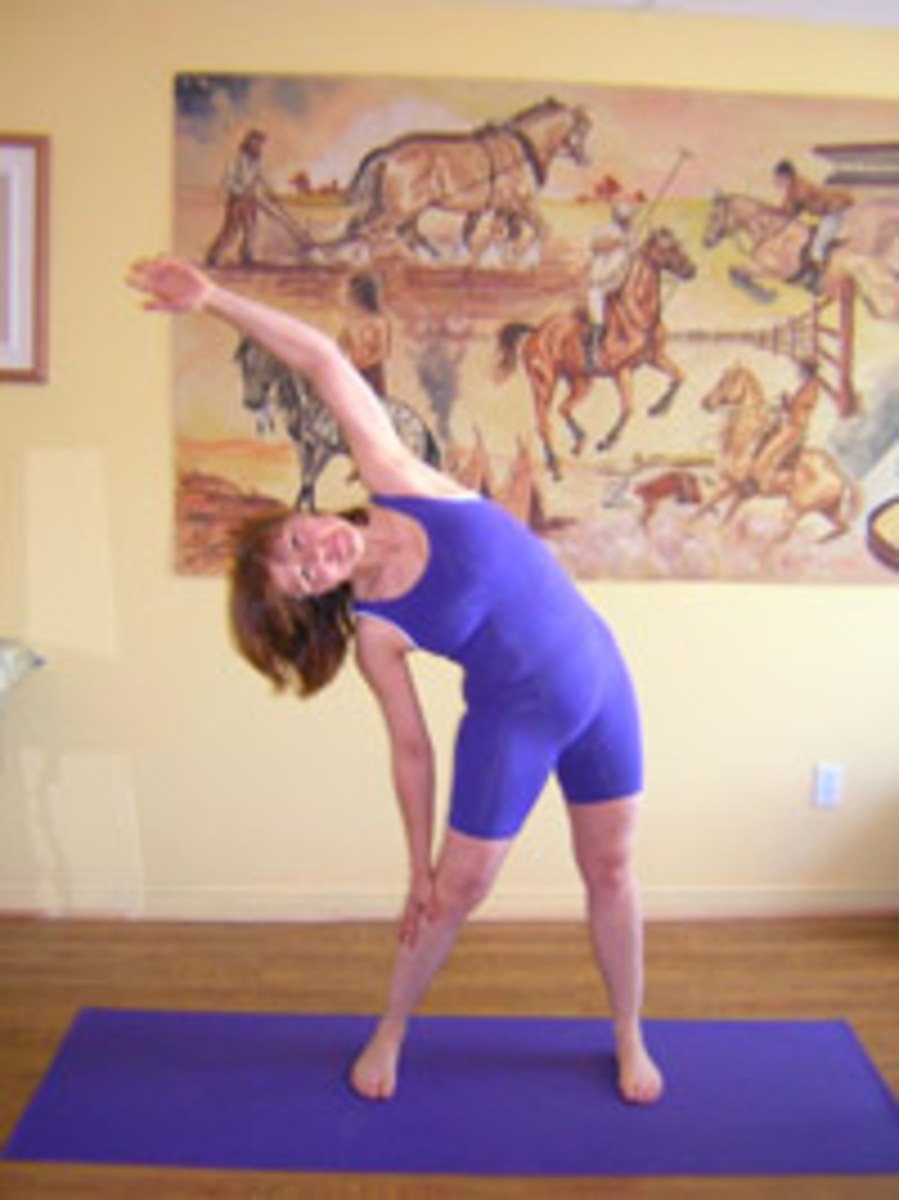
Two simple exercises that help lateral alignment are the side bend stretch and a weighted side bend. It is very important in both exercises to maintain lateral alignment, and to avoid leaning back or forward unless deliberately incorporating a rotational movement.
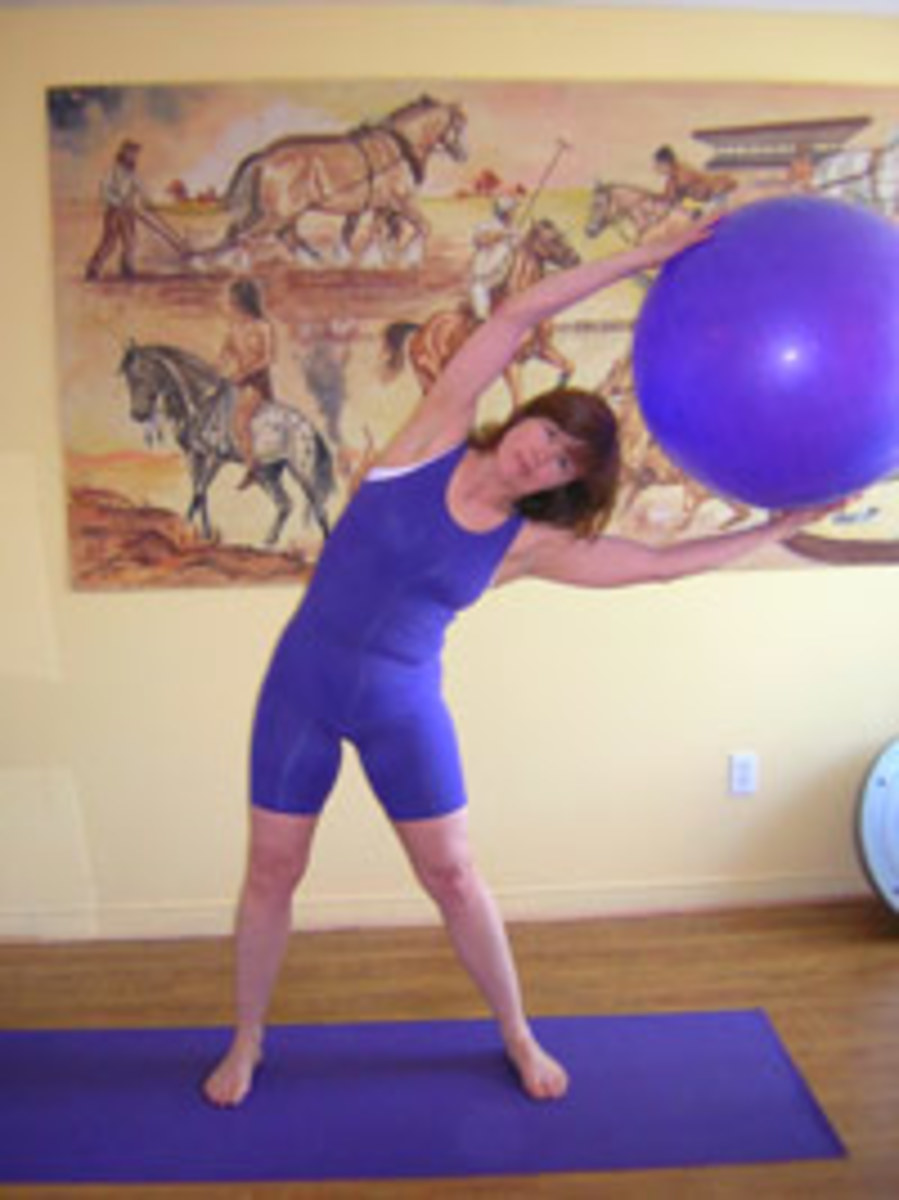
1. Side Bend Stretch: Start with your feet a little wider than shoulder-width. Stretch one arm straight up toward the ceiling and bend over to the side as far as you can go without compromising true alignment of your body. You should feel your rib cage on the stretching side expand and muscles in your waist and upper hip stretching. Do not bounce. Breathing deeply, gradually increase your stretch allowing your upper body weight to naturally pull you deeper into the stretch as you reach your fingers as far away from you as possible. If you have done an extensive stretch, you may need to use your other arm to help raise your torso again to avoid strain on the muscles you have just stretched.
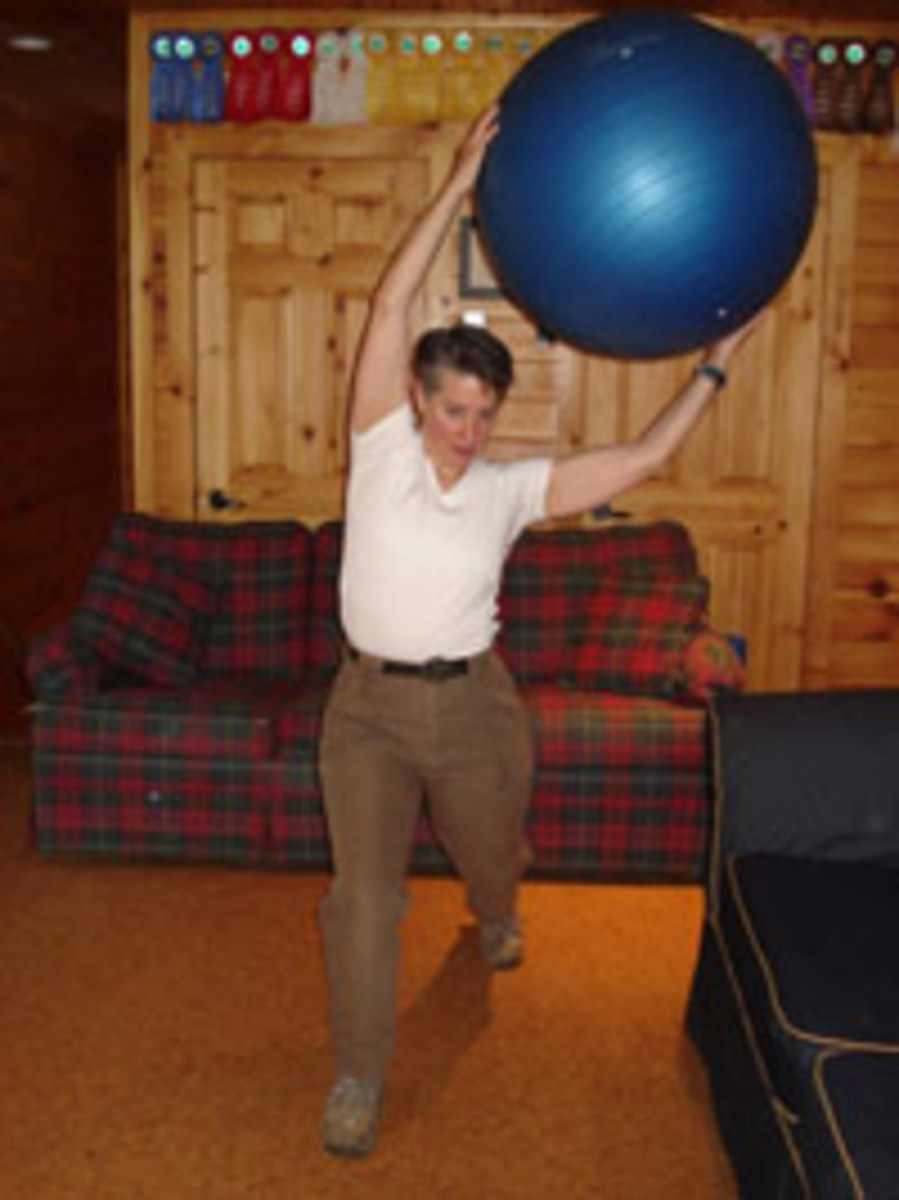
1. Weighted Side Bend: Tip over only as far as you can pull your body straight up again without strain. You should be able to perform 20 to 30 repetitions in each direction and can even introduce a rotation to the movement to improve your control over shoulder position. In one of the photos, my client is showing a variation of this exercise with a walking forward lunge to further challenge her stability and engage her core and hip stabilizers. You may use light objects, such as an exercise ball or a shoe, or heavier weights, such as a medicine ball or other weighted object.
Heather Sansom owns Equifitt.com Equestrian Fitness, offering personalized coaching through clinics and convenient online coaching available anywhere. She also offers a free monthly fittips newsletter and new e-books, Complete Core Workout for Riders and Handy Stretching Guide for Riders, at Equifitt.com.