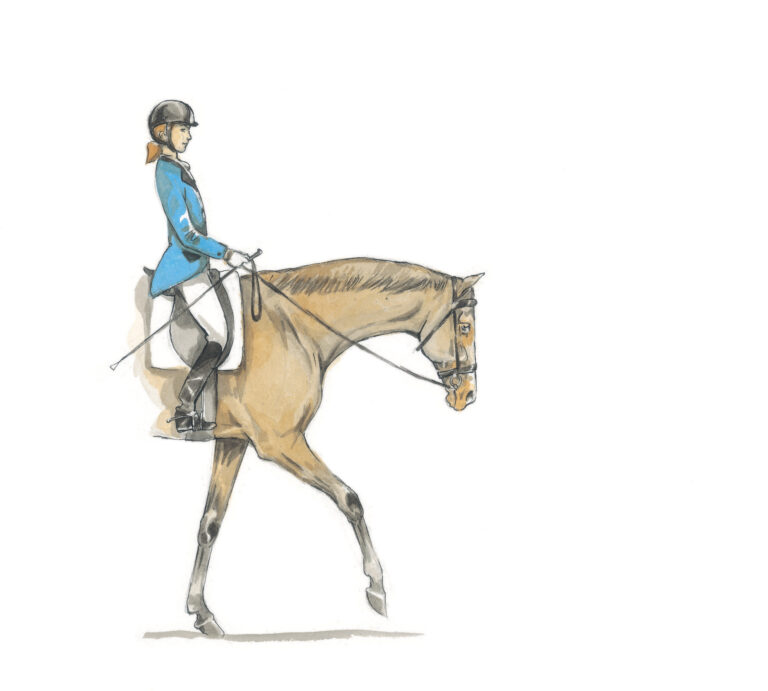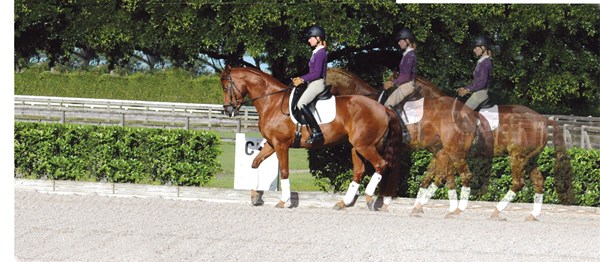
The rein-back is a two-beat diagonal movement similar to the two-beat trot but without suspension. The horse’s legs step back one diagonal pair at a time. The rein-back has been used by horsemen throughout history to maneuver in battle, herd cattle and work farmers’ fields. For the dressage horse, the rein-back is a valuable training tool when performed correctly. It helps to raise the horse’s back and lower his croup, encouraging him to place more weight on his hind legs.
The English word “rein-back” implies that the rider should use the reins to go backward. In other languages, it is referred to as the “backward walk.” This is a clearer interpretation, suggesting that the feel of forward has a place in the rein-back. Still, it is not completely clear. Think of the rein-back as a forward movement in which the engaged hind legs take the front legs backward instead of the shoulders taking the hind legs back. Likewise, when we walk forward, it is the engaged hind legs that take the front legs forward rather than the front legs pulling the hind legs forward. The horse who thinks by nature with his front legs learns awareness of his hind legs. The rein-back is a precursor of the highest forms of collection, such as the canter pirouette and piaffe. This article describes the correct rein-back, gives the rider’s aids and tells how to prepare the horse for the movement.
The Basic Rein-Back
Teaching the rein-back should be started early. It is slow, repetitive work. Let us start with the basic rein-back performed on a straight line, focusing on keeping the tempo and contact steady and regular.
The rein-back always begins from a square, balanced halt. To ride a halt—or any downward transition—always prepare with half halts. As your horse halts, he should be square with at least his front legs before attempting a rein-back. If one hind leg is out behind, ask him to step up with that leg, using an aid from your corresponding leg. In a correct halt, you should have the feeling that you could easily ride forward again, that your horse is waiting for your aids and that he is between your legs, seat and hands. He must seek the contact with his head on the vertical. You know you have a balanced halt because you do not have a heavy (blocked) feeling in the reins, your horse does not raise his head or drop his back. He also does not have a high croup or wide hind legs. Do not use the rein-back to correct a bad halt. Instead, ride forward and try the halt again.
At halt, check that the flexion of your horse’s poll is accessible on both sides. As you do this, maintain equal weight in your stirrups and keep a self-supported upper body with a straight line from your ear to shoulder to hip to ankle. Stay stable and tall in your upper body and carrying your own weight. In the moments before the downward transition to halt—if you need to make a point with a horse that is just learning this—isolate your bicep when you close your hand so your hand stays toward the horse’s mouth and doesn’t bring the bit back on its bars. Immediately release. This will help arrest the horse without your hand coming back. This rein aid should be refined as the horse progresses until it is almost imperceptible to the observer. Your seat and leg aid will eventually be your dominate aid for placing weight on the hind legs. If you lean back and pull the reins in the transition to halt, you cause the horse to drop his back and land on his front legs. Engaged hind legs allow the rider to gently and promptly stop the front legs. From this halt, ask for the rein-back:
1. Apply a light lower-leg pressure a hand’s width behind the girth.
2. Wait for the horse to shift his movement forward. As this happens, lightly close your hands with on-and-off pressure (“breathing” hands) until he shifts his weight backward.
3. At this moment of yielding, the rider must grow vertically tall in the saddle to lighten the seat (think of jumping off a diving board) and soften the elbow and hand.
4. Each time the horse yields and takes a step back, sit tall with a light seat and have soft elbows and hands.
5. For competition dressage, the horse must take a precise number of steps back. To step back exactly three steps, the right front and left hind move back simultaneously, then the left front and right hind step back and then the right front and left hind step back again. The moment the left hind toe touches the ground, the horse needs to go forward. If you miss this moment, you will likely have four steps back.
6. To ask for the forward step, move your legs to their normal position and ride actively forward into receiving hands. Your core weight becomes heavier and slightly forward with the direction of movement.
Developing the correct feel for the rein-back does not come automatically for the rider or horse. If the horse has advanced to maturity in the collected work, the aids will be as described and nearly invisible. The correct rein-back aids start the process of creating a grouping of aids specifically for the highly collected movement such as canter pirouettes and piaffe. The horse needs to understand that the slight variations in aids within the highly collected movements relate to the same governing principal: the weight-bearing of the hind legs by means of the hind legs narrowing and engaging, the back rising, the croup lowering and the hind legs taking weight onto them as he seeks the contact with his head at the vertical. The horse’s understanding of the aids for the rein-back will directly affect other weight-bearing movements.
In the first attempts, without a ground person helping with the shoulder point, the horse may not understand. He is being asked to go forward and then restricted from going forward. This is not only frustrating for him, but as a flight animal, he feels claustrophobic. If he does respond correctly and takes a step back, reward him by ceasing the aid and praising him.
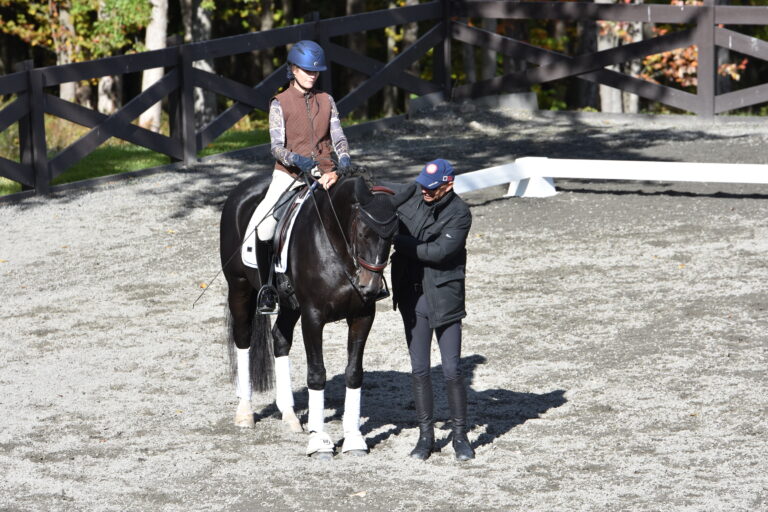
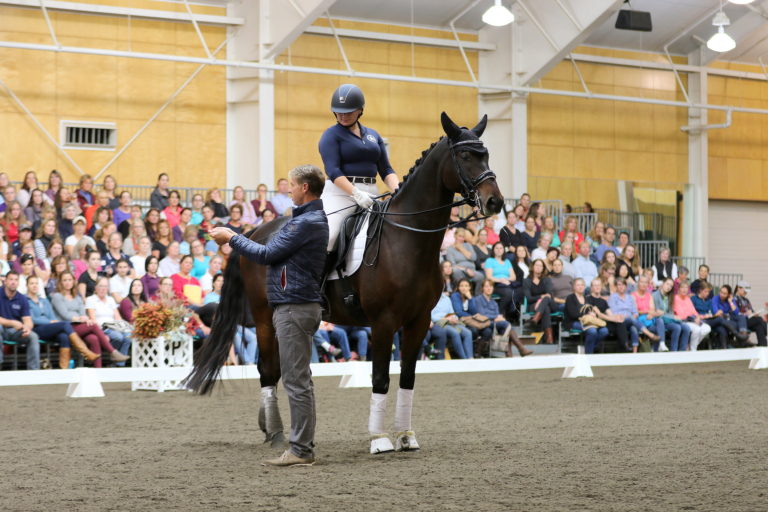
A person on the ground can facilitate the first attempts at the rein-back by standing at the horse’s shoulder and asking him to move back by using a thumb on the shoulder point. This is not always necessary, but it allows the horse to rein-back and be rewarded with the rider’s hands very light, building confidence. It also gives the rider time to practice the correct aids.
Take your time and remain correct. A horse that has been taught with too-strong aids (rider pulling and leaning back) and little preparation will always have a defensive attitude toward this movement. This is the main cause of undesirable habits in the rein-back, such as loss of the diagonal pairs, dragging the legs, raising the head and dropping the back with the croup high and wide, opening the mouth and refusing to rein-back, even rearing. The croup will lower more as the horse advances in his training.
After the horse understands and accepts the rein-back, two common problems can occur which need to be corrected. If the rein-back is not straight, two techniques can help. One is to displace the shoulder unit over the haunches and immediately ride forward and try again. The other is to stop the horse and ride one step of turn-on-the-forehand, ride forward and try again. These are corrections, not new aids, for the rein-back. Wait for the horse to make a mistake and then make a correction.
Another common problem on an advanced horse is that he anticipates the rein-back, especially during test riding, where he repeats a movement at the same place. For example, before you give the signal, the horse begins to step back. When this happens, he is no longer between the legs, seat and hands, and the quality will suffer. A tactful rider can make this appear presentable in the show ring, but is fully aware of the long-term implications. Separate the aids and work on them independently.
Two common variations to the aids for the rein-back include:
1. Placing the upper body forward to lighten the seat and
2. Closing the knees.
Both may produce a satisfactory rein-back, however, they do not lead us in the directions we wish to go, which is to keep the horse balanced between the seat, leg and hands. A rider who places her upper body forward in early attempts at rein-back may be justified to give the horse confidence, but care should be taken that her seat bones stay vertical and do not point backward. Remember that you don’t want your legs to come too far back. If the horse takes a step backward, you can reward him and he will start to get the idea without fear. Closing the knees or upper thighs is an aid used to stop the horse. Again, initially it may help the horse to get the idea, but in the end, our grouping of weight-bearing aids requires the horse to be completely in front of the legs and seat.
To test if your horse is between your seat, legs, and hand at halt, ask him to flex left and right. If he blocks, you know he is not between your seat, legs, and hand. So ride actively forward and remind him to stay forward of your seat, and legs. If the horse steps back when you ask him to flex at the pole and before you apply the rein-back aids, again ride him actively forward.
When you apply the rein back aids, and the horse blocks, you can again ride actively forward to further make clear that the application of the legs to rein-back has to take the horse forward first.
Another correction when the horse blocks is to ride one step of turn-on-the-forehand, and then again ask for one step of rein-back. The engaged hind leg will be in a better place to take weight, and the horse will become more aware of it.
Advanced Rein-Back Exercises
Ride the Schaukel (see-saw). The Schaukel further refines the coordination and gymnastics of the rein-back. From the halt, the horse steps back, walks forward and then steps back again. This is a true test of having the horse between your circle of aids. If the Schaukel asks for 4-4-6, the rider halts and reins back four steps, walks forward four steps and then immediately reins back six steps. The movement is finished with an immediate forward transition. The tempo and contact should not change from walk to rein-back to walk.
Ride the rein-back on a bent line. For the advanced horse, ride slight curved lines in rein-back to further supple him by slightly bending on the arc of a circle. The aids will be the same as for the rein-back but with slightly more use of your diagonal aids. This will further weight the inside hind leg, loosening the middle parts of the horse while increasing the carrying power of the inner hind leg. The horse needs to bend slightly and evenly throughout his body, otherwise, he escapes the weight-bearing. Slight bending lines will promote submission and further control of the hindquarters. With more control of the hindquarters, the rider can influence the straightness of the rein-back.
Care must be taken not to frustrate or frighten the horse when teaching the rein-back because this is the first attempt to bring the circle of aids closer together.
Take time to teach the preparation and different elements of the rein-back before performing it. The patience and clarity with which we teach the horse to rein-back will have a direct effect on his advancement to the higher collected movements of the Grand Prix.
Mary Ann Grant grew up under the tutelage of her parents, Chuck Grant, a dressage trainer and U.S. Dressage Federation (USDF) Hall of Fame inductee, and Carole Grant, a Pan American Games double gold medalist. She was also a working student for Bernie Traurig, Robert Dover and Johann Hinnemann in Germany. Mary Ann is a USDF gold medalist and has been chair of the Leukemia and Lymphoma Society “Equestrian of the Year” fundraising campaign for 10 years. She teaches and trains at Grant Farms in Wellington, Florida. Her website is grant-farms.com.


