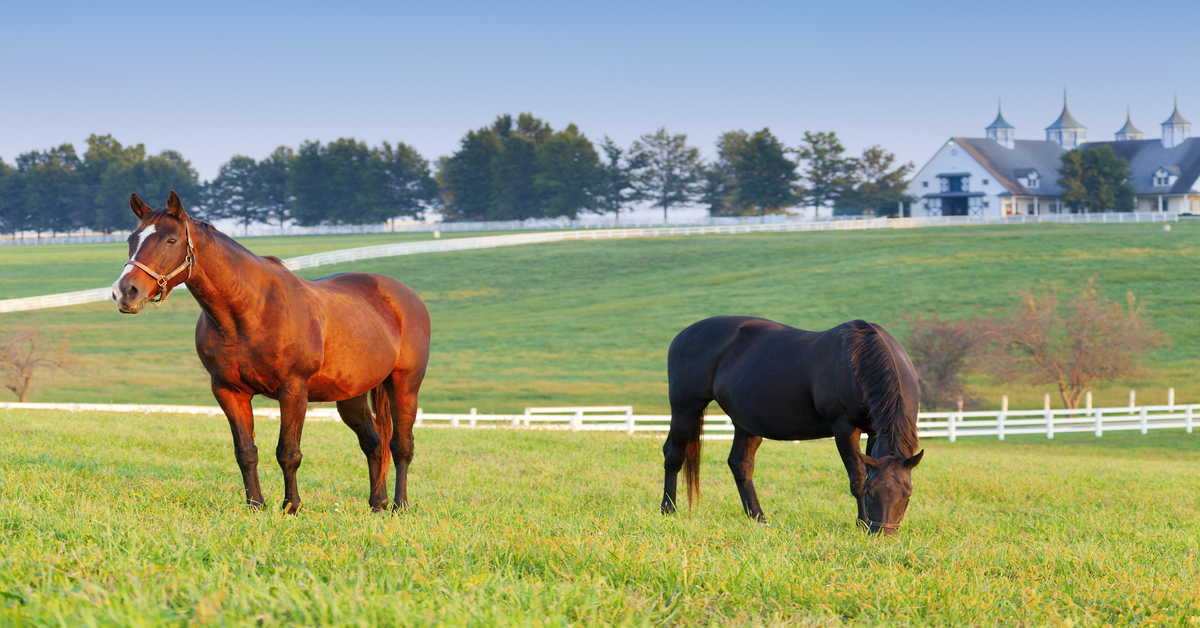
A horse fence is a vital part of any stable, whether it’s part of a professional boarding or training facility or located on your own property. These fences give your horses a safe space to run and graze, preventing them from running away and protecting them from predators.
However, your horse fence will only be effective if you design and build it properly. How do you do that? We’ve got everything you need to know about building a horse fence from start to finish.
How to Design Your Fence
Once you decide to put a horse fence on your property, you must first sit down and decide what type of fence you want. For example, do you want a post and rail fence or a wire fence? If you opt for wire fencing, will it be electric? Take some time to answer these questions, and then proceed to the following steps:
Map Your Property Lines
The design process for a horse fence starts in the same way most design projects do: with a piece of paper and a pencil. The first thing you need to do is decide where your fence will go. Take a look at your property and figure out exactly where you plan to have your fence. This will help you get a better picture of how much fencing you will need and how much prep work you’ll need to do.
Plan for Your Terrain
Once you’ve figured out where your fence will be, it’s time to inspect the area. Walk the soon-to-be fence line and take special care to notice the terrain. Is there a slope you’ll need to plan around? Trees or shrubs that need to be removed? Make a note of all these things so you can gather the right tools for proper installation.
Get Permits (If Necessary)
In some cases, you may need to get a permit from your city or county before you can build a new horse fence. This is most likely if you live in a densely populated area—even if you’re building a fence on your private property. For example, backyard “privacy fences” for residential homes typically require a permit if they are 6 feet or higher; front yard fences usually require a permit if they are taller than 3.5 feet. While most horse fencing stands only 5 feet high, it’s a good idea to check with your city before you start the building process. Also, property owners should contact the local underground service to mark any buried lines.
Steps for Building Your Wire Fence
You’ve made your plan, you’ve walked the land, you’ve cleared the project with the city … now what? Building a horse fence is actually a pretty simple process—all it takes is a little know-how and a lot of elbow grease! Just follow these steps:
Gather Your Tools
The first thing you need to do before building your horse fence (or any other project, for that matter) is make sure you have the right tools handy. For this project, you’ll need:
- Wire fencing
- Fence stretcher
- Wire splicer
- Post hole digger
- Concrete
- Spade
- Tamper
- Hammer
- Chain saw
- Rule or steel tape
- 200’ of string (minimum)
- Safety equipment (goggles, gloves, etc.)
Set Your Posts
Once you have your materials ready, head out to your pasture to begin setting up your fence posts. If there is any foliage in the way of your fence line, clear it away with the chainsaw. Then, use your post hole digger (both hydraulic and manual diggers are fine) to create a space for your post. The corner posts and bracing are the most important and serve as the foundation of any fence you install. These posts can be made of wood, steel, or a combination (typically a ratio of 5 to 1).
Make sure your post sits 24-36 inches below the ground (while still standing 60 inches tall above the ground) and reinforce it with concrete. Continue this process around your pasture, placing a post about every 8 to 12 feet. You can use the string to keep your fence line straight (simply attach it to the previous post and pull it taut to get a straight line).
Attach and Stretch Your Fence
When your last post is securely in place, you can move on to the next step: installing the fencing. Attach your wire fencing on the inside of one post, making sure that the smooth side faces the horses. Unroll the fencing so that it runs along the length of your fence, and then use your fence stretcher to pull the wires until they’re taut between each post, but take care not to over-stretch.
For additional security, you should secure (t-posts use clips) horizontal wires to your fence posts (crimping tool is only used when splicing two wires together). You can also add a board made of wood or PVC pipe along the top of your fence to make it more visible for the horses.
We must point out that this step is NOT a one-person job. Wire fencing is very heavy, and you’ll need at least one other person to help you unroll your fence without injury. So, grab a few of your buddies and make a day of it!
Should You Build the Fence Yourself or Hire an Installer?
We know what you’re thinking: “Is all this really worth it?” Obviously, having a horse fence is very important for the safety of your animals … but do you really have to do it yourself?
Of course not. There are professional installers who can take care of this project for you! Hiring a pro team can save you time and spare you the hard work—and it’s likely that their fence will hold up better against the elements, if you’re not usually the DIY type. However, professional fence installation can be very costly; the fact is that, if you have the skills and the know-how, building your own fence can save you much more money.
Whether you hire a professional or build your own fence, the most important thing is that the finished product is both safe and secure for your horses. If you make a decision with their well-being in mind, you’re sure to make the right choice for your land.
Dain Rakestraw is the Director of Marketing and Client Services at Red Brand, a line of premium agricultural fencing products known as the most recognized brand of agricultural fencing in the United States.


