

So you’re thinking about moving your horse up to Intermediaire II. Congratulations! It’s an exciting step. You’ve been schooling all the movements and systematically building up to this point. Everything is falling into place, so you’re completely dumbfounded when you go to put those counter changes of hand in half pass together and everything falls apart. Don’t be too hard on yourself. We’ve all been there.
Now I know I have this reputation for positive thinking to uphold … and, really, I don’t mean to be negative … but let’s think about this movement that we’ve so fondly nicknamed the canter zigzag. Twenty-four strides. Twenty-four chances to make a mistake. Ride any one stride poorly, and it’s sure to have a ripple effect throughout the rest of the movement. I’ve ridden zigzags where I’ve made a mistake on the third stride and feel like I’m playing catch-up for the rest of the movement. Kind of like the way a snowball gains momentum as it goes down a mountain.
And then you wonder, “Where’s the justice?” What kind of distorted law of equity grants a simple flying change at X the same 10 points as those 24 zigzag strides? Let’s take inventory of everything you’ll have to do to earn a mere six—a satisfactory score. First you’ll need to ride a decent half pass in both directions. The bend must be uniform from tail to poll, and your horse should bend easily in both directions. Plus, he needs to be aligned correctly. Specifically, his body should be parallel to the rail, but with his forehand ever so slightly in advance of his hindquarters. And while you’re concentrating on all this bend and angle stuff, keep in mind the quality of the canter. You’ll want an active canter with a clear three-beat rhythm rather than one that progressively degenerates into a flat four beats.
In between each of those half passes, you’re required to do a clean flying change: Even better if those changes are big, forward and uphill.
And don’t forget about geometry. Every one of those half passes should cover the same amount of ground so that the zigzag is equidistant from the centerline on both sides.
And—to top it all off—you have to count strides. Four to the left, eight to the right, eight back to the left and four to the right.
All that work for just a six. Can you believe it? Oh, you say you’d like a seven? Try covering more ground sideways or riding more expressive flying changes without losing any of those qualities that earned you the six.
What’s that? You say you’d like an eight, nine or 10? What hubris! Okay. Well, do everything that gave you a seven, and then collect your horse more. You know, collection… the loading of the hindlegs… the shifting of the center of gravity toward the haunches. That’s the bad news.
Now, here’s the good news. We’re gonna break down those 24 strides into details, and I’m going to walk you through it one step at a time. While learning the zigzag, you won’t have to eat the whole pie at once: You’ll digest it piece by piece so that it’s manageable.
Getting Ready to Get Ready
The preliminary exercises can be done months ahead of attempting an entire zigzag. You’ll simply be laying a solid foundation for the movement.
Exercise 1: The Half Pass. Check the quality of your half passes by riding travers in canter down the long side. Take care that your horse flexes at the poll to the inside, bends around your inside leg and travels on three tracks where the outside hind leg and the inside foreleg are lined up with each other. Make sure his front feet are pointed straight ahead as if he’s simply cantering down the long side on a single track.
When you can do a good travers on the wall, turn onto the diagonal. Imagine that the diagonal is just as solid as the wall and ride travers on the diagonal line. Your aids and the feeling from your horse should be the same as when you were on the rail. Check that his front feet and his ears are pointed straight toward the letter you’re aiming for: K, F, H or M. If you find that the position of his front feet has shifted and they’re aiming toward the corner or even toward A or C, you’ve lost the bend.
Exercise 2: The Turn Down Centerline. A correct turn will set you up for your first half pass. In preparation for the turn, practice collecting your horse as if you were going to canter on the spot. Do the turn itself in first position, where the inside hind leg steps ever so slightly to the inside of the inside foreleg. This allows you to be straight as well as collected. If you don’t love your turn, go back and do it as many times as necessary until you can do it easily. This is a very important detail that contributes to a well-executed zigzag.
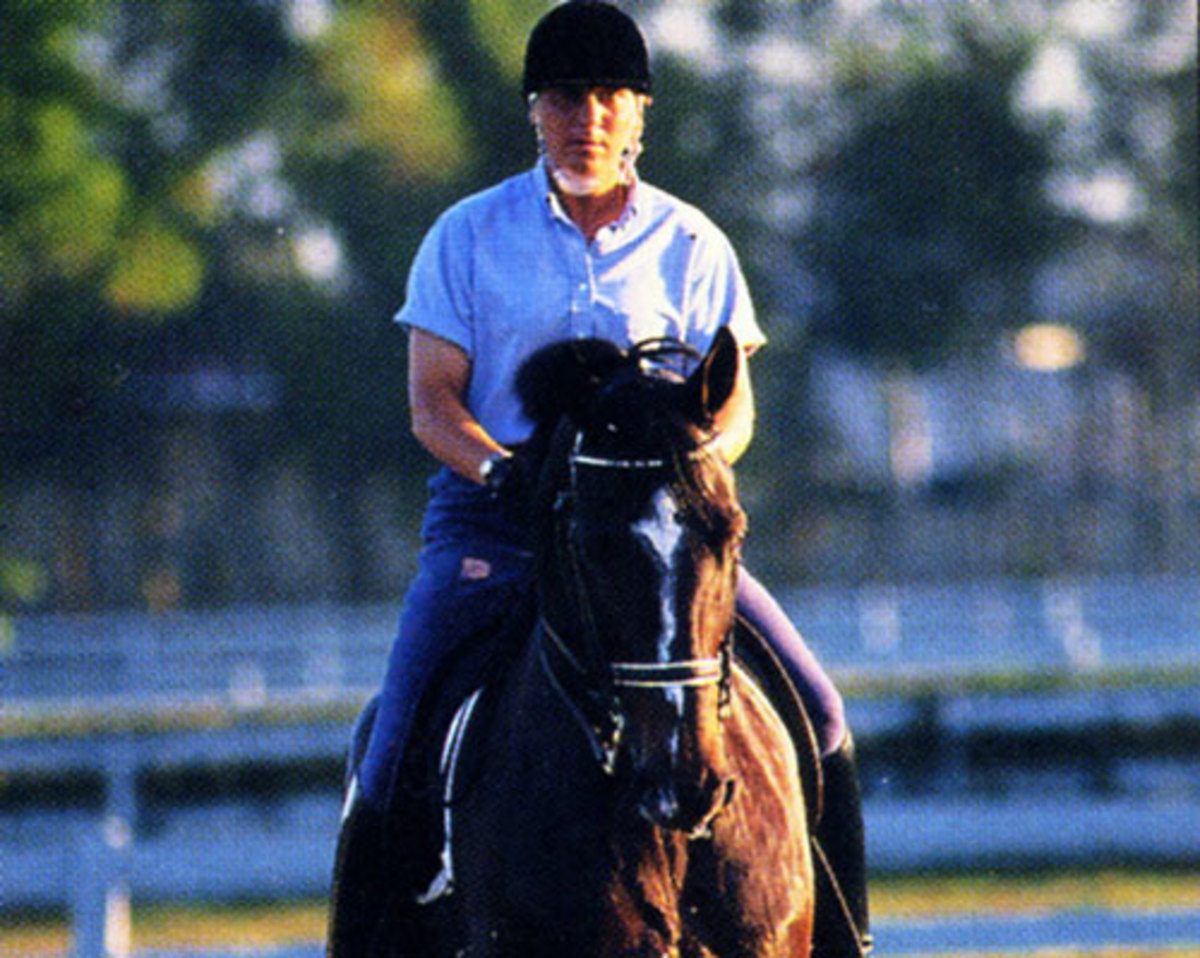
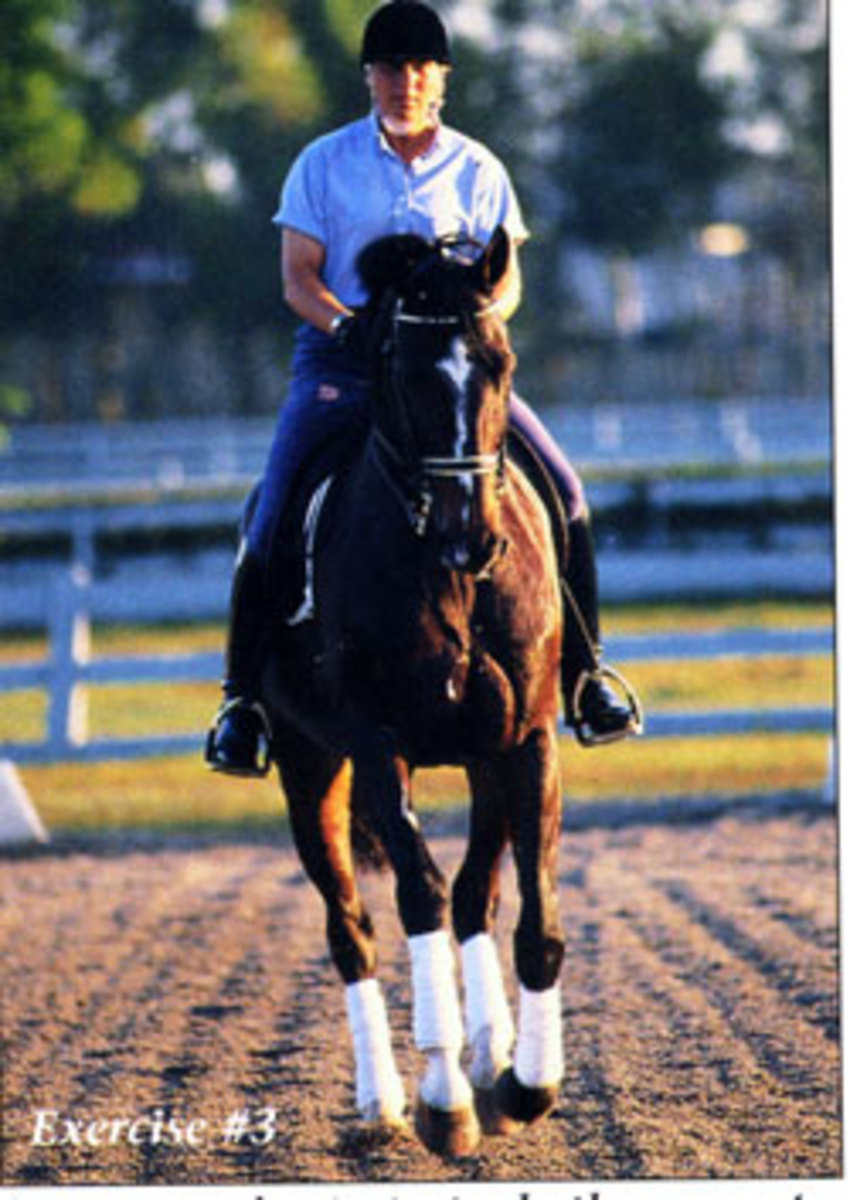
Exercise 3: The Shoulder-Fore on the Centerline. Canter the entire centerline in shoulder-fore (see photo below). Be sure you can do it on both leads and the horse doesn’t drift to the left or right of the centerline. This is a straightening and control-of-the-inside-hind-leg exercise. It ensures that your horse engages his inside hind, is straight, is between your aids and waits for you before stepping sideways. Anticipating sideways movement means that he’s taking over and is probably running through your inside leg. When that happens, chances are he’s unloading those hind legs, and you’ve lost collection.
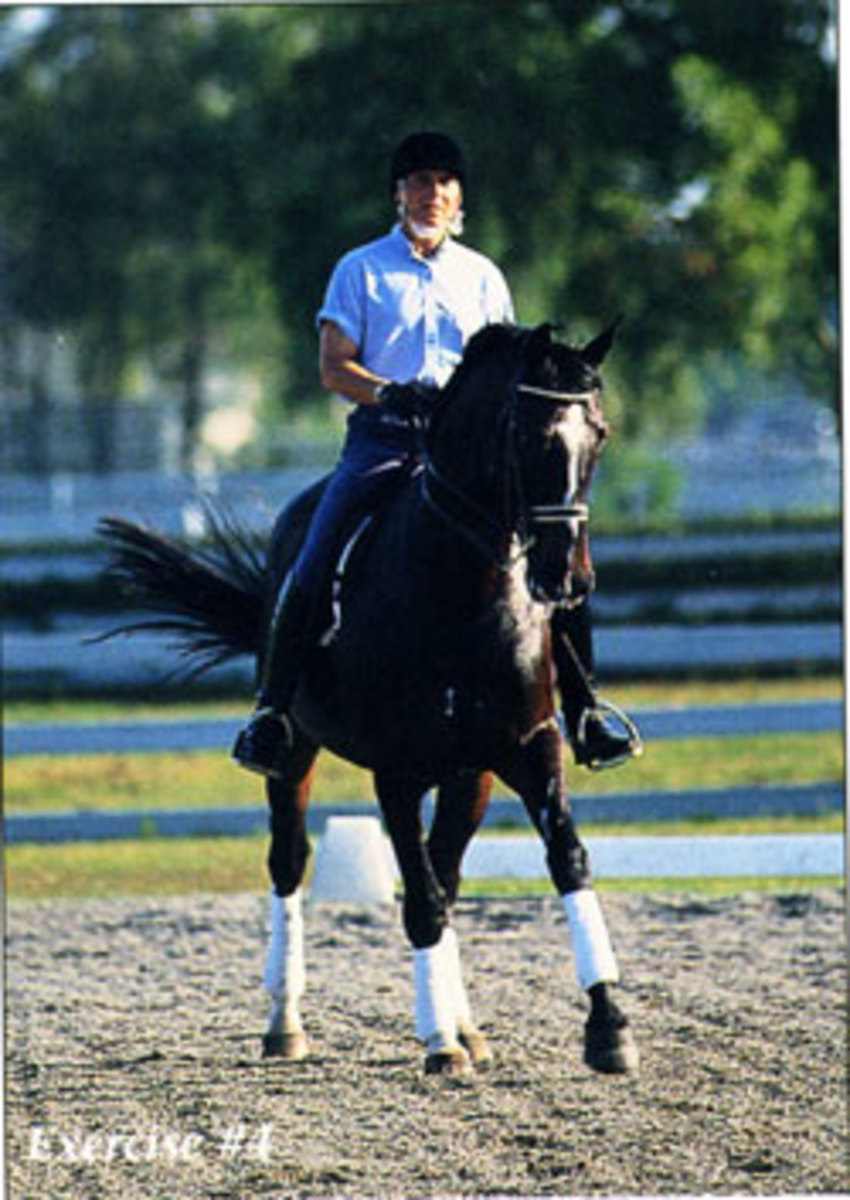
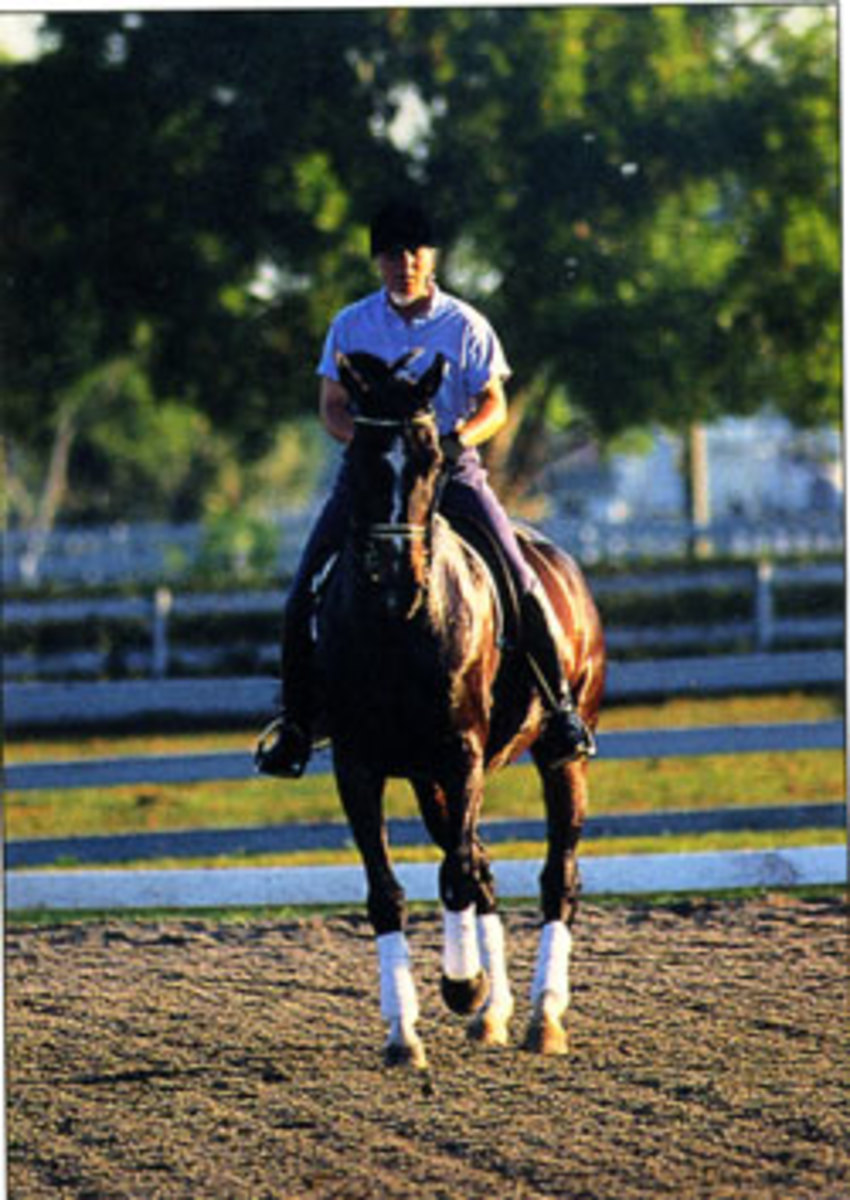
Exercise 4: The Half Pass to Travers. The purpose of this exercise is to make sure you have control of your horse’s inside hind leg as well as making you aware of your new inside leg. It gives you lots of time to get organized while working out your horse’s positioning and the application of your aids. And it’s helpful for the horse who likes to take over during the movement, as it makes him listen and wait for you to give the signals. Remember that this is simply a schooling exercise. The final zigzag won’t look anything like this.
The exercise has five parts, and you’ll want to be able to do it in both directions (see photos for Exercise 4 at the end of this section).
To begin, come down the centerline in left lead canter in first position. When you feel in control of the left hind leg, start a left half pass. Then, interrupt the half pass and canter straight forward in travers left. During this step you’ve stopped moving sideways toward the long side and are now headed toward the short side. The forehand is moving parallel to the long side and the horse is flexed and bent to the left. Think about your right leg here.
Next, keep the haunches over to the left, but straighten the horse’s body. Maintain the focus on your right leg: It should be in close contact with your horse’s side as it slides forward onto the girth. When you feel in control of the right hind leg, ask for the flying change and stay in right shoulder-fore parallel to the long side for several more strides. Then bend your horse to the right and start your half pass. As you’re able to do the exercise easily, start to gradually decrease the number of strides between the second and third step.
The Aids
Now let’s zero in on the half pass and flying change aids. Once you’ve completed the turn onto the centerline, take a moment to straighten your horse. Then, bend him and take him sideways by stepping down into the inside iron, pressing with your outside leg and bringing your outside fist toward the withers. Although all of your aids have a job, the predominant aids in the half pass are inside leg and outside rein. If you use your outside leg too strongly, you’ll risk pushing the hindquarters in advance and losing collection. Also, pressing with a strong outside leg can make your body weight shift to the outside. Instead, use the outside leg to initiate sideways movement and to help maintain the bend around the inside leg. Support the outside leg with the outside hand and sit in the direction of the movement. If you find yourself getting “left behind” and your body weight is over to the outside, visualize taking your outside seat bone and placing it in the middle of the saddle. This will help you get yourself centered and in balance.
Don’t worry about counting strides at this point. Just do a good half pass to the left and, after a few strides, change your focus from your left leg to your right leg. Your right leg, which will become the new inside leg, starts to slide forward on the girth as you begin to straighten your horse. Make sure you don’t take this leg off. Keep it in close contact with his side as it slides forward. You’ll have the feeling of riding from this new inside leg to your new outside rein. The pressure of the inside leg on the girth will be used both to make the flying change big and expressive as well as being used in the very next stride of a zigzag for the bend of the half pass.
As a schooling exercise, ride several strides that are straight ahead and parallel to the long side. Be sure that you feel in control of the right hind leg and there is no sensation of the horse leaning on or “falling through” your right leg.
When you’re ready to change, maintain control of the right hind with a firm right leg on the girth so that the change is forward, straight and engaged. Keeping that right leg firmly in place, give the aid for the change by bringing the left leg behind the girth in a windshield wiper-like action. At that same moment, quickly close your left hand in a fist as if you’re snatching a fly out of the air and soften the right hand forward. The horse should land with his body straight and parallel to the long side. If you get overly anxious and bend your horse during the change, he will suffer by being short, on the forehand or even late behind.
Once you’ve done your straight flying change, ride a few strides of right shoulder-fore as a control-of-the-right-hind-leg exercise. As soon as you know your horse is waiting and listening to your inside leg, bend him around your right leg and take him sideways with your outside leg by placing your left fist toward the withers. Think about placing your left seat bone in the middle of the saddle and stepping down into the right iron.
After a few strides to the right, straighten your horse in preparation for the change back to the left. Transfer your focus into your left leg as it slides forward. Once your horse is straight, ask for the change by pressing your left leg on the girth as your right leg swings behind the girth. At that moment, close your right hand in a fist and soften your left hand forward. For schooling purposes, ride shoulder-fore until you feel in control of the left hind and your horse doesn’t anticipate going sideways.
Counting
Now you need to learn how to count. I find the easiest way is to think of the first three half passes in the zigzag as 2–6–6 rather than 4–8–8. The 2–6–6 steps are very bent and sideways. On stride 3 of the first half pass and stride 7 of the second and third half passes, you’ll begin to straighten your horse. By strides 4 and 8, your horse should be absolutely straight, with his body parallel to the long side. It is during this step that you give the aid for the flying change. It takes a moment for the horse to compute and react to the aids so he’ll change on the first step of each of the next “zags.” The horse’s body should remain straight and parallel to the rail during the flying change. Wait until the second stride to bend him and take him sideways.
Learn how to count out loud in a regular rhythm while saying “1–2– straight–change, 1–2–3–4–5–6–straight–change, 1–2–3–4–5–6–straight–change, 1–2–3–4.” Repeat this over and over until counting becomes automatic. Pretty soon the words “straight” and “change” will cue your body to do the right thing automatically. “Straight” will trigger you to focus on your new inside leg, and “change” will signal you to give the actual aid for the flying change.
You can even practice cantering this zigzag on foot while counting out loud. It saves a lot of wear and tear on your horse while you’re learning the thought process involved in counting.
You’ll also want to learn how to feel the position of the horse’s body so that you can keep your eyes fixed on C. Looking at C will help you ride equidistant from both sides of the centerline.
Finishing Touches
Congratulations. You’ve fit the entire movement in before running out of arena, and you counted every stride. Your half-passes and changes were commendable so you let out a big sigh of relief and think, Phew! We’re done. Right? Wrong. Make sure you start by straightening your horse after the turn at A and finish by cantering straight forward on the centerline before riding an organized flying change at G.
Now you’re done, and the finished product looks polished from the first turn onto the centerline to that final flying change. When dissected into parts, the zigzag doesn’t seem so overwhelming. Just break it down into details and take yourself through it one piece at a time. When organized and well executed, it flows quite beautifully. So, dance with your partner and go for those eights, nines and 10s!
This article was first published in the July 1995 issue of Dressage Today. Accomplished dressage trainer, competitor and coach Jane Savoie offers a straightforward yet lighthearted look at the difficulty of the canter zigzag. She discusses the various steps it takes to effectively ride the movement, while providing insight and exercises to help riders achieve success.
The late Jane Savoie was an accomplished dressage trainer, competitor and coach. She is also a well-known writer and speaker, covering topics in sports psychology and dressage. Special thanks to Sue Blinks for her considerable contribution to this article.