Dressage trainers often work with students in other equestrian sport disciplines who want to further develop their riding skills. Eventers wanting to improve their dressage scores or hunter and jumper riders looking to level up their flatwork connect with a respected trainer to help coach them through the intricacies of dressage. FEI World Equestrian Games™ competitor Brett Parbery has worked with Grand Prix rider Silva Martin as well as her husband, four-time Olympian and five-star eventer Boyd Martin, for several years.
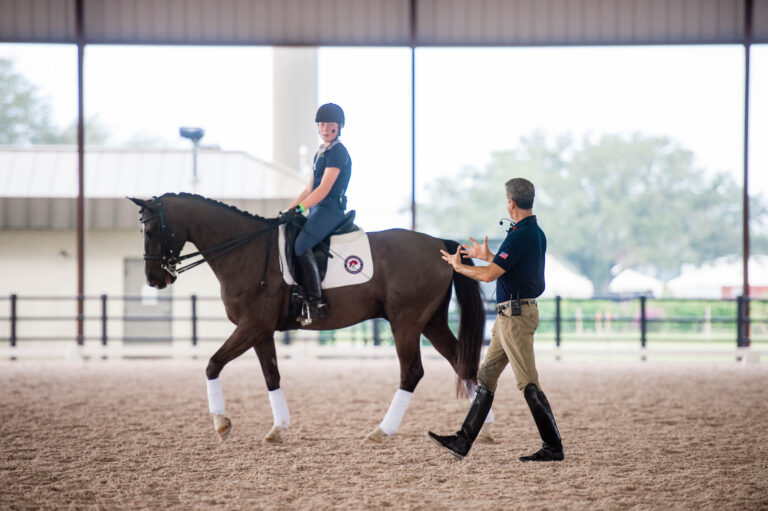
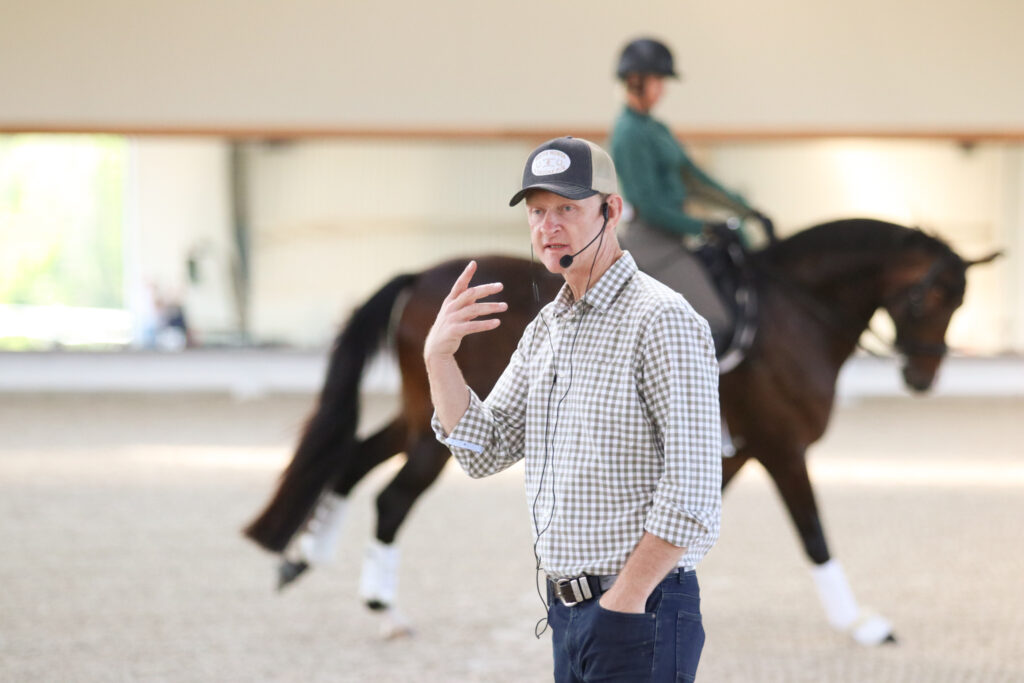
Parbery traveled from his home base in Australia to Pennsylvania last summer to serve as a clinician at the Martin’s Windurra Camp. He shared a wealth of knowledge about dressage with a group of eventing clinic participants. We sat in on a Starter/Beginner Novice level lesson as Parbery helped riders work on improving connection with their horses.
Parbery began the lesson by explaining how dressage is predominant across all three phases of eventing. Along with the dressage phase, he says the cross-country and jumping phases are essentially dressage over fences. Parbery further noted that three concepts apply across all three phases: control of the posture, control of the line and control of the pace.
Control of the Posture
“Control of the posture involves the connection and how the horse yields to the connection from the bit and draws his neck a little forward,” Parbery explained. “The posture for jumping and cross country is going to be longer, and the posture for dressage is going to be rounder.”
When a horse yields to the connection, Parbery said it isn’t because a rider seesaws the bit or is rough with the connection. Instead, the rider is very patient and encourages the horse to relax his neck into a rounder frame. With the horse being on the bit, that rounder frame relaxes the muscle structure throughout his whole topline. Also, Parbery noted that a rider needs to get the whole horse traveling uphill and be sure to incorporate the horse’s back to have the horse’s poll as the highest point.
The second half of the connection equation involves the horse drawing, or stretching, his neck forward a minimal amount. “It might only be a quarter of an inch or just a slight gesture,” Parbery said. “A horse pulling his neck backwards tightens the back muscles, while a horse drawing his neck forwards relaxes the back muscles.”
Parbery continued that “the ultimate goal for dressage is to have the horse yielding to the connection, relaxing rounder and, with a gesture of drawing to the contact, going onto the bit.”
Control of the Line
Parbery explained control of the line includes staying on straight lines, circles, diagonals and centerline for dressage and the line of jumps for cross country and jumping.
“Line control is about the rider being able to control the horse’s shoulders,” Parbery said. “It’s like turning a car from the front wheels.”
When a horse is following a line, Parbery noted the horse’s inside hind leg follows the line of the rider’s inside leg. He added that guiding the horse’s shoulders onto lines ties into dressage lateral movements such as shoulder-fore, shoulder-in and half-pass, which involve shoulder control and placing the horse’s hindquarters. The same is true for jumping where you guide the horse’s shoulders onto lines as you navigate a series of jumps and turns.
He noted a common rider mistake is pulling a horse’s nose to turn him rather than turning his shoulders. He wanted riders to understand the difference between flexing (not pulling) horses at their poll and turning horses correctly.
“Flexion and bend refer to shaping the horse on a curving line, while the turning function comes from the horse’s shoulders. Flexion aids shouldn’t be used to turn. The shoulders and front feet turn the horse—not their nose. To turn correctly, the rider must direct the horse’s shoulders,” Parbery said. “The rider’s turning aids are their own shoulders and torso, combined with the space between the reins. Where you look is not the primary turning aid, although it is important to know where you are going. The combination of a subtle gesture with the rider’s shoulders and torso to give a body weight aid, together with the reins on either side of the horses neck to guide the shoulders. Once you separate turning aids from the flexion aids, you can then have your horse balanced and traveling on your line, while asking for varying degrees of flexion.”
Parbery suggests that it is also only when you have mastered shoulder control, that you can achieve true and reliable lateral bend and suppleness.
“As you go progress through the levels and start introducing lateral exercises, the horses will find things much easier to understand,” Parbery said. “All lateral exercises are exercises of shoulder positioning first with the placement of quarters second—not the other way around.”
Another common rider mistake is not using enough outside rein when turning. In this scenario, Parbery said the horse would look outwards and counterflex in the turn. He pointed out that a rider should be able to flex the horse to the inside whilst turning the horse from his shoulders—not turning with the inside rein.
Control of the Pace
Control of the pace involves being able to adjust the horse’s gaits, and the concept applies across each of the phases of eventing. Parbery made a comparison to an adjustability exercise that he saw in jumping lessons with show jumper and fellow Windurra Camp clinician Peter Wylde.
“In Peter’s jumping lesson, he’ll say there’s a line and go jump it in six strides, jump it in seven and jump it in eight by adjusting the canter,” Parbery said. “We actually name the canters in dressage. Those canters would be working canter, collected canter and pirouette canter. In dressage, there are five canters for most horses when you add in medium canter and extended canter.”
Beginning the Lesson
Riders in the lesson wanted to work on connection and bending. Parbery explained that both concepts use control of the posture with the horses yielding to pressure and drawing outward, and control of the line comes into play with bending. He added that bending involves flexion at the horse’s poll as well as bending the horse’s body from poll to tail.
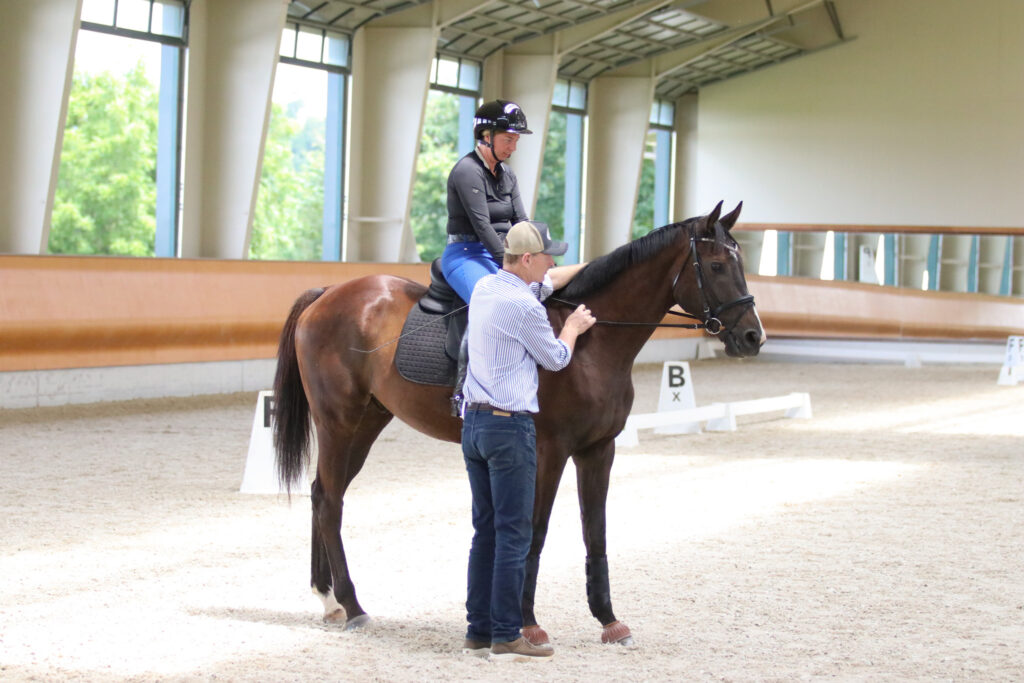
After having the riders warm up their horses on their own, Parbery had the riders halt and apply contact to see what the horses’ attitudes were toward going on the bit. If the horses rounded nicely with a relaxed topline, then they were essentially going on the bit and understood “the answer to the question.” But Parbery noted that many horses tend to resist the bit and pull upwards or cross their jaws, showing they don’t have a clear understanding of how to yield.
When the horses gave a fraction, the riders were instructed to release the pressure from their rein aids but not throw away the contact. The riders needed to keep their hands elastic but steady. However, if the horses didn’t give to the pressure, the riders were supposed to maintain the same pressure until the horses yielded.
“When your horse feels the contact and he yields to it, he gets the contact from himself. That’s what we are after,” Parbery said. “He’s created the comfort—that pressure and release—that he will then hopefully look for over time.”
He offered a further explanation with the analogy of a horse being like two people in a horse suit. The back person starts off with pushing the front person forward (control of the pace). And then as things come together, the back person starts “carrying” the front person more, helping them get lighter on their feet. The front person is steering with the horse’s shoulders (control of the line), and the horse suit neck is a fluffy extension that isn’t involved in directing the movement.
“Horses tend to lean their necks forward to pull themselves along by their shoulders,” Parbery said. “When we ask them to yield, they actually can’t lean forward and pull themselves along with their shoulders, instead they’ve got to use their hind end.”
He added that the goal is for horses to relax and carry their own necks rather than leaning on the riders to carry it for them. Also, Parbery cautioned to not see-saw the bit back and forth in horses’ mouths to try to get them to yield, which will only disconnect the horses and not show them where the yielding point is. Instead, he said riders should take up the connection and keep their hands steady to ask the horse to yield to the bit. If the horse continues to resist after four or five seconds, then the riders should give little vibrations through the reins to the bit to ask them to yield.
Chipping Away to Achieve Contact
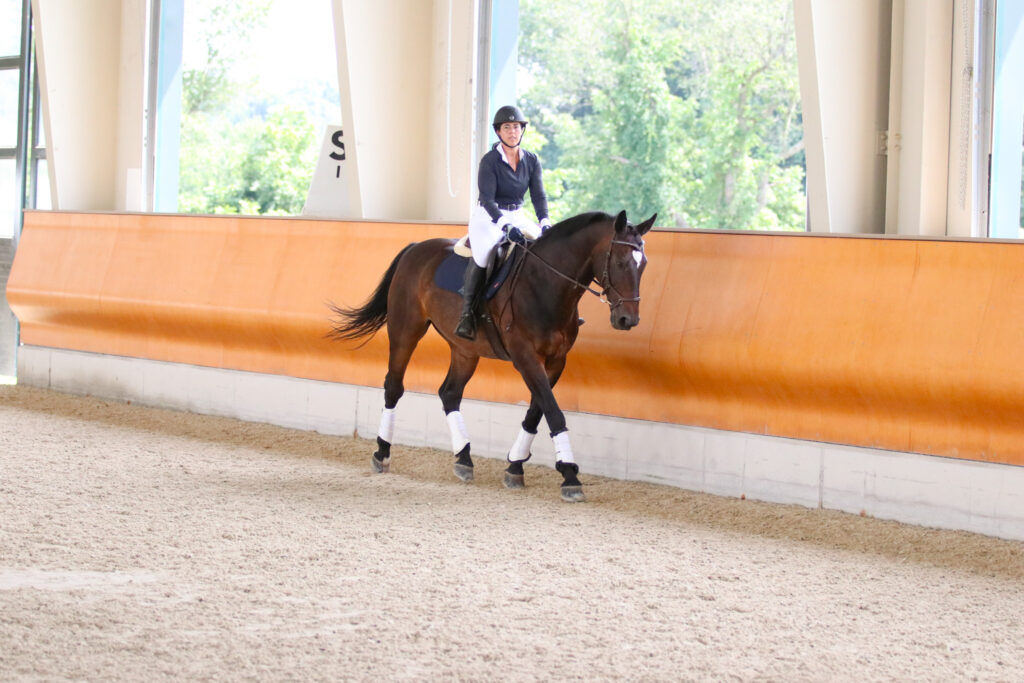
Once riders got the desired response of yielding to the bit at the halt, they worked on getting the same response while walking and trotting. Parbery advised riders to keep reminding their horses to go on the bit versus against it.
“Every time you feel him yield and give to you, reward him,” Parbery said. “Don’t keep it a secret. Really let them know.”
If the horses were struggling with going on the bit at the walk or trot, Parbery advised “changing the subject” by halting and showing the horse again in simple terms how to yield to the pressure.
“You just need to show him until he starts connecting the dots,” he said. “Your job is to be consistent with the message.”
Remember to Control the Horse’s Shoulders
As the horses started to understand the concept of going on the bit, Parbery added that riders need to guide the horses’ shoulders with their turning aids.
“As they are relaxing and starting to go on the bit, that’s our cue to make sure we guide the shoulders,” he said. “We are not pulling that bit off center.”
When horses wanted to fall to the inside with their shoulders, Parbery advised riders to correct the flexion and bend to the inside with leg and rein aids to help the horses hold up their shoulders up naturally. This tied in to control of the line.
“It all starts with you setting a line from your inside leg,” he said. “If you are going to the right, the lower half of your leg on the right should set the line for their hind leg to follow. You should be able to flex and bend to the inside of that line.”
Parbery added that horses should always look to the inside of the arena, unless you are specifically asking them to counter-bend.
Fine-tuning Transitions
The pairs worked on the going on the bit at the canter, then focused on trot-walk transitions and transitions within the trot. When preparing to go from trot to walk, Parbery said to think about your horse taking smaller steps before the transition to help his balance.
“Train that preparation so he doesn’t fall on the forehand,” he advised.
If horses dropped behind the bit during a trot-walk transition, Parbery suggested working on transitions within the trot—going forward and coming back—so that the horse learns that everything doesn’t stop with a downward transition.
“Train him to trot with variations of the pace for better downward transitions,” he said.
Another added benefit of the transitions within the trot is creating more energy in a slower horse. After a few transitions, the working trot will be more active.
Parbery finished the lesson with a recap of what the pairs can work on to improve their connection and bending. They also were able to use the concept of controlling the posture, line and pace throughout their other lessons at Windurra Camp to fine-tune their dressage and jumping skills.
More Information
Find out more about Brett Parbery here and his Performance Riders program here.