
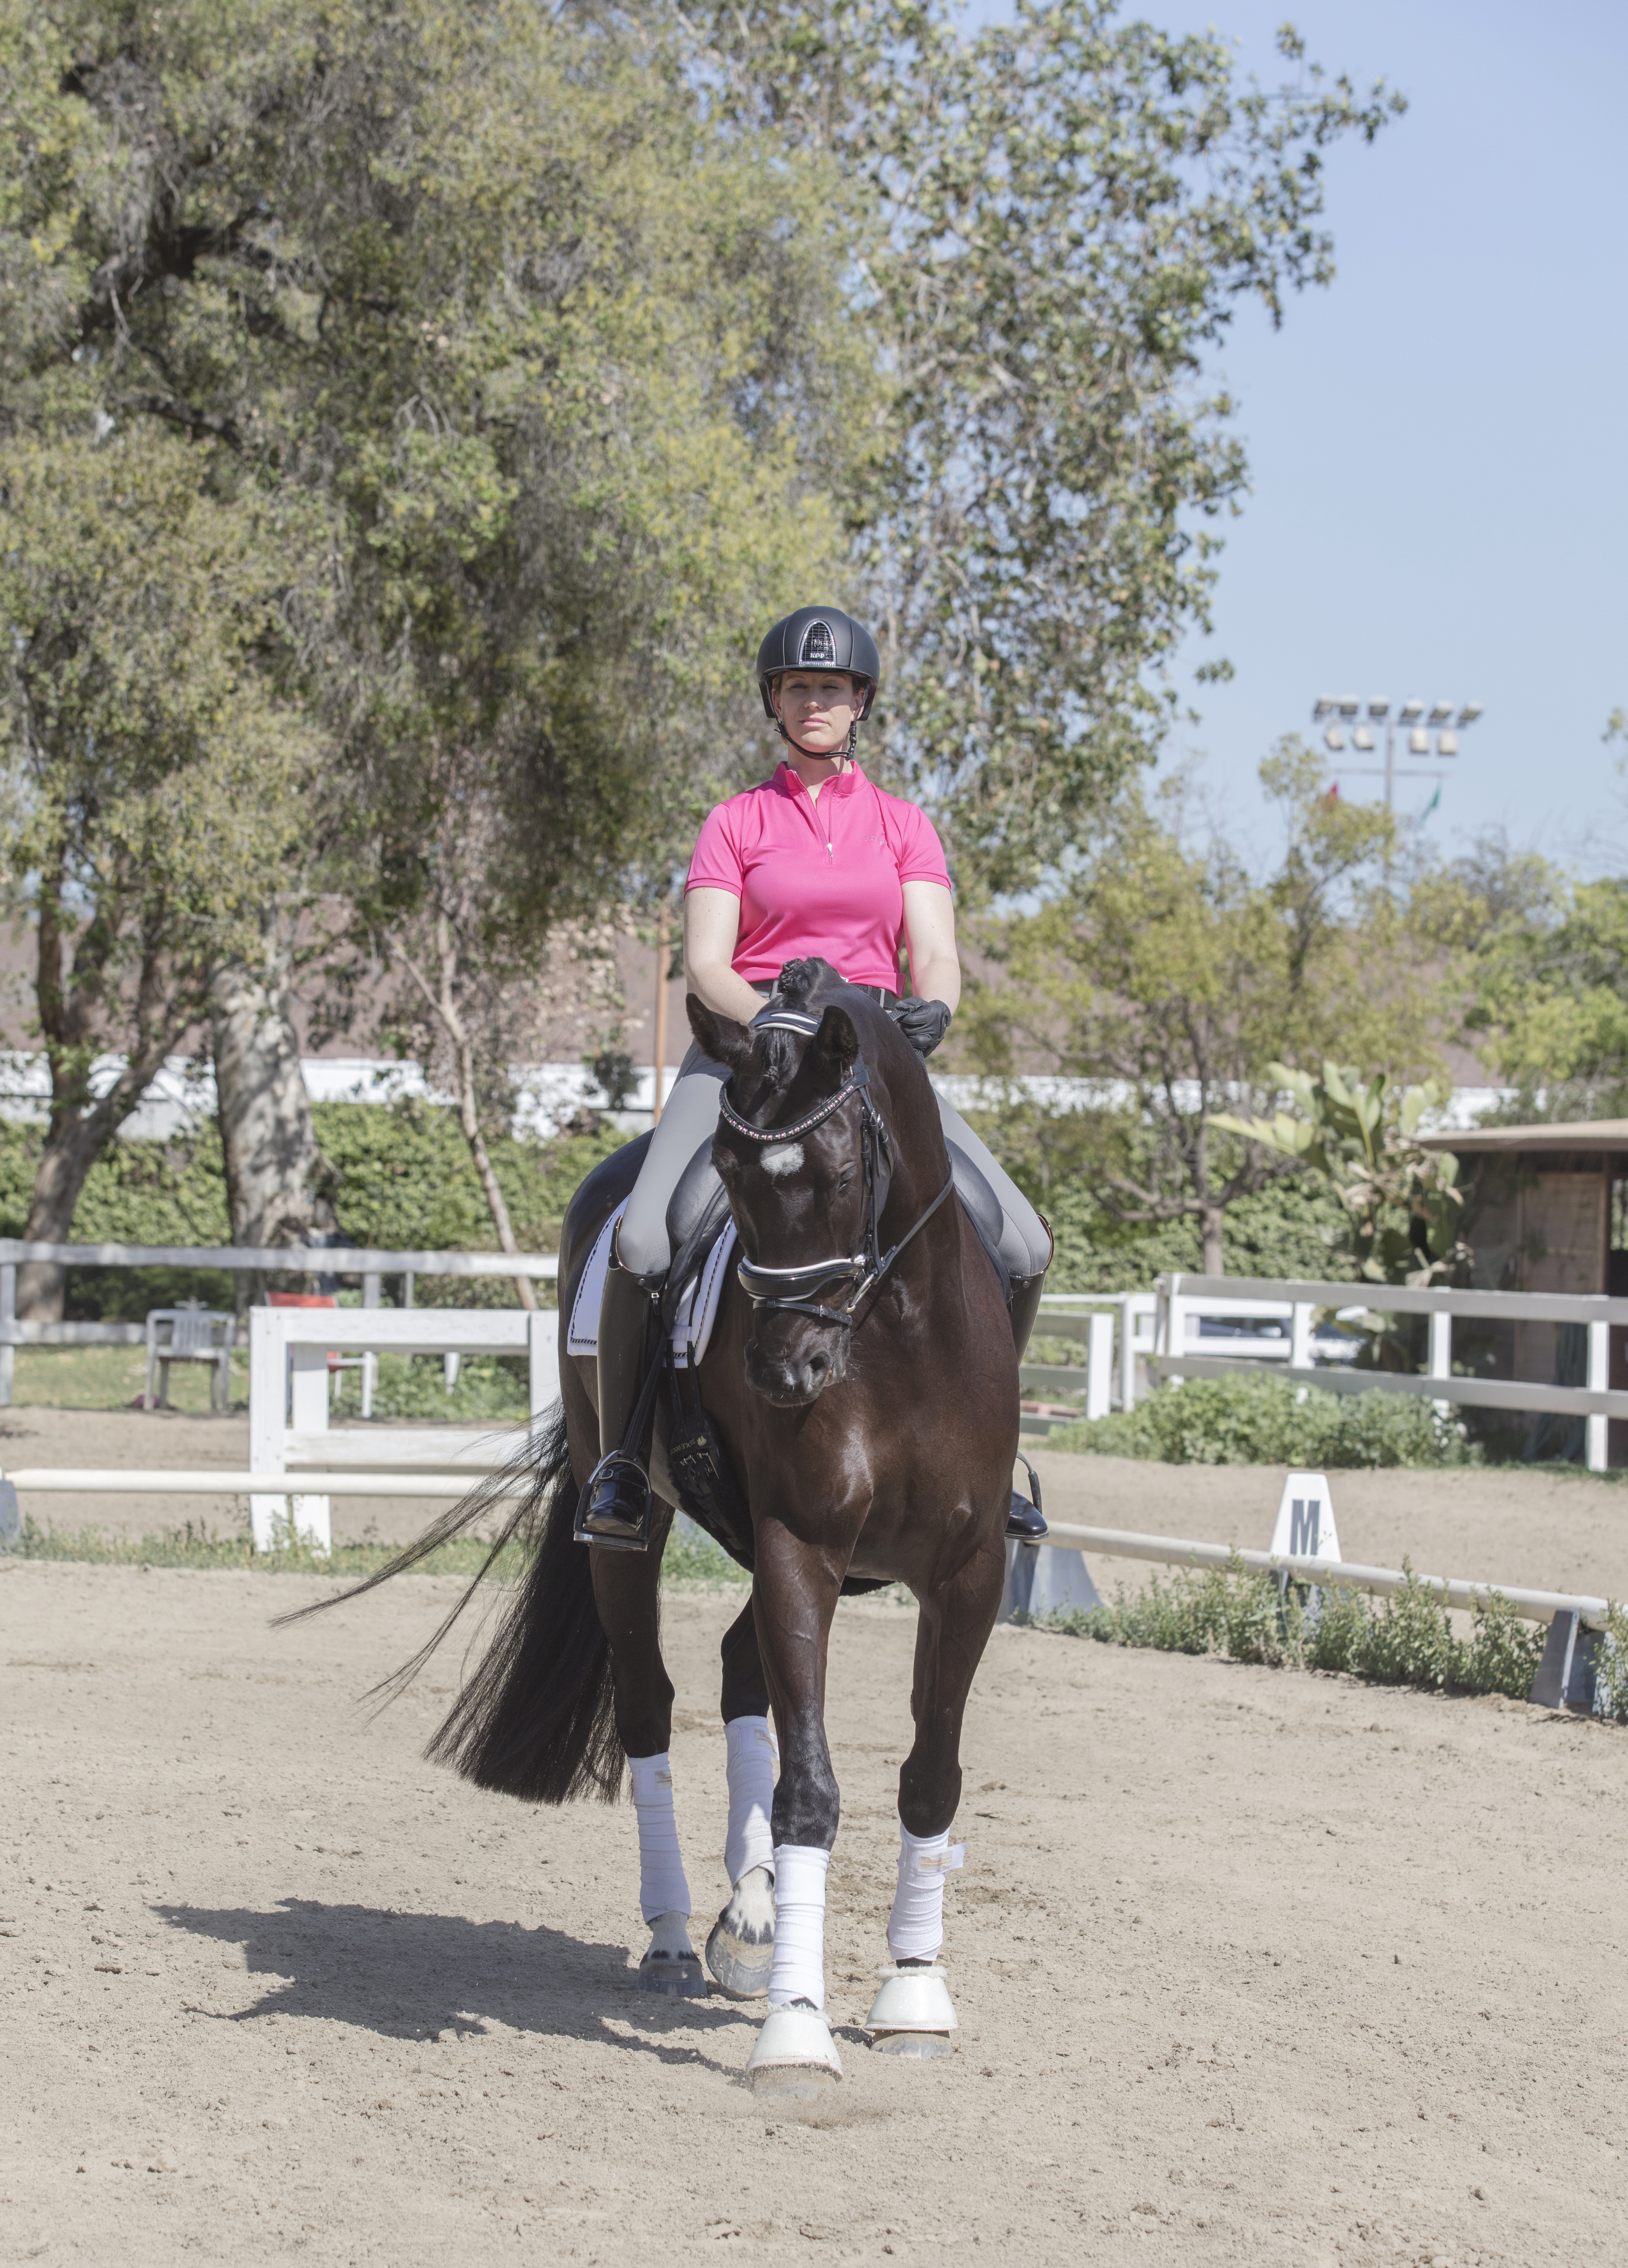
In dressage training, everything we do with the horse is about preparing him to perform all the movements required in a test with ease while keeping the long-term goal of training for the Grand Prix clearly in our minds. Each test level prepares the horse for the next.

Moving from Second to Third Level is a huge step in the big picture of your horse becoming an upper-level competitor. For example, Second Level is the first time collection is required. Third Level is the first time the horse is asked to do a flying change. So here are a few lessons I’ve learned to help prepare the horse for the tests at Third Level and beyond.
How to Train for Precision
Learn from the Directives: There is so much to learn about precision by reading the Directives printed next to each movement on the test and using this information to make a training plan at home as well as for the show. Directives tell you exactly what the judge is looking for. For example, in Third Level, Test 1, the Directive for the “half 10-meter circle left, half pass left,” says the judges look for “Shape and size of half circle; alignment, bend, fluency and crossing of legs; engagement and self-carriage.” (See “USDF Definitions,” below.)
USDF Definitions
Alignment: Referring to the horse, the lining up of the horse’s body parts from tail to poll. One of the four aspects of straightness (the other three are parallelism to line of travel, parallelism to line of reference and directness of line of travel).
Bend: The laterally curved position in which the horse’s body, as would be viewed from above, appears to form a uniform arc from poll to tail. Components of bending include lateral flexion at the poll, stretching of the outer side of the body, lowering of the inner hip and adduction of the inner hind and outer forelegs.
Engagement: Increased flexion of the joints of the hind legs during the weight-bearing (stance) phase of the stride, lowering the croup relative to the forehand, enabling the back to assist in elevating the forehand and providing a springboard for upward thrust/impulsion. Engagement is carrying power rather than pushing power.
Fluency: Flowing or moving smoothly and easily.
Self-carriage: The horse has to reach or stretch forward through an arched and basculing neck to the bit. At the same time, he has to stay balanced and carry himself by engaging his hindquarters so as not to fall on his forehand and look for the rider’s support in a heavy contact.
How do I do all that? By practicing correct repetitions and by tackling each movement individually, breaking it down into little chunks that are more manageable to deal with. Here is an example: As in many tests, the first movement is to halt on the centerline. The Directives of Third Level, Test 1, list the following as important: “Engagement, self-carriage and quality of trot; well defined transitions; straight, attentive halt; immobile (min. 3 seconds).”
I begin by practicing halts on the wall or rail. This helps me keep my horse straight. Once he is straight, I halt on the centerline. I sometimes halt before or after X so the horse doesn’t anticipate the halt too much. With a very tense horse I will end a ride with a halt on centerline and immediately dismount.
To get smooth transitions in and out of the halt, I make sure my horse is in front of my leg and listening to my seat and other aids and responding immediately. It may sound basic, but you need to spend time working on these kinds of details. In Third Level, Test 1, the coefficients double for the walk transitions and the two half turns on the haunches. These give you more points per movement than the entire half pass.
The turn on the haunches. Another way to teach your horse to become better balanced (and therefore quick to your aids so you can be more precise) is by doing turns on the haunches, which are always done at the walk. This movement improves your horse’s balance and eventually sets him up for the canter pirouette. When you do the turn, it is important to maintain the walk rhythm and the horse must be bent in the direction of travel.
One way to school the turn on the haunches is to begin on a small circle with haunches to the inside. As the horse becomes comfortable bending around your inside leg, move him off the circle in half pass in the same direction. Then bring the shoulders around the haunches in a half-pass feeling on a small half circle. As the horse becomes more comfortable with the work, the turn on the haunches becomes smaller.
Big faults happen if the horse steps backward or sideways to the outside with the outside hind leg or if he turns with a “stuck” hind leg. To help ensure the horse doesn’t stick a hind leg and pivot during a turn on the haunches, first I make sure my walk is very active and then I begin with only quarter turns so I don’t lose the rhythm of the walk and risk a stuck step.

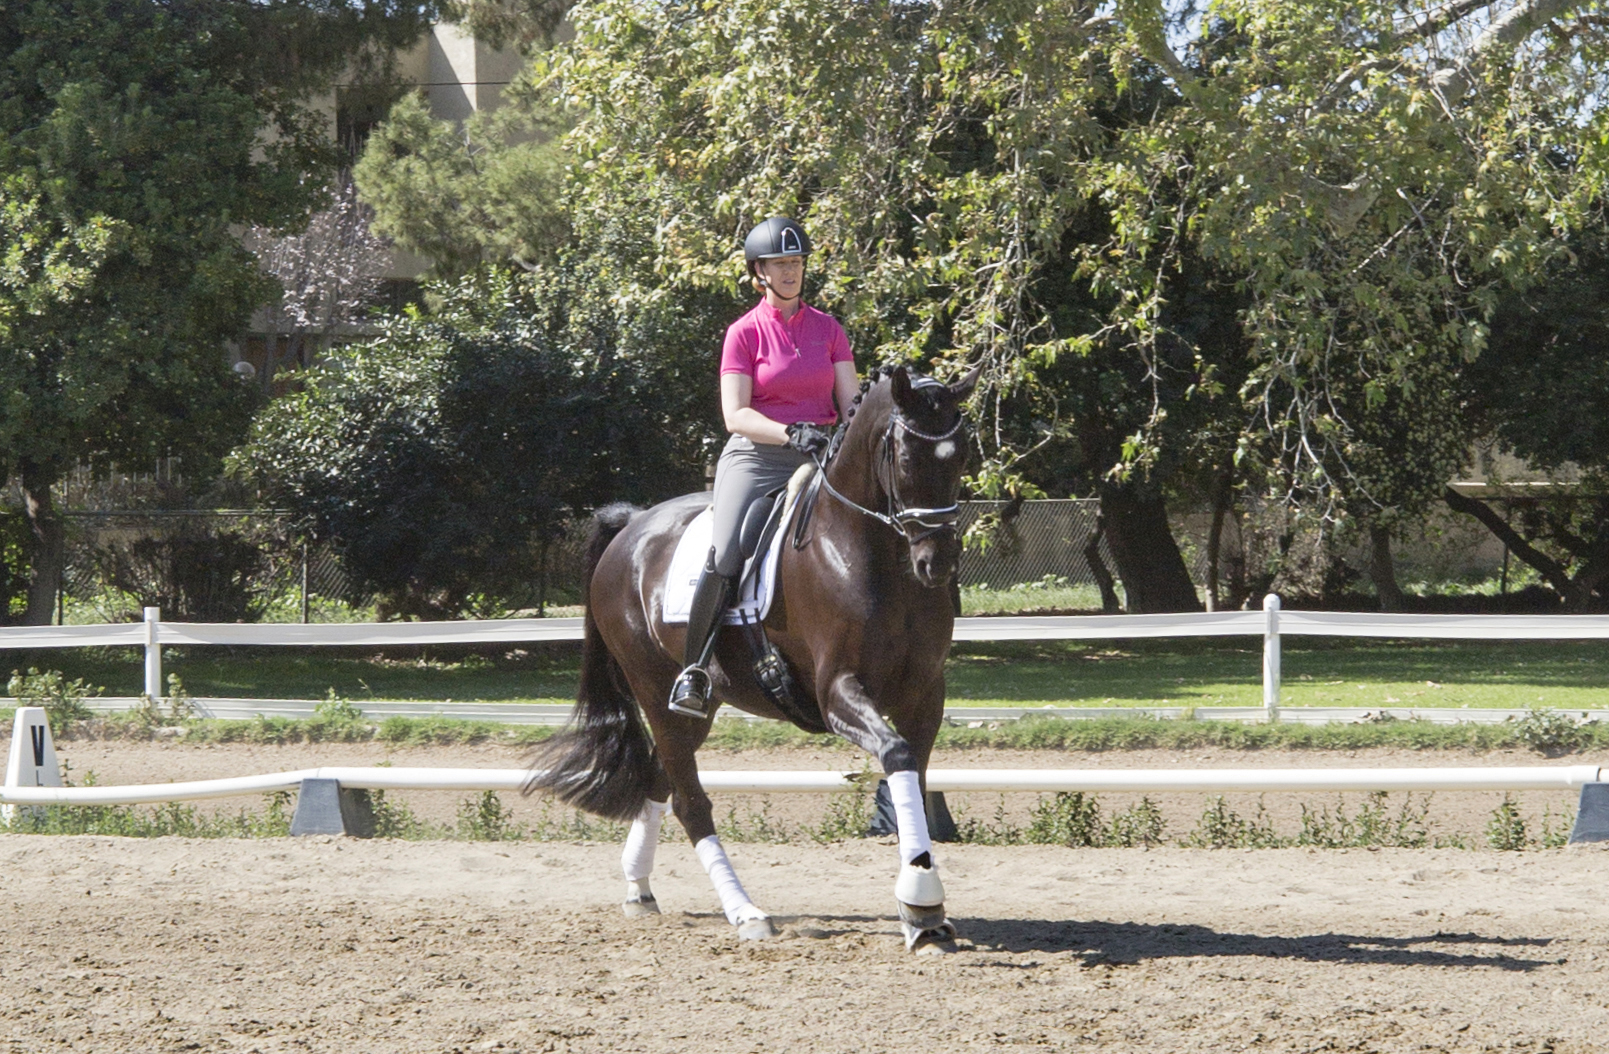
The flying change. One of the major challenges for Third Level is that it’s the first time we ask the horse for a flying change. The horse can get a little mentally sprung when he does the first flying change in a test. To keep that under control, start with walk–canter transitions because they make the horse think about the balance he will need to do a flying change. To do a successful walk–canter transition, make sure your horse steps evenly through from behind and isn’t beginning to jig or get tight in his back. He needs to be in a proper medium walk, rounded to the connection, accepting the contact and straight. If you give the canter aid and the horse is crooked, he will have a crooked transition, lose the connection and run off into a working canter with a frame that is too long.
Once a horse understands canter–walk–canter transitions and is relatively comfortable with counter canter, I begin schooling flying changes. I don’t like the horse to be too established in counter canter before I school flying changes. I will generally teach the changes and then take small training breaks to re-establish the counter canter. To make sure the horse is under control, the training can’t always be linear. On days when I school flying changes, I first begin with a few simple changes. Then I set the horse up for success by riding simple changes of lead across the diagonal, and when the horse feels relaxed with this, I try one flying change each way. If there is tension in the horse’s response, I generally change my aid to a simple-change aid so the horse understands that the goal is the other lead.
In the beginning, if the horse tries to switch leads but changes only the front or hind legs, I praise him anyway even though it is not a clean change. Over the next few weeks I become a bit pickier and insist that he change both sets of legs at the same time (a clean change). And after a few more weeks, I’ll expect all the changes to be clean.
At each stage of this process, when I feel the horse has tried his best, I immediately end the training session, especially when a flying change occurs. I am not usually a treat feeder, but I always give lumps of sugar when teaching changes.
The first flying changes asked for in dressage are in Third Level, Test 1, after a 10-meter circle and across a short diagonal. In Second Level the simple changes are asked for on a similar line. So you can see that the tests were written to help us teach the horse how to learn the flying changes in a clear way.
As you ride the Third Level test and are at walk just before the canter depart, the test instructions actually tell you to “shorten the stride in walk.” This is to make sure you have the horse on the bit, lifting his back and accepting the preparation leg aids for the canter depart. Shortening the stride (through your half halts) alerts the horse that there will be a transition coming up.
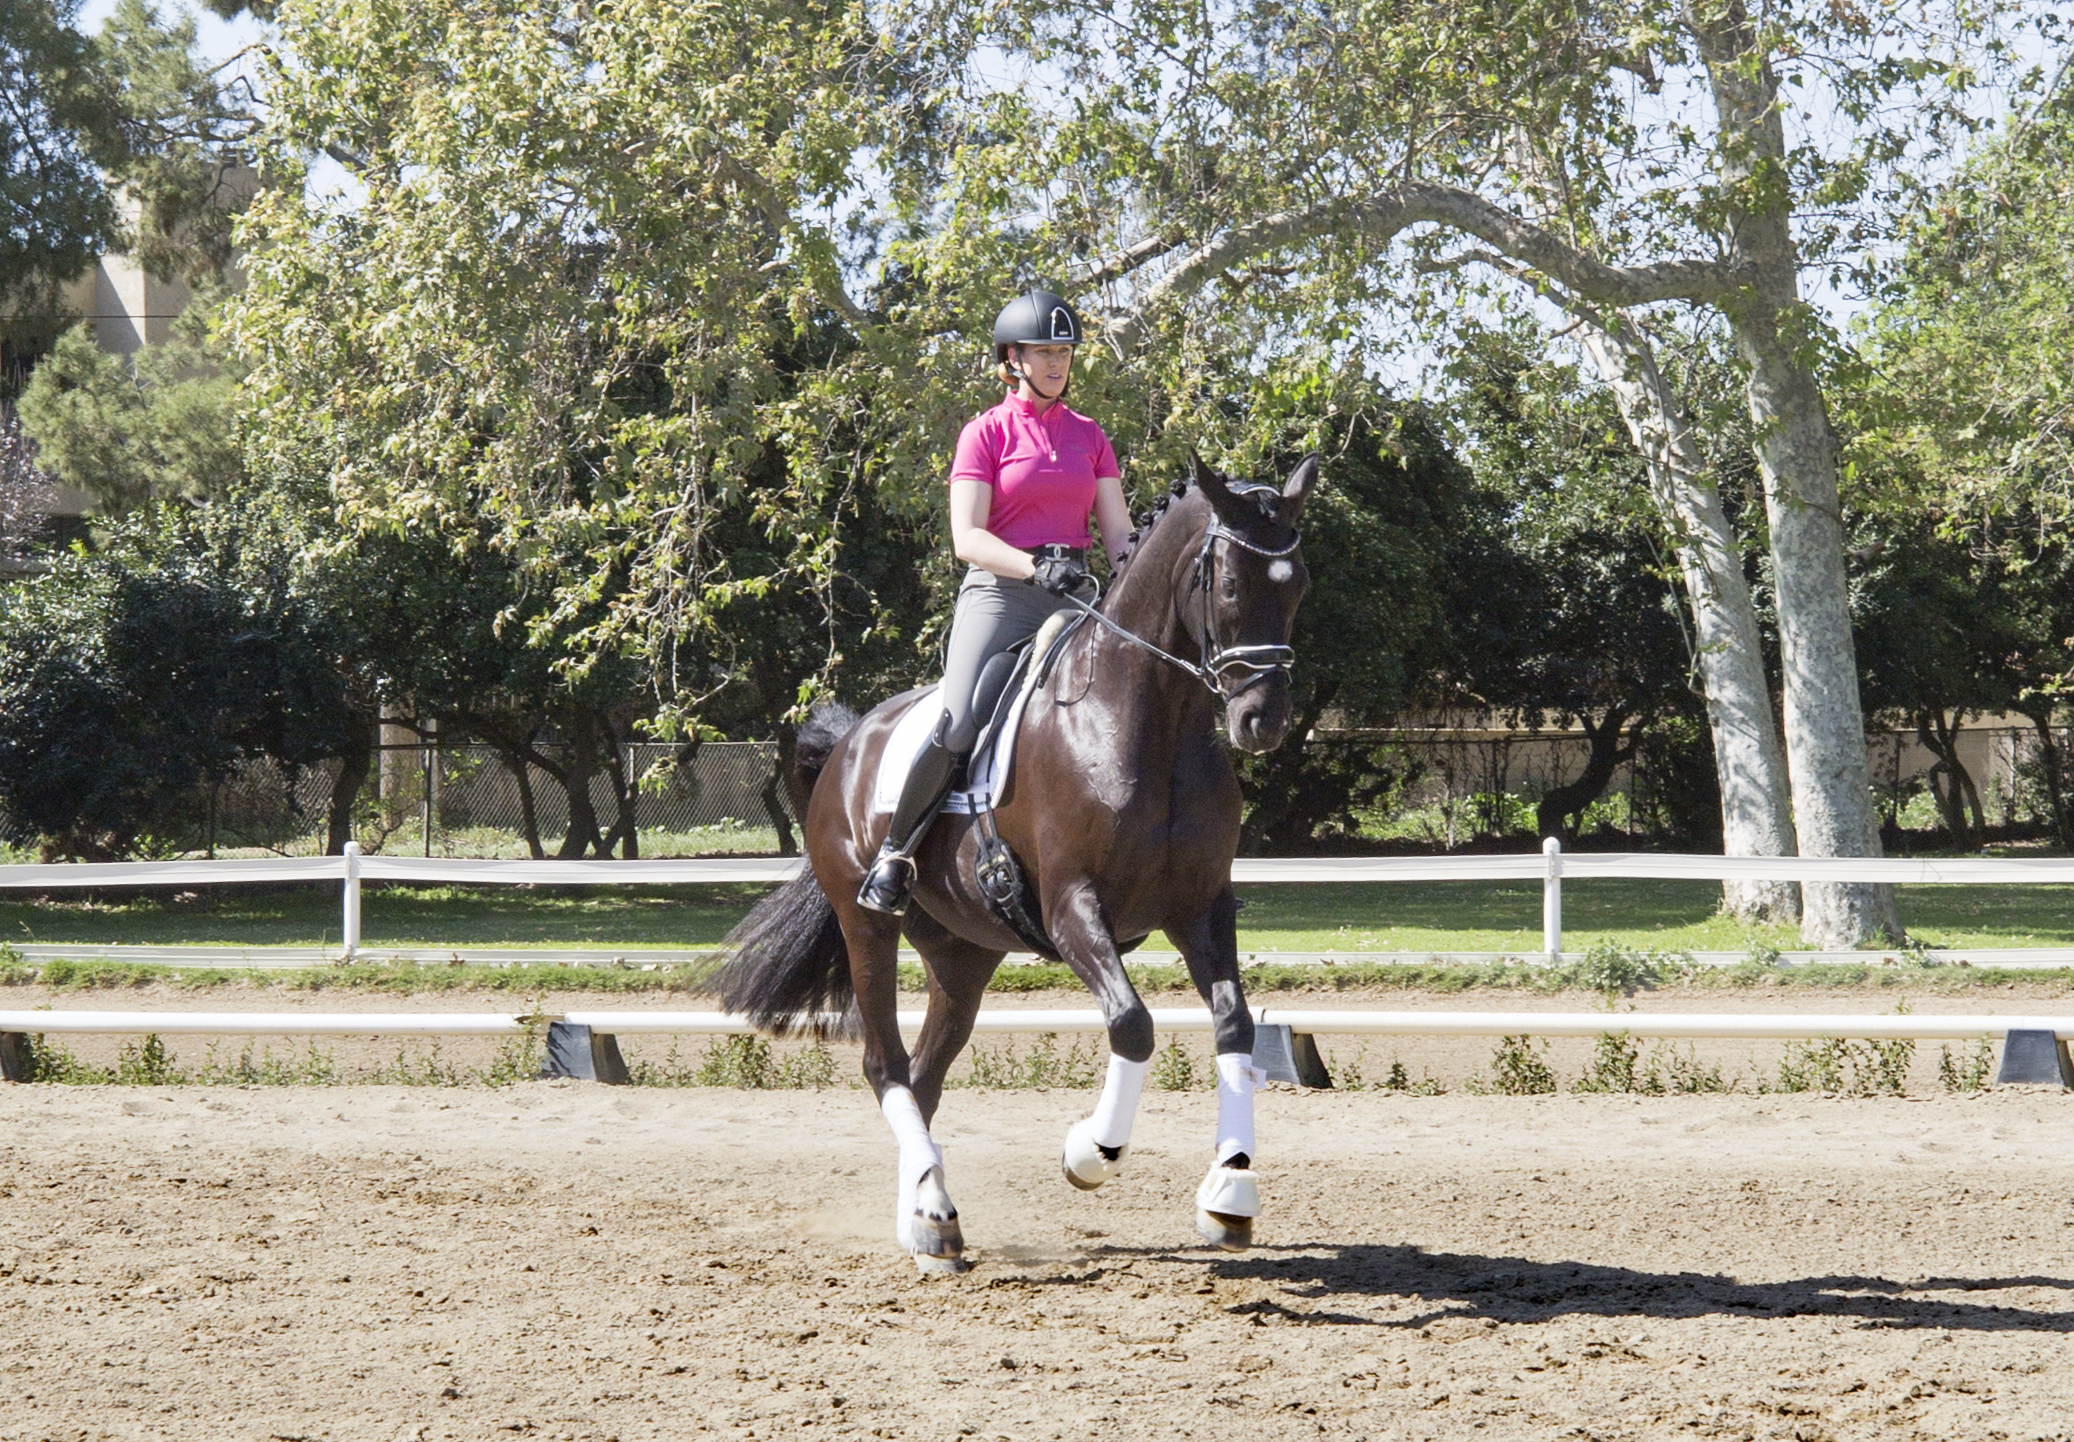
The transition into canter happens on the rail at C, so you have the wall to help keep the horse straight. Keep yourself balanced while you give a clear transition aid, keeping the horse straight, round and on the bit into canter. Then you have a corner you can use to prepare for and transition into the medium canter down the long side. There is a lot happening in about 10 strides.
The flying changes in the test are preceded by 10-meter circles. If the horse becomes flat after the medium canter, the circle is a great chance to bring him into a shorter frame and get his hind leg to come back under to increase collection and prep for the change. Then you have that open space of the diagonal if you need to leg yield to the new outside rein as you prepare to ask for the flying change.
Precision Equals Control
Riding your test with absolute precision may sound easy, but it is difficult. At Third Level, you must really follow the directions for each movement because the scores for transitions in and out of a medium trot, for example, and hitting the rail exactly at the letter can make the difference between scoring well or not. I think riding with precision is especially important on a less flashy horse because a technically correct test can give a horse an advantage over someone on a fancier horse who is less precise. Here are a few tips to improve precision:
To get your horse more in front of your leg, I school transitions. The goal is to just use soft calf pressure to create a response. If the cycle is repeated the same way a few times, most horses (especially hot ones) become very smart and begin to listen for the whisper rather than a shout from my aids. This is especially useful with dull horses. The dull horse must learn to get hot to be able to perform the difficult upper-level work with multiple aids. The cycle goes like this with variations depending on the horse:
1. Press with calf. If no response,
2. Then use the spur. If no response,
3. Then use a little pop with the leg. If no response,
4. Then a tap with the whip.
The small aids creating big responses, especially on a dull horse, create a more harmonious ride and allow the rider to do more precise work. She can then focus on small things like rebalancing in a corner and half halting between movements so the horse is more collected and mobile enough with his shoulders to leave the rail at exactly the letter for a precise movement.
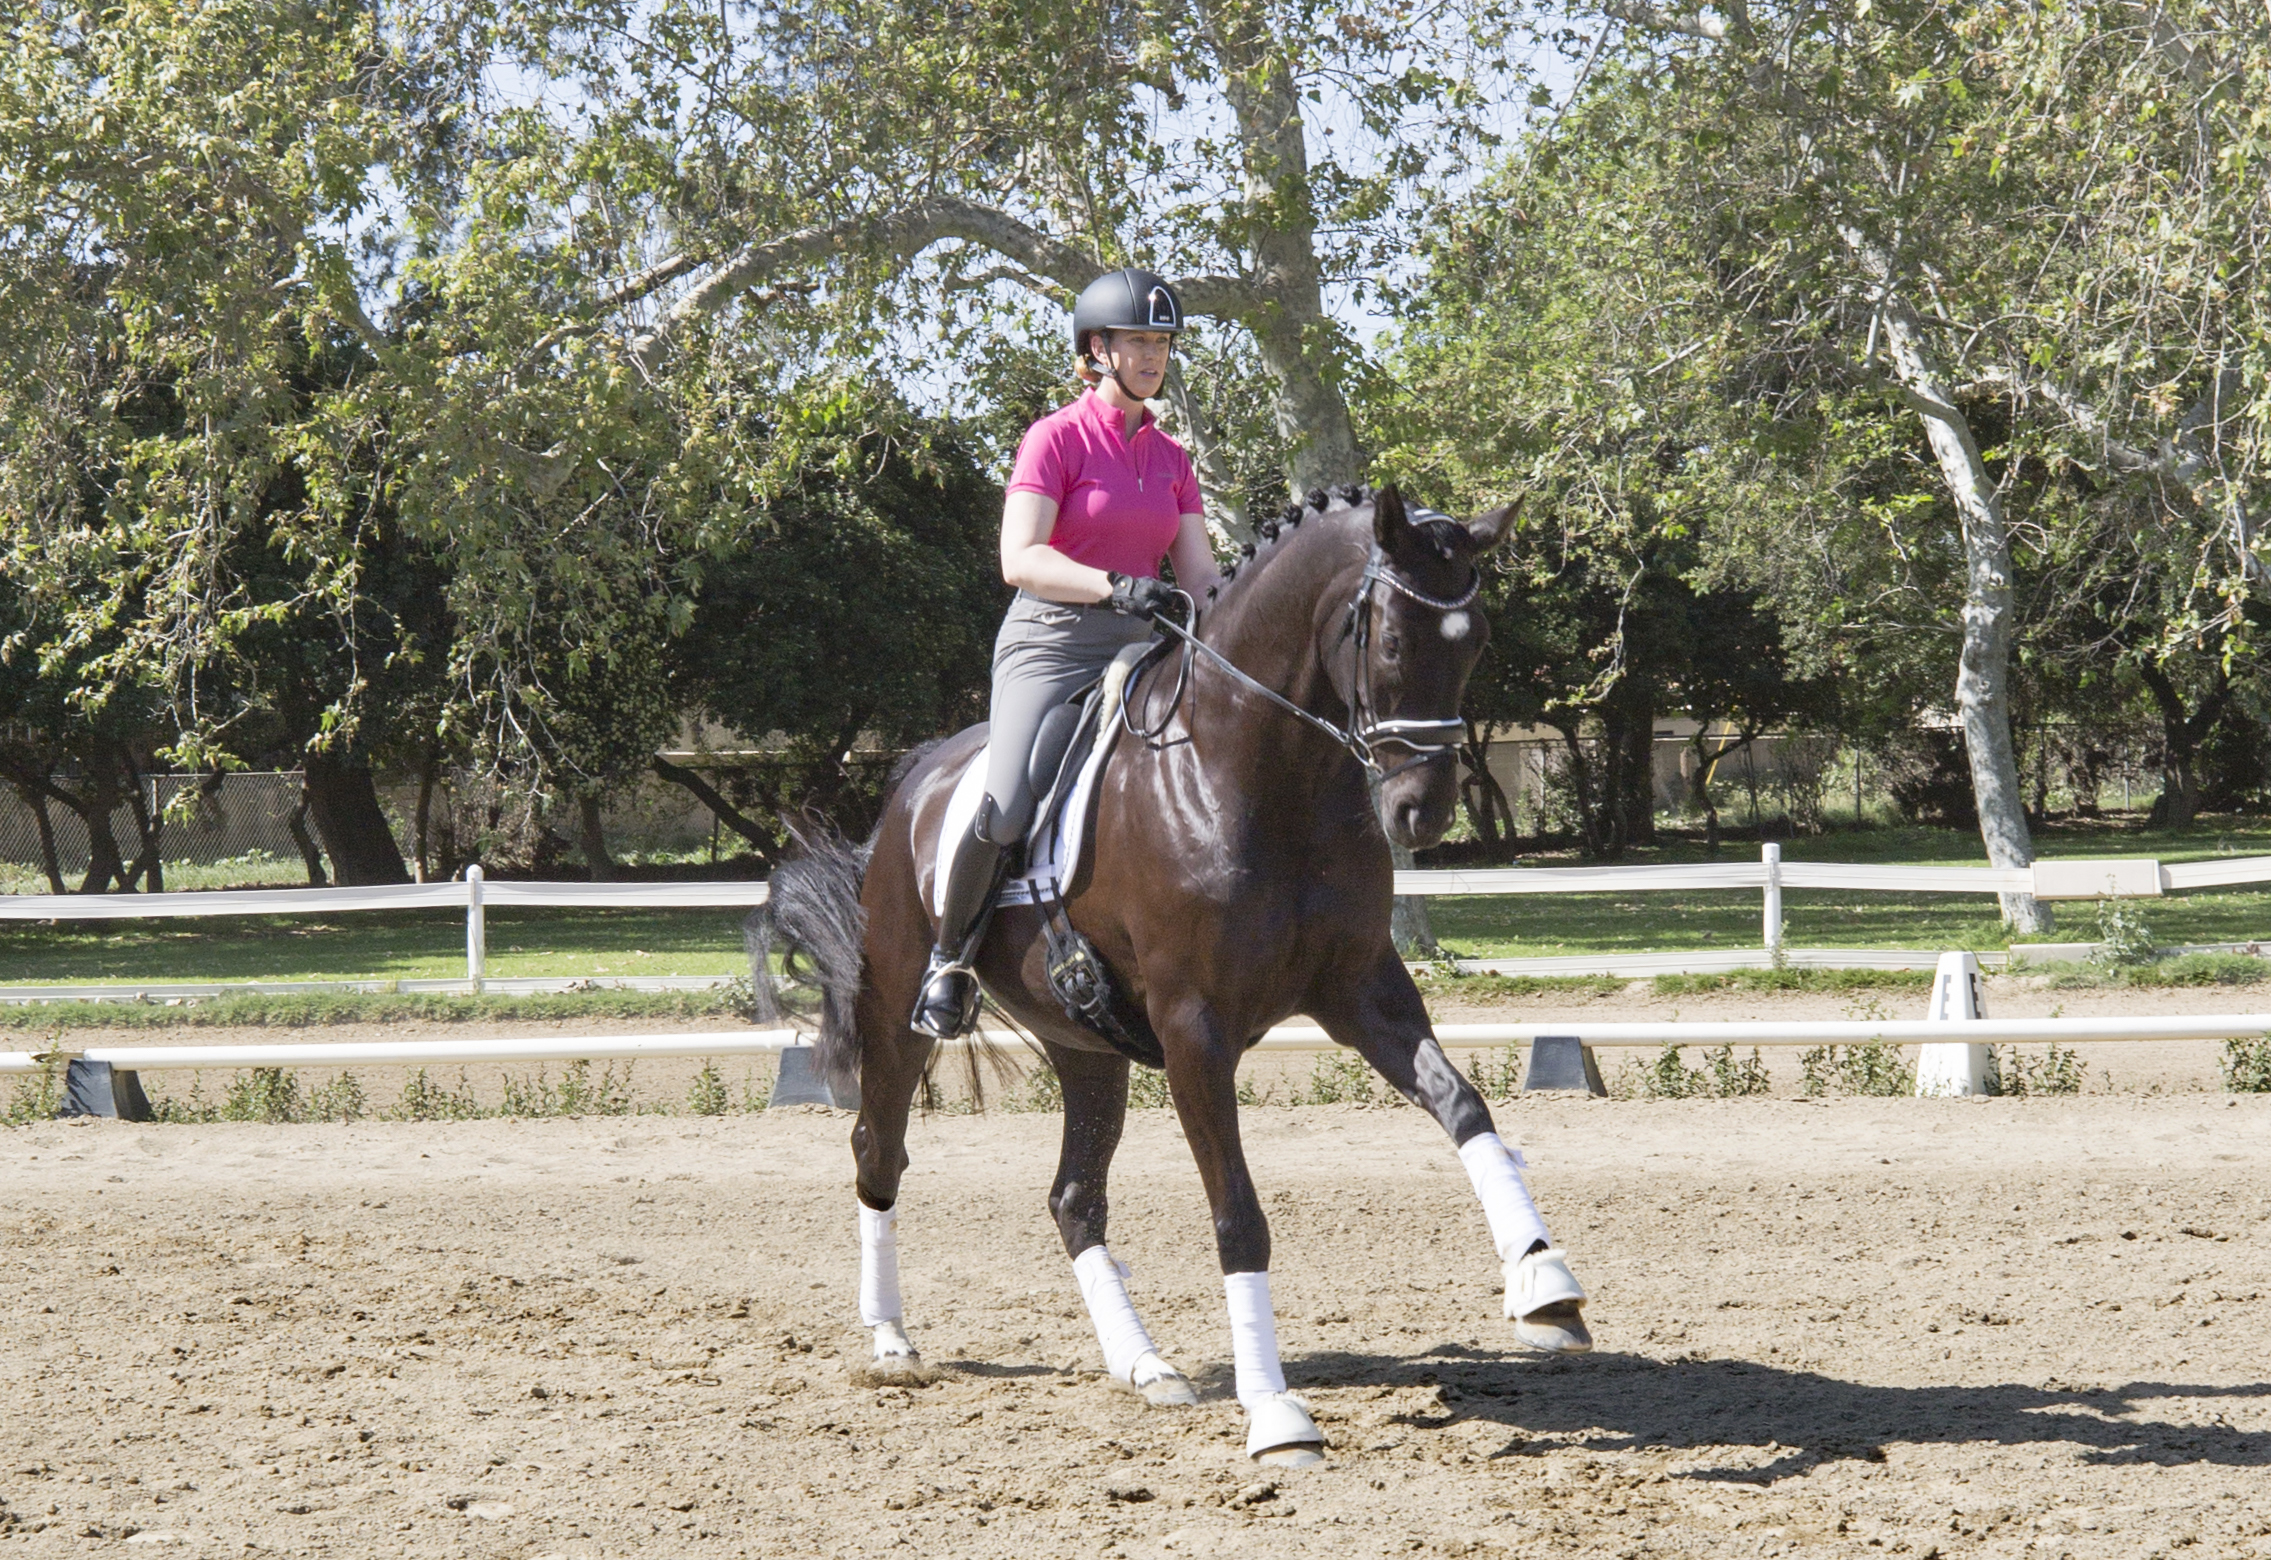
Riding a diagonal. Let’s say a rider is changing the rein at extended trot on the diagonal line H-X-F. Too often she leaves the long side 2 meters after H and rides a curved line with the horse slightly bent to the left and only getting straight as she approaches F. Because the horse is crooked, the rider has lost the chance to get the horse uphill and show a good extended trot. This rider needs to train at home using cones to know when to leave the long side.
Prepare your horse with half halts so you can turn off the track exactly as his shoulder is even with the letter. Stay in balance by having equal pressure in both reins and equal pressure from both legs. As you straighten the horse’s body to ride a perfectly straight line to the next letter, line up F between his ears and ride straight for it.
Remember, there isn’t an outside or inside leg or rein while on a diagonal. The horse must be even in both reins and straight in the body to create the thrust for the mediums and extensions. The horse will not give his all on the diagonal if he can’t trust the rider to keep them perfectly straight and to transition back to collection while still straight. It’s a physical risk for the horse to move so forward and big. This will make the horse confident to go all out and show off an impressive extended trot and canter. These big movements should be schooled infrequently as they are taxing on the horse.
Riding a circle. It is easy to get lost when you are aiming for 10-, 12- or 20-meter circles. At Third Level you have the 10-meter circles at canter, and very often you see them become ovals. The horse bows out on one side and then the rider ends up aiming straight back during the second half without a curve to the body and a lack of bend.
Improve your circle riding by breaking it down into manageable chunks so you can ride it more precisely. Think about the pieces of your circle; divide it into four quarters and ride each one carefully. Use cones to mark the four points of a circle and ride to them. Then you’ll know if you are doing correctly sized circles and not ovals.
The Precise Journey
It is important to set up these habits of precise riding for yourself and your horse at this stage because the upper levels are really just a continuation of the lower levels.
The horse who listens to soft aids and is used to being asked to rebalance in corners and wait for the rider’s aids with half halts will seamlessly move from Third Level to Fourth and eventually work toward Prix St. Georges. If the horse is used to you riding a straight transition into canter while staying on the bit and mostly from pressure of the inside leg, then the single flying changes and the tempi changes will be easy and straight. If the horse is comfortable with turns on haunches, then the canter pirouettes will not be too difficult. The travers will set the horse up for the trot half passes, and on and on. Remember it’s the whole journey that is important, and this is only a piece of it.
Lehua Custer is a USDF bronze, silver and gold medalist, a USDF “L” Education Program graduate with distinction and a Certified Instructor through Second Level. In 2017, she won the Third Level Open Championship at the national championships in Kentucky riding FJ Ramzes, owned by Wendy Sasser. Custer worked with young horses at Olympian Hilda Gurney’s Keenridge Farm near Los Angeles, California, for almost 10 years. She now runs her own dressage business out of the Los Angeles Equestrian Center in Burbank, California.