
Heather Sansom is the author of rider fitness ebooks Complete Core Workout for Rider, and a regular columnist in several equestrian publications including Dressage Today.?EquiFITT.com offers rider fitness clinics & workshops, Centered Riding? instruction, and convenient distance eCoaching for riders anywhere.? Subscribe to receive free monthly Equestrian Fittips, and download rider fitness eBooks at:??www.equifitt.com/resources.html
We all make them. We all blow them. Most resolutions almost set you up to fail because they are so general that you won’t know if you have succeeded or not. For instance, if you resolve to “ride better this year,” I’m fairly certain your trainer would push you on that vague goal and want to know precisely what movements you were hoping to ride better and what your definition of better is. If you are competitive, you are helped by the fact that you have to decide the level you expect to compete at in the upcoming season. Your level has technical requirements you have to meet, which means performing specific tasks to a specific standard if you want to place in the ribbons or do what you feel is a good performance for you.
Narrow it Down and Set a Goal
No matter your level or whether you compete or not, I prefer to think in terms of training plans rather than “resolutions.” For example, you might need to improve your flying changes, and the need to do so will make your riding lessons and practice time quite focused on the elements that need to be in place in order for your changes to improve.
If you have done any corporate training, or read or listened to any material on goal-setting, you are probably familiar with the concept of SMART (Specific, Measureable, Achievable, Realistic and Timebound) goals. Thus, your goal to compete at Third Level by May and your plan to improve your flying changes by training five times each week while focusing on the level requirements with your coach is a SMART goal. It’s specific (Third Level by May), measurable (changes yes/no and desired score 60 percent), achievable (you and your horse can physically do this with the right training), realistic (you finished Second Level, and you have most of the other movements in place, and it’s quite reasonable to believe you could be ready in time) and appropriately time bound (the first show is May 5, and you have to register by March 30, giving you exactly 12 more weeks).
Your Part in the Training
You know that your body has the biggest impact on your horse’s way of going. Your position, self-carriage and technical correctness and clarity in applying aids will actually be the biggest component of your training with your horse. If your coach got on your horse, he would have his flying changes in a week or two. So, the three to four months of preparation is mostly about you–and partnering with your horse. To be the best in the practice sessions with your partner, you will need to bring a self-carrying body, use the muscles you need and keep others relaxed, not confuse your horse with mixed signals and be able to keep up with the ride (not getting out of breath and fatiguing in the first half).
To apply the SMART goal principle to your own training, you might have goals such as “improve my cardiovascular ability so that I can ride a full ride without being out of breath or tired, apply my lead change aids correctly throughout the ride and lose five pounds before the May 5 show.” Your goal is specific. It’s measureable because you can count how long you can go through your ride before getting winded, and how many of your flying change requests you make correctly and incorrectly. You do want consistency to facilitate your horse’s learning. Your goal is totally achievable and realistic, unless you are already underweight. Five pounds of weight lost over 12 weeks is less than half a pound a week. Most people can lose one to two pounds per week fairly easily.
You can make this happen by having a net loss of 1,750 calories per week through a combination of additional exercise (which will also improve your cardiovascular ability) and very slight reduction in daily calorie intake (about 100 to 200 calories per day–nothing drastic). Identify a specific exercise (running or speed walking, for example), which you will do three times a week, for 15 to 20 minutes at a fairly intense rate and still leave you the time you need to make your goal of five rides per week. If you currently weigh 140 pounds and power-walk two miles, you burn almost 200 additional calories. This makes every part of your goal and your plan measureable and timebound, especially when you write your walk/run time into your agenda.
Power walking, walking, hill walking, hiking and running can be very good exercise for a rider, not just for the cardiovascular benefits, but also because the motion involved helps loosen and keep your hips mobile. Even if you choose a different cardiovascular option, such as a fitness class or cycling, I recommend walking a few times a week. It can be incorporated into the day, like walking the pasture periphery to check the fence or look for a lost halter/shoe.
Running
Many riders I know of run as their main form of cross-training. I caught up with Canadian Olympian Ashley Holzer and asked her about her off-horse conditioning. Ashley is based in New York City and runs as her main cross-training activity, because she is able to address some of her own conditioning needs, while supporting her husband’s training for marathons. She runs about 30 miles per week using long and short runs and hill training. In her words: “I think it’s important to stay fit for riding. You have to be fair to your horse and be fit and aware of how you impact your horse’s performance.”
Running is free, you can do it anywhere and at anytime, which makes it one of the easier cross-training activities to fit into your already over-packed schedule. There are some effects of running, however, which can work against your body’s riding requirements. In my personal training practice, I work with quite a few marathon runners or passionate joggers, so I get a very good look at the physical demand made by running.
Running moves your body largely in the sagittal plane (front-to-back) and uses a high degree of repetitive motion. In the running world, there is a large focus in cross-training exercises to develop lateral and medial (inside and outside) stability in the hips to avoid strain issues related to weakness in these areas, due to relative overdevelopment on the front and back of the legs from working in the sagittal plane all the time. There is also a focus on strengthening the lower abdominals, gluteals and hip flexors to avoid the groin area strains and sciatic issues. The runners I work with have had chronically tight hip flexors, hips, inner thighs and hamstrings.
Running as your only exercise reinforces the natural tendency for our bodies to develop strength imbalances in the hip area. As a rider, you need to have very good lateral stability to maintain a neutral leg on your horse. You also need to have strong gluteals, well-developed lower abdominals and relaxed hip flexors to maintain proper seat alignment and avoid “knee creep,” chair seat tendencies and sciatic issues, which are also common among riders.
The problem with a long-term strain injury is that it takes a while before you notice it is happening. You usually experience it all of a sudden. It’s important to have good habits in place for preventing repetitive strains that will impede your riding ability or even force you out of the saddle to recover. When I am working with riders who run, I often refer to exercises recommended as good cross-training for distance runners.
Exercise: Uphill Lunge
The exercise should be done rather slowly, loading your muscles for longer periods of time. Doing them slowly incorporates an isometric aspect into the exercise, which helps your muscles build more endurance.
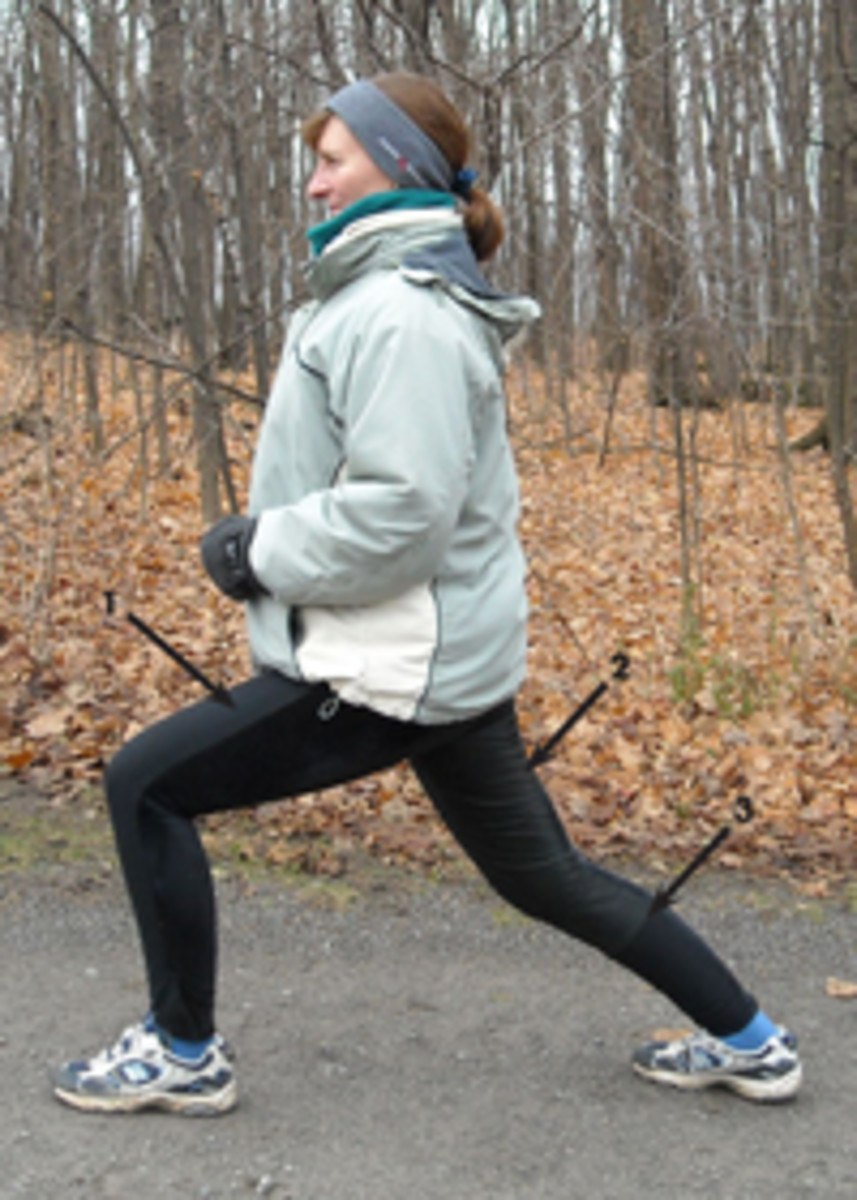
The uphill lunge is the same as a walking lunge. Doing it up a hill has a number of additional benefits: 1) Your calf gets more of a stretch each stride, which is good for good foot position and absorbing your horse’s motion. 2) Your quadriceps and gluteals are stretched over more distance before you pull your body forward, which makes the exercise harder for them, and builds strength along the whole muscle more efficiently. 3) You are taking advantage of gravity’s force to make the exercise harder. 4) You have a longer arc you need to use to haul your trailing leg up in front of you, which both stretches that hip flexor and also builds strength along more length of the hip flexor muscle, helping you avoid tight knotting, which leads to chair seat, knee creep or lower back pain.
Exercise: Myofascial Release
In previous articles, I have discussed using stretches to help release the hip flexor area. Sometimes as a rider, that area can become quite tight and a simple stretch is not enough to take the tension out of the area. Before booking a massage or other treatment, one technique that you can easily use yourself is myofascial release.
This technique uses gentle but sustained pressure on the tissues to release tension not only in the muscle but also the connective fascia. Fascial tissues are essentially made of the same material as your ligaments so, when the fascia tightens up, it can take several minutes of sustained stretching or pressure to release it and allow the muscle itself to stretch. If you have ever gone for a massage and the therapist has applied her elbow or fist to a particular area for several minutes, you have experienced fascial release.
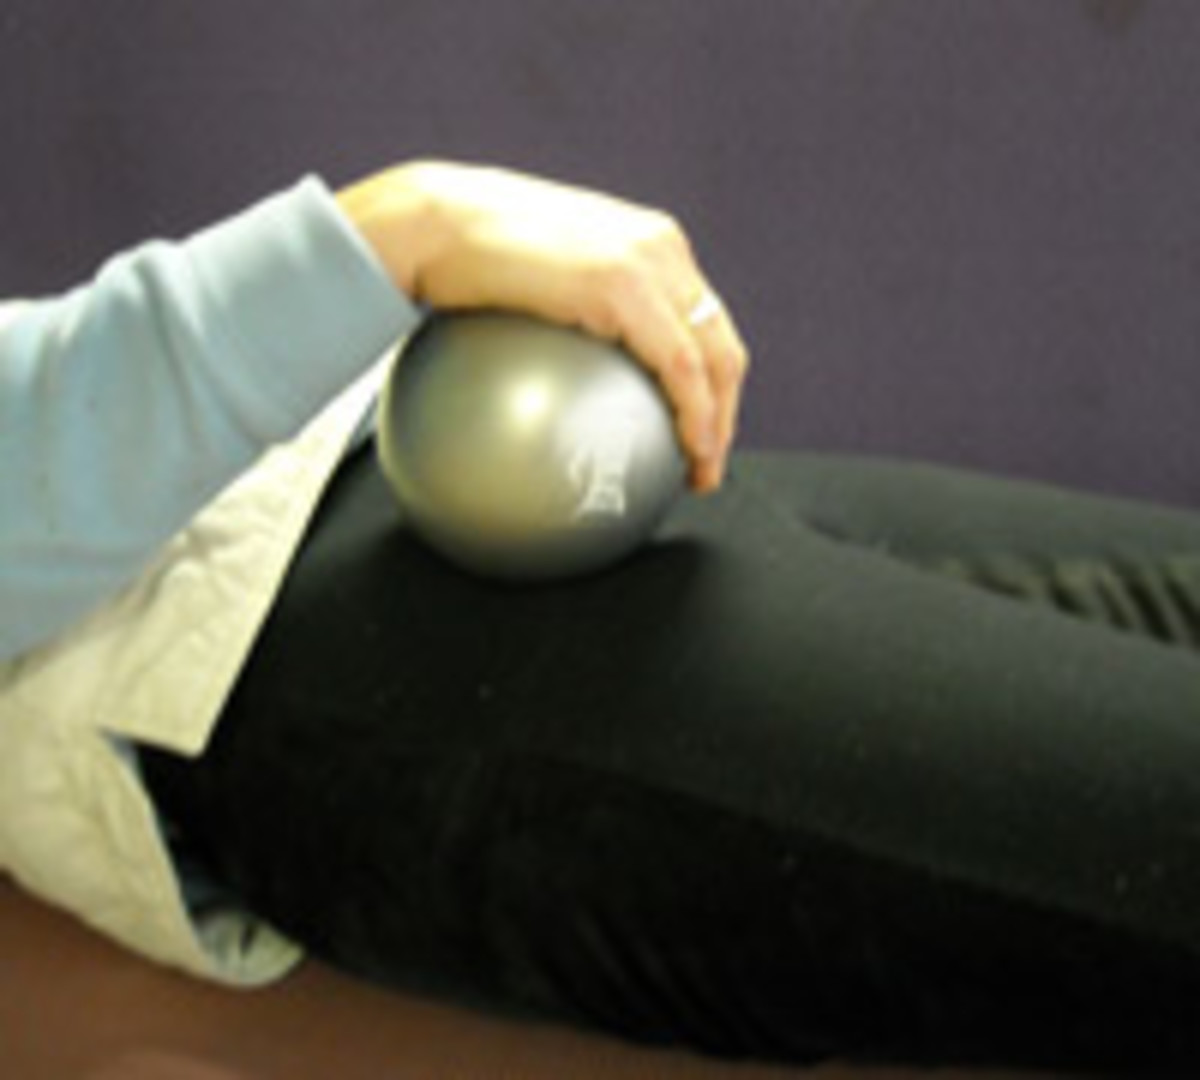
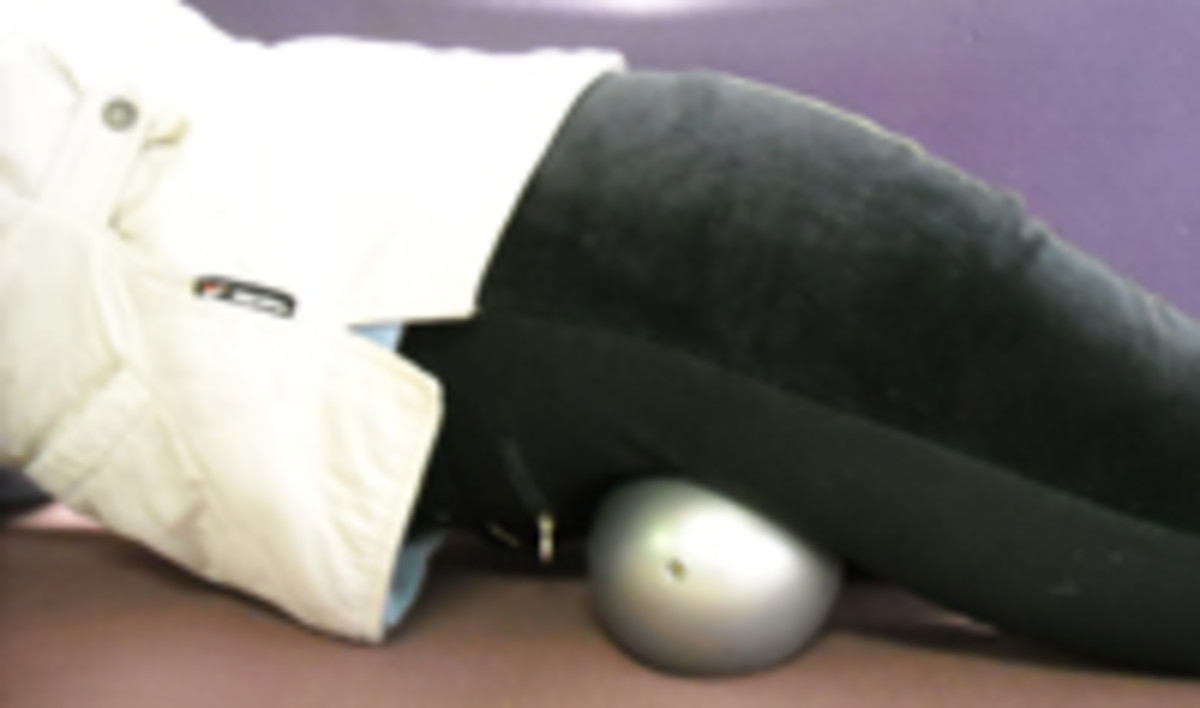
At home, you can use a weighted pilates ball, large riverstone, small hand weight or other blunt and hard object to apply gentle and continuous pressure to your hip flexor area for several minutes. You can also gently roll or move your ball or weight in a slow circular motion, or roll it under you on the floor.
Follow the myofascial release with a stretch, or intersperse stretching and fascial release until you feel you have made some progress. Since this technique will really release the tightness in the fascial and muscle fibers, you should not use it before riding. Use it after your rides on a regular basis, with flowing stretches before your rides to increase the mobility in your hips and lengthen your leg over time.
Heather Sansom owns Equifitt.com Equestrian Fitness, offering personalized coaching through clinics and convenient online coaching available anywhere. She also offers a free monthly fittips newsletter and new e-books, Complete Core Workout for Riders and Handy Stretching Guide for Riders, at Equifitt.com.