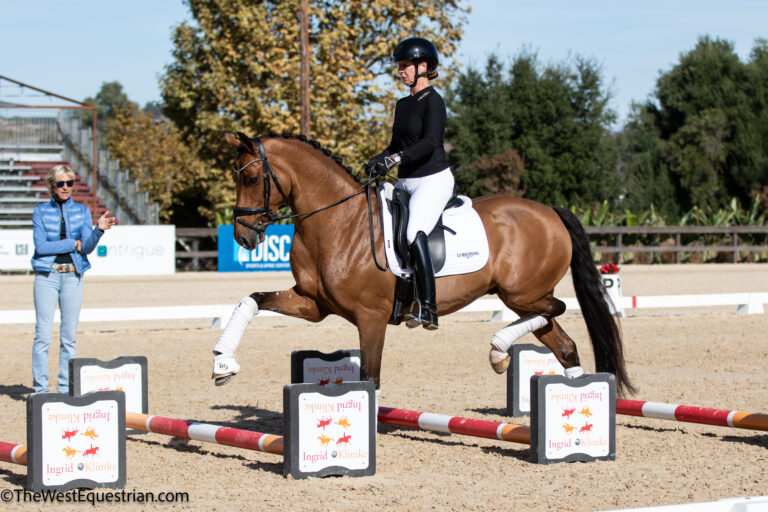
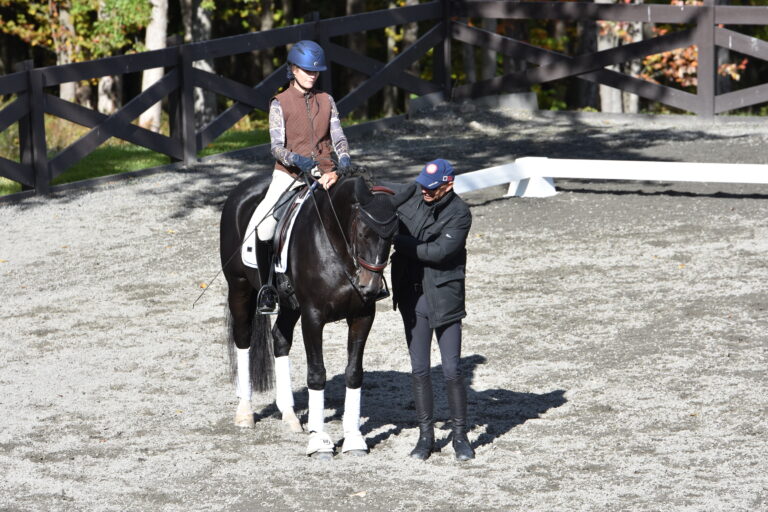
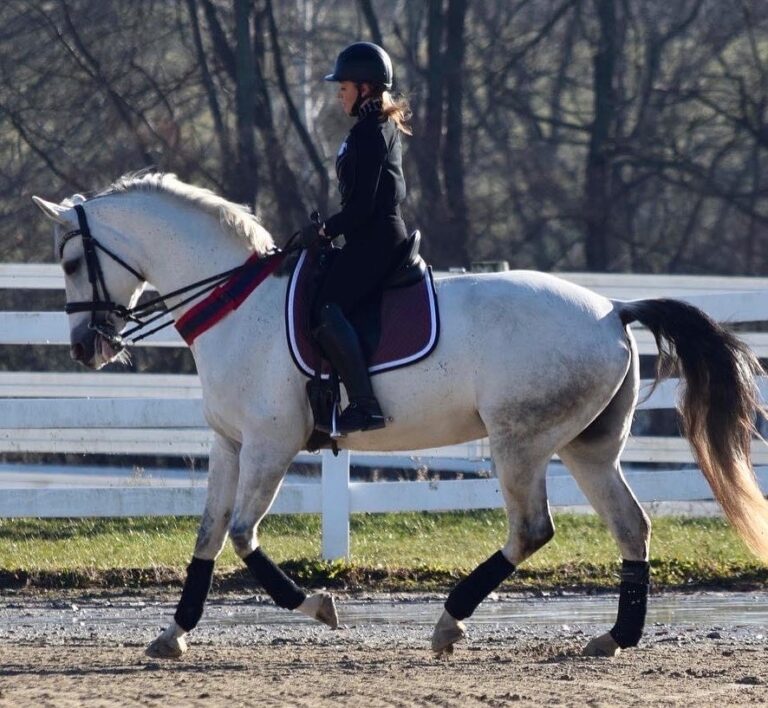
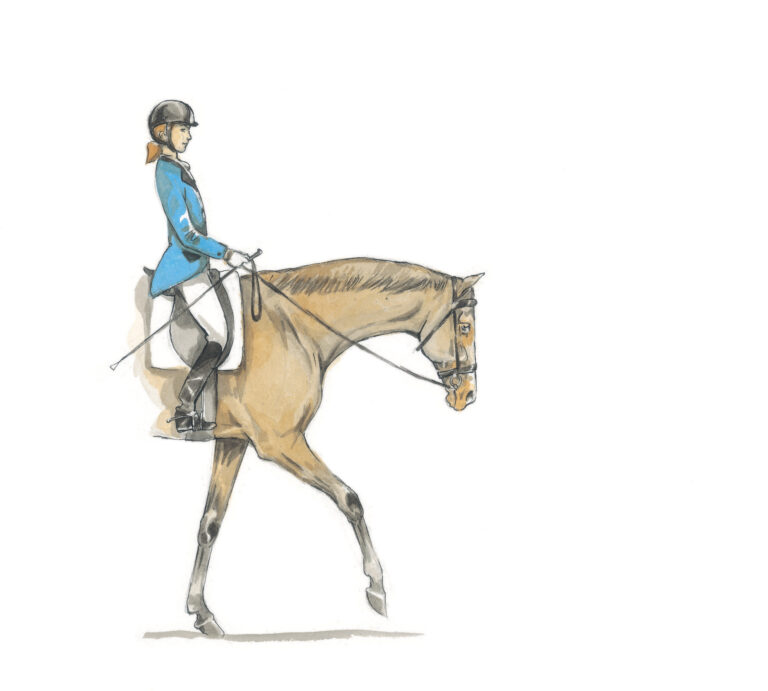
Each year I judge an average of 25 shows all over the country. Unfortunately, I have noticed a trend that our riders, especially people who are new to the sport, are somewhat challenged in their positions and lack the balance and ability to be effective in their riding.
In an effort to address the situation, the USEF Dressage Committee and appointees from the USDF developed the rider tests for use by riders at Training, First and Second Levels. The tests are designed to evaluate the proficiency of the rider relative to the requirements of the given level, without giving extra credit for the horse’s gaits, impulsion and submission.
In an effort to promote the rider tests and see how they rode and how they were scored and evaluated, I set out to compete in the tests and encouraged my students to do so as well. I was looking for more specific positional feedback than is provided in the standard tests so that I could improve my riding and that of my students.

By the Level
While I have judged about 15 rider tests, riding them has definitely helped me to know them. It seems that the most appropriate horse for these tests is one who is well-trained and can handle all the transitions easily. The horse’s gaits are not being evaluated, so hopefully more riders will feel that they can be competitive with a horse who has modest gaits.
The Training Level Rider Test rides quite well. The purpose of the test as defined by the USEF is: “To confirm that the rider sits in the correct posture and alignment” (ear, shoulder, hip and ankle in alignment) “and shows correct mechanics in walk, rising trot and canter.” (In judging, the lack of a following hand and arm in the walk is a particular problem that I often see, as is the rider being ahead of the motion or behind the motion in the posting trot. We also see riders that are not sitting correctly with the rhythm of the canter and thus interfering with the horse’s ability to use his back and hind legs correctly.) “The seat is sufficiently independent for the rider to maintain a steady elastic rein contact and encourage the horse to stretch into that contact.” (A horse cannot stretch to the contact correctly if the rider’s hands are unsteady, blocking or static.) “The horse is ridden actively forward showing impulsion” (not just speed) “and balance required for the level, bends equally to the left and right sides on turns and circles” (a recurrent theme when judging many tests) “and makes smooth willing transitions” (that are properly set up and aided).
The test is quite straightforward in that the work is done in the rising trot and the patterns and figures are consistent with the current Training Level tests. One difference is that there is a transition from the working trot to the medium walk and back to the working trot on or near the centerline in both directions. This shows the ability of the rider to demonstrate correct preparation for, and execution of, transitions and the horse’s willingness to comply. This movement is done on a 20-meter half circle, and the rider is asked to show three to six steps of medium walk near the centerline. In judging this, I have observed riders not showing enough walk steps and/or showing too many, so for the movement to be accurate, riders need to count the walk steps.
There is little canter shown, but the transitions in and out of canter are emphasized, and there is not much time between the upward and downward transitions. So for a horse that has balance issues, the closer-placed transitions might be challenging. The rider is being tested to demonstrate his or her ability to set up the horse and perform accurate transitions that are flowing.
At the first show I attended, I brought a green horse, Finesse CB, owned by Suzanne Zimmer. This was her first show, and I made the mistake of not longeing her or schooling her on the show grounds the day before. I know better, but she was so quiet at home I thought she could handle it. After our first ride I longed her and realized how good she actually had been during the test, as she was wild on the longe.
Her first test was tense, and she was on the edge of a blowup the entire time. In the actual test I thought she could keep it together, but when she heard a noise from the other arena she reacted and jumped forward to the point that I had to come to a complete halt and settle her. It felt like we stood for quite a while, but it probably was only 30 seconds or so. I hoped she would breathe and regain her composure, which she did, but she remained very tense.
The score was low (62 percent) due to the score for the horse’s response to the aids, for accuracy due to tension and for a break in the test pattern. But I got an 8 for position. After longeing Finesse, I rode another Training Level Rider Test under the same judge and received a 74 percent, with a 9 on the stretchy trot circle.
The First Level Rider Test is much harder and has many transitions placed at different letters in the arena, and they come up quickly as you ride through the test. The purpose of this test is: “To confirm that the rider, in addition to the requirements of Training Level, shows correct alignment, posture and mechanics in sitting trot, including maintaining a steady, elastic rein contact. In turns on forehand and leg yields the rider remains centered” (a challenge for many riders) “and the horse responds willingly to the aids. The transitions are ridden in a better balance and with more throughness than at Training Level. In response to the correct application of the rider’s aids, the horse moves actively forward, showing a consistent tempo and correct rhythm in each gait, shows appropriate bending, lengthens and shortens the stride in trot and canter and responds willingly to both longitudinal and lateral aids.”
In the test, you start with a halt at X and then ride a short diagonal of trot lengthening from H to B. All work is rising unless stated. You sit the trot at B, turn right at P, cross L on the centerline, ride a few steps of walk, go back to trot and turn right at V. This sounds easy, but if the horse is not listening or on the aids it is not an easy movement. The horse does not expect a walk transition here and might be reluctant to trot when facing the rail.
The next movement includes a turn on the forehand, which many of us use in training but which has not been included in a test in many years, if ever. It is tricky because the two turns on the forehand are basically back to back and are ridden off the rail, with a transition to the trot for the first one and a transition to medium walk for the second one. They are ridden from the halt at V and S.
This is followed by a short diagonal of free walk and a trot transition at C with a canter transition at E. This is the first time that a canter transition is asked for here on the rail, and if the horse is not straight and on the aids, it can be confusing for him. After the canter transition you immediately make a 20-meter circle at E and lengthen the stride of the canter the second half of the circle. This is also the first time a canter lengthening has been developed and shown on a circle in a standard test.
The lengthening continues down the long side, and a transition to working canter is ridden between E and K. A trot transition is performed at A. This would not be hard except the next movement is a leg yield from the corner at F to X in sitting trot, so there is little time to prepare and set up the horse.
From X you ride straight to I and make a 10-meter half circle from I to R, canter at B and repeat the canter lengthening during the second half of a 20-meter circle at B. The transition back to working canter is between B and F. This time, however, instead of the trot transition at A you ride a three-loop serpentine from A to C, making changes of leads through the trot transitions each time you cross the centerline.
Next you trot at C and repeat the leg yield pattern from M to X, ride straight to L in sitting trot, make a 10-meter half circle from L to P, then ride a circle and a half of “stretchy/chewy” trot at B. This is new in that it is more than one circle, and it allows the horse to show the stretch and his willingness to have the reins lengthened and shortened while maintaining his balance and correct use of his back and topline.
After this you ride to A, turn down the centerline and halt at X to finish the test. This test is easier for a well-trained horse that is handy and can make all the transitions willingly and stay in balance.
I rode the Training and First Level Rider Tests at another show on Finesse and a horse named Dettanader, a purebred Arabian gelding owned by Pam Stenmark. “Nate” had no trouble with this pattern but sometimes needed a little coaxing to make the lengthening’s clear and with enough impulsion since it was a new pattern to him. It was clear that if Nate was on the aids and responsive I could maintain my position better, but if he was distracted or behind my driving aids my scores were affected. Judges need to change their eye so that it focuses on the rider and not on the horse’s gait quality.
Nate is schooling Second Level but was not quite ready for the Second Level Rider Test as it is much harder than any of the standard Second Level tests. In fact, it is too hard in my opinion and requires almost a Fourth Level proficiency and horse to ride easily.
In looking at the purpose it states: “To confirm that the rider, having achieved the requirements of First Level, is able to ride the horse reliably on the bit with an uphill tendency. The rider lengthens and shortens the horse’s stride in trot and canter while maintaining correct alignment, posture and mechanics.” (In my judging I see many riders that sit crooked or to the outside in the lateral movements.) “In lateral movements the rider stays centered and demonstrates an appropriate angle and bending of the horse. As a result of the correct application of the rider’s aids, the horse shows a greater degree of straightness, bending, suppleness, throughness, balance and self-carriage than at First Level.”
In the Second Level Rider Test you start after the halt at X with an H–X–F diagonal of medium trot, then turn down the centerline (a Fourth Level movement) and ride shoulder-in, followed by a 10-meter circle and then travers on the centerline from X to G.
Then you track right and show a diagonal of medium trot, with a few steps of collected trot (another Fourth Level movement). Lateral work is again shown on the centerline, with travers followed by a 10-meter circle and the shoulder-in from X to G.
The walk work is the same as in the standard tests, except that a diagonal of medium walk is shown in addition to the short diagonal of free walk. The canter work includes a three-loop serpentine in collected canter with simple changes on the centerline, which is a valid expectation for the level. But then the test calls for medium canter on the diagonal with a transition to collected canter at the corner letter, counter-canter through the corner and a simple change of lead at A, which in my opinion is much too difficult for the level.
My student Kristen McCarty rode her horse Werner in the Second Level Rider Test several times and received scores from 67 to 71 percent. She is currently showing Third and Fourth Level and won the Third Level Adult Amateur championship class at the 2013 Rocky Mountain Dressage Society finals and at the 2013 USDF regional finals. She had some challenges with the lateral work on the centerline and the medium canter diagonal with counter-canter through the corner and the simple change at A. In judging this I have not seen one person able to show this pattern well. The test requires much more than the standard Second Level tests. I hope it will be reviewed when the tests are evaluated.
When it comes to judging the tests, I found that there is not much room to write final comments on the tests, so underlining words in the directive ideas helps. I had one judge make a few comments on the front of the test as the test progressed. I myself have made notes on a separate sheet of paper and then written a final comment with specific points at the bottom.
Overall, I felt that showing the rider tests was a positive experience. My scores ranged from a low of 62 percent (for my first, very tense ride on a green horse) to a high of 77 percent on the same horse. As a judge I see more juniors entered in these classes, but a few professionals also entered, which was encouraging. I hope that there becomes more incentive for all riders to enter these classes. Right now they are not included in the USDF awards program, so the motivation would have to be a personal one for the rider.
I also hope that more riders will see the benefit of preparing for and showing these tests and will use the information written on the tests to improve their equitation, ability to connect their horses and organizational skills as riders. It was a fun experience for me, and my student’s enjoyed it as well.

How the Tests are Scored
The USEF Dressage Rider Tests are intended to help riders measure their progress. When judging one, I saw that the rider significantly improved from one rider test to the next. So I hope more competitors will use them to improve their riding and influence.
Each test examines the rider’s application of the aids, riding biomechanics and geometry of the figures. Five scores are awarded: The first is for the rider’s position (alignment symmetry, straightness, sitting in harmony with the mechanics of the gait); the second is for the rider’s correct and effective use of the aids (prepares for and performs the movements and transitions using subtle, tactful and effective aids, the horse is appropriately bent through turns and on circles and is straight when moving on straight lines); the third is for the horse’s response and performance (the only score given for the horse on the test); the fourth is for accuracy and the fifth score is for the harmony between horse and rider (one of my favorites).
The scores can range from one to 10, in .10-point increments, as with the young-horse tests. All five are double coefficients and are averaged for the final score.
Janet “Dolly” Hannon is a USDF bronze, silver, and gold medalist, a USEF “S” dressage judge, the current chairperson of the USDF freestyle committee and a former member of the USDF judges committee. She currently teaches and trains at Legacy Valley Farm in Arvada, Colorado.


