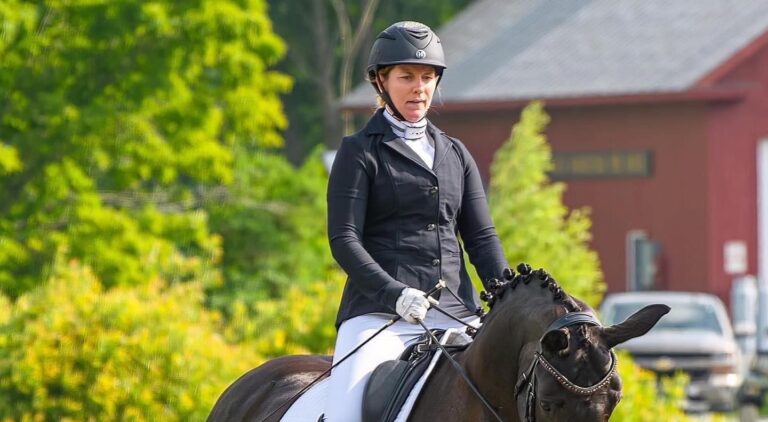
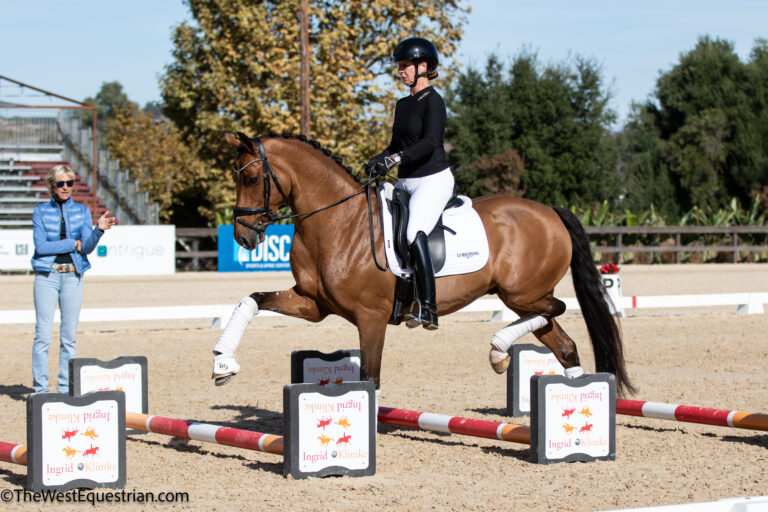
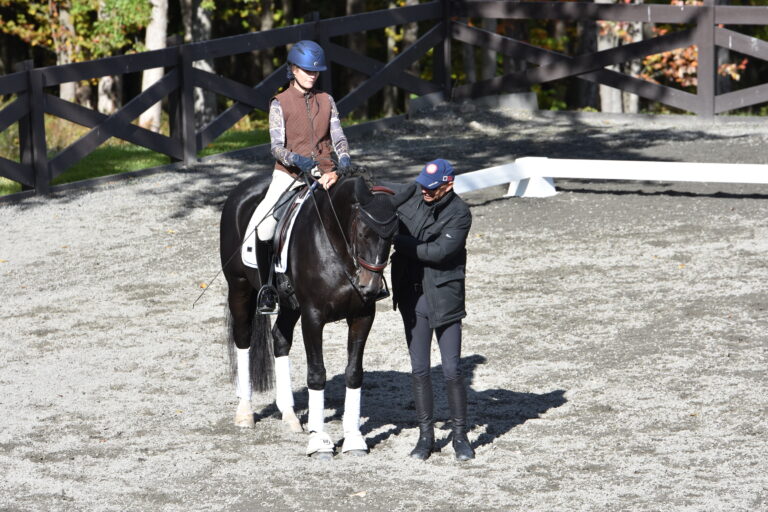
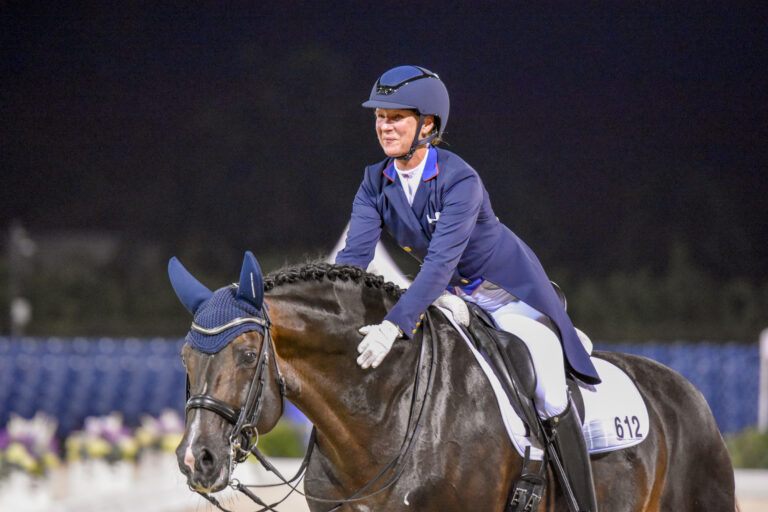
For thousands of years, people have used the horse to improve their lives. No other animal has played such an important role in civilization—in work and play, in sport and war. The horse has been an indispensable partner. Being with horses gives us a way to relate to nature on a deep personal level.
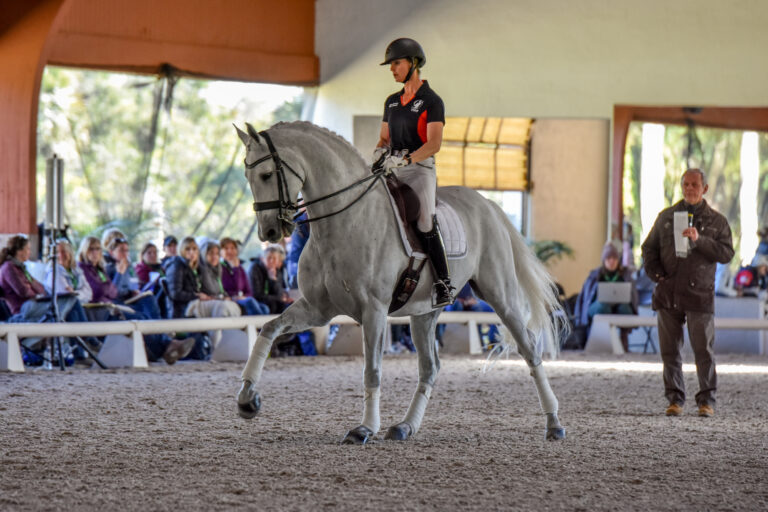
For me, riding dressage is a passion. It is an experience that connects the spiritual, physical and intellectual aspects of my life. Before I ever get in the saddle, I spend a lot of energy establishing a connection with each horse. I evaluate his individual temperament and mood daily and adjust my relationship to him accordingly.
Horse Behavior
The key to success is to learn about the basic nature of horses. My training philosophy comes from watching horses in herd situations. I use this information to understand how the horse’s essential nature affects our efforts to train him. Horses learn quickly when given clear commands by a rider who is fair, patient and consistent. When we make the horse our ally, we will enjoy each ride much more and look forward to the next one.
Since horses are herd animals, there will always be a pecking order. One horse is the leader until a stronger individual comes along and pushes him down a peg. As riders and handlers, we must establish a leadership position from the beginning. I teach every student how to be the “alpha” when interacting with her horse. Horses may test the pecking order, especially when they are learning something new or difficult. If they don’t respect us, we can get hurt easily. You can learn to set limits early on by trying some of these unmounted exercises, and your relationship with your horse will be more harmonious.
Be the Leader
Your interaction with the horse starts in the stall. Ask the horse to back up even before he leaves the stall because this teaches him to respect your space. To do so, stand next to the horse’s shoulder, look him in the eye and use the word “Back” with a cluck of the tongue. A horse does not automatically understand or accept you as the leader, and sometimes you must push his chest or shoulder with your fingers. With an insensitive or dominant horse, use a small crop and tap him on the chest or shoulder. The more you advance, the farther back he should step. When he responds correctly, say “Ho,” to stop him.
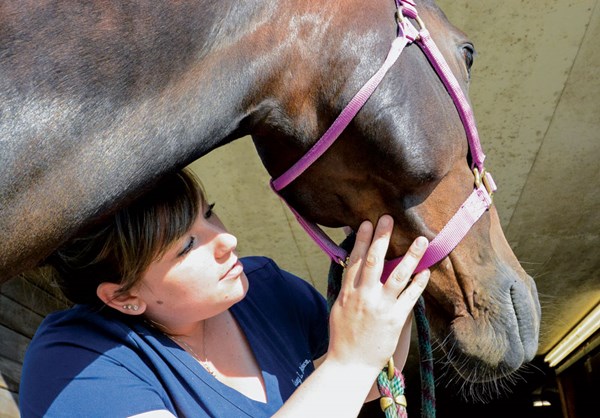
Another exercise to try in or out of the stall is to lower the horse’s head. From the left side, put your left hand on the front of the horse’s face and press gently with your thumb and third fingertip so he doesn’t pull away. Then, reach up to the poll with your right hand. When the horse accepts a small amount of pressure from your fingertips, start to press harder until he understands that you are asking for the head to lower. Patience, persistence and repetition are key. Some horses are quick to catch on but others find this difficult. Every time he drops his head—even a little—reward him by saying “Good,” releasing the pressure and letting him put his head up again. The goal is to eventually lower his head down almost to the ground. The horse must trust and respect you to drop his head. That’s the beginning of a successful relationship. When you ask him with a subtle, light touch and he offers to lower the head right away, you know the horse understands. Not only does lowering the head make bridling easier but it also reminds the horse that he needs to be obedient to all your commands.

(Credit: Marta Stockwell
)
From the ground, you can also practice moving the horse sideways. Start on the left side of your horse. Hold the lead line in your left hand and use your right-hand fingers on the haunches or the barrel to push his haunches away from you as you stand by his barrel. Try to keep his head on the same spot as his body rotates around, step by step, like an unmounted turn on the forehand. Use a tongue cluck as reinforcement. When he moves over, reward him verbally and with a pat. Try this on the right side, too. Once you can see the horse is watching you, use a lighter touch, give the cluck, wait for the response and reward. Next, you can introduce a light, flexible whip and use a tap along with the cluck. You want to see at least three or four steps of the hind legs crossing in both directions.
Whether it is the fingers on the rein, the weight or the leg, the mounted horse must learn to yield to pressure from the aids. The unmounted exercises teach the horse how to respond to aids that will allow you to guide and direct his energy from the saddle. When the horse responds quickly and confidently on the ground to the requests to yield his neck and his haunches, the (unmounted) rider is firmly established as the leader because the horse respects and trusts her authority. Now the rider is ready to mount. The horse is calm and obedient and he is ready to learn something.
Mounted Exercises
Realize that you taught the horse to respond to your aids from the ground and once mounted you give the same aids for the same response from his back. From the halt, test the response to the leg by riding a turn on the forehand. From the left, you use the left leg slightly behind the girth, the right leg is passive and the left rein maintains flexion left while the right rein controls the shoulders and keeps the horse’s front legs rotating around one point. To use your weight aid, rotate your shoulders and hips slightly to the inside when you ask the haunches to move away. If you have a whip, keep it on the inside to reinforce the leg aid if necessary. Once you know the horse understands the requests and responds correctly, you are ready to cover more ground.
Now, ride this exercise that combines the above responses with changes of direction. To do so:
• Start tracking left in the medium walk on a 20-meter circle at C with the whip (optional) in the inside hand.
• When you arrive at the centerline opposite C, halt.
• Using the above aids, ride the turn on the forehand from the left leg for 180 degrees to change direction and then halt.
• Change the whip to the right hand and start walking on the line of the 20-meter circle toward C in the other direction.
• Halt after one circle on the centerline and ride the 180-degree turn on the forehand from the right leg.
• Repeat in the walk and then try the exercise in the working trot as well. When in working trot on the circle, make a transition to walk and then halt before the centerline.
• If the horse starts to anticipate the halt, then make another circle.
• With each circle, you should feel the horse’s balance and suppleness improve.
Mutual respect and trust are the cornerstones of horseback riding. As a rider, your relationship with your horse will improve when you understand what the basic aids are and how to use them to communicate with your horse based on his essential nature.
Kamila Dupont has been riding dressage since a young age. She spent seven years training in Germany, where she competed. Influenced by her classical training with George Theodorescu, Kyra Kyrklund, Herbert Rehbein, Klaus Balkenhol and Jonny Hilberath, she also puts great value in the American concepts of innovation and openness. Today, she has a full-service training/boarding stable in the hills above Malibu, just north of Los Angeles, California.


