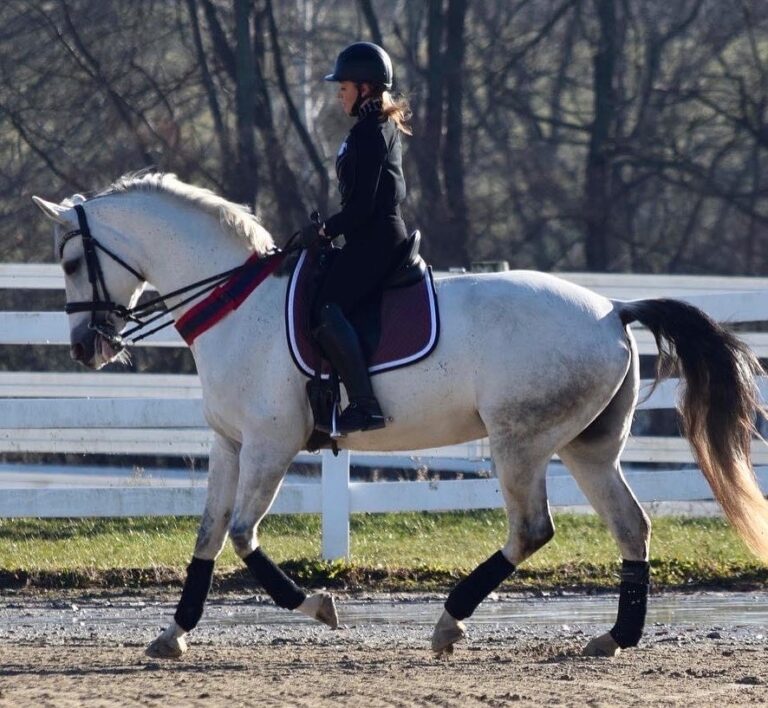
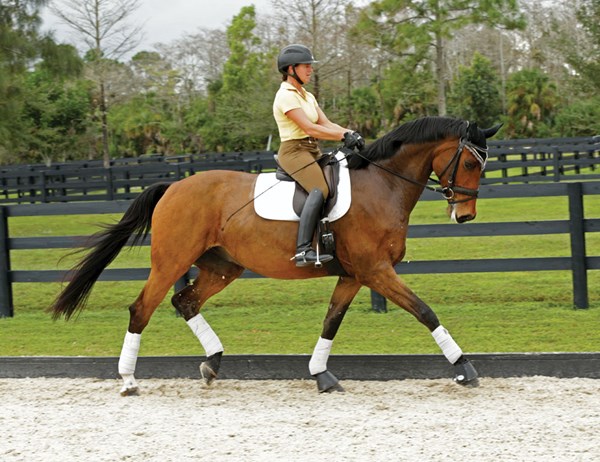
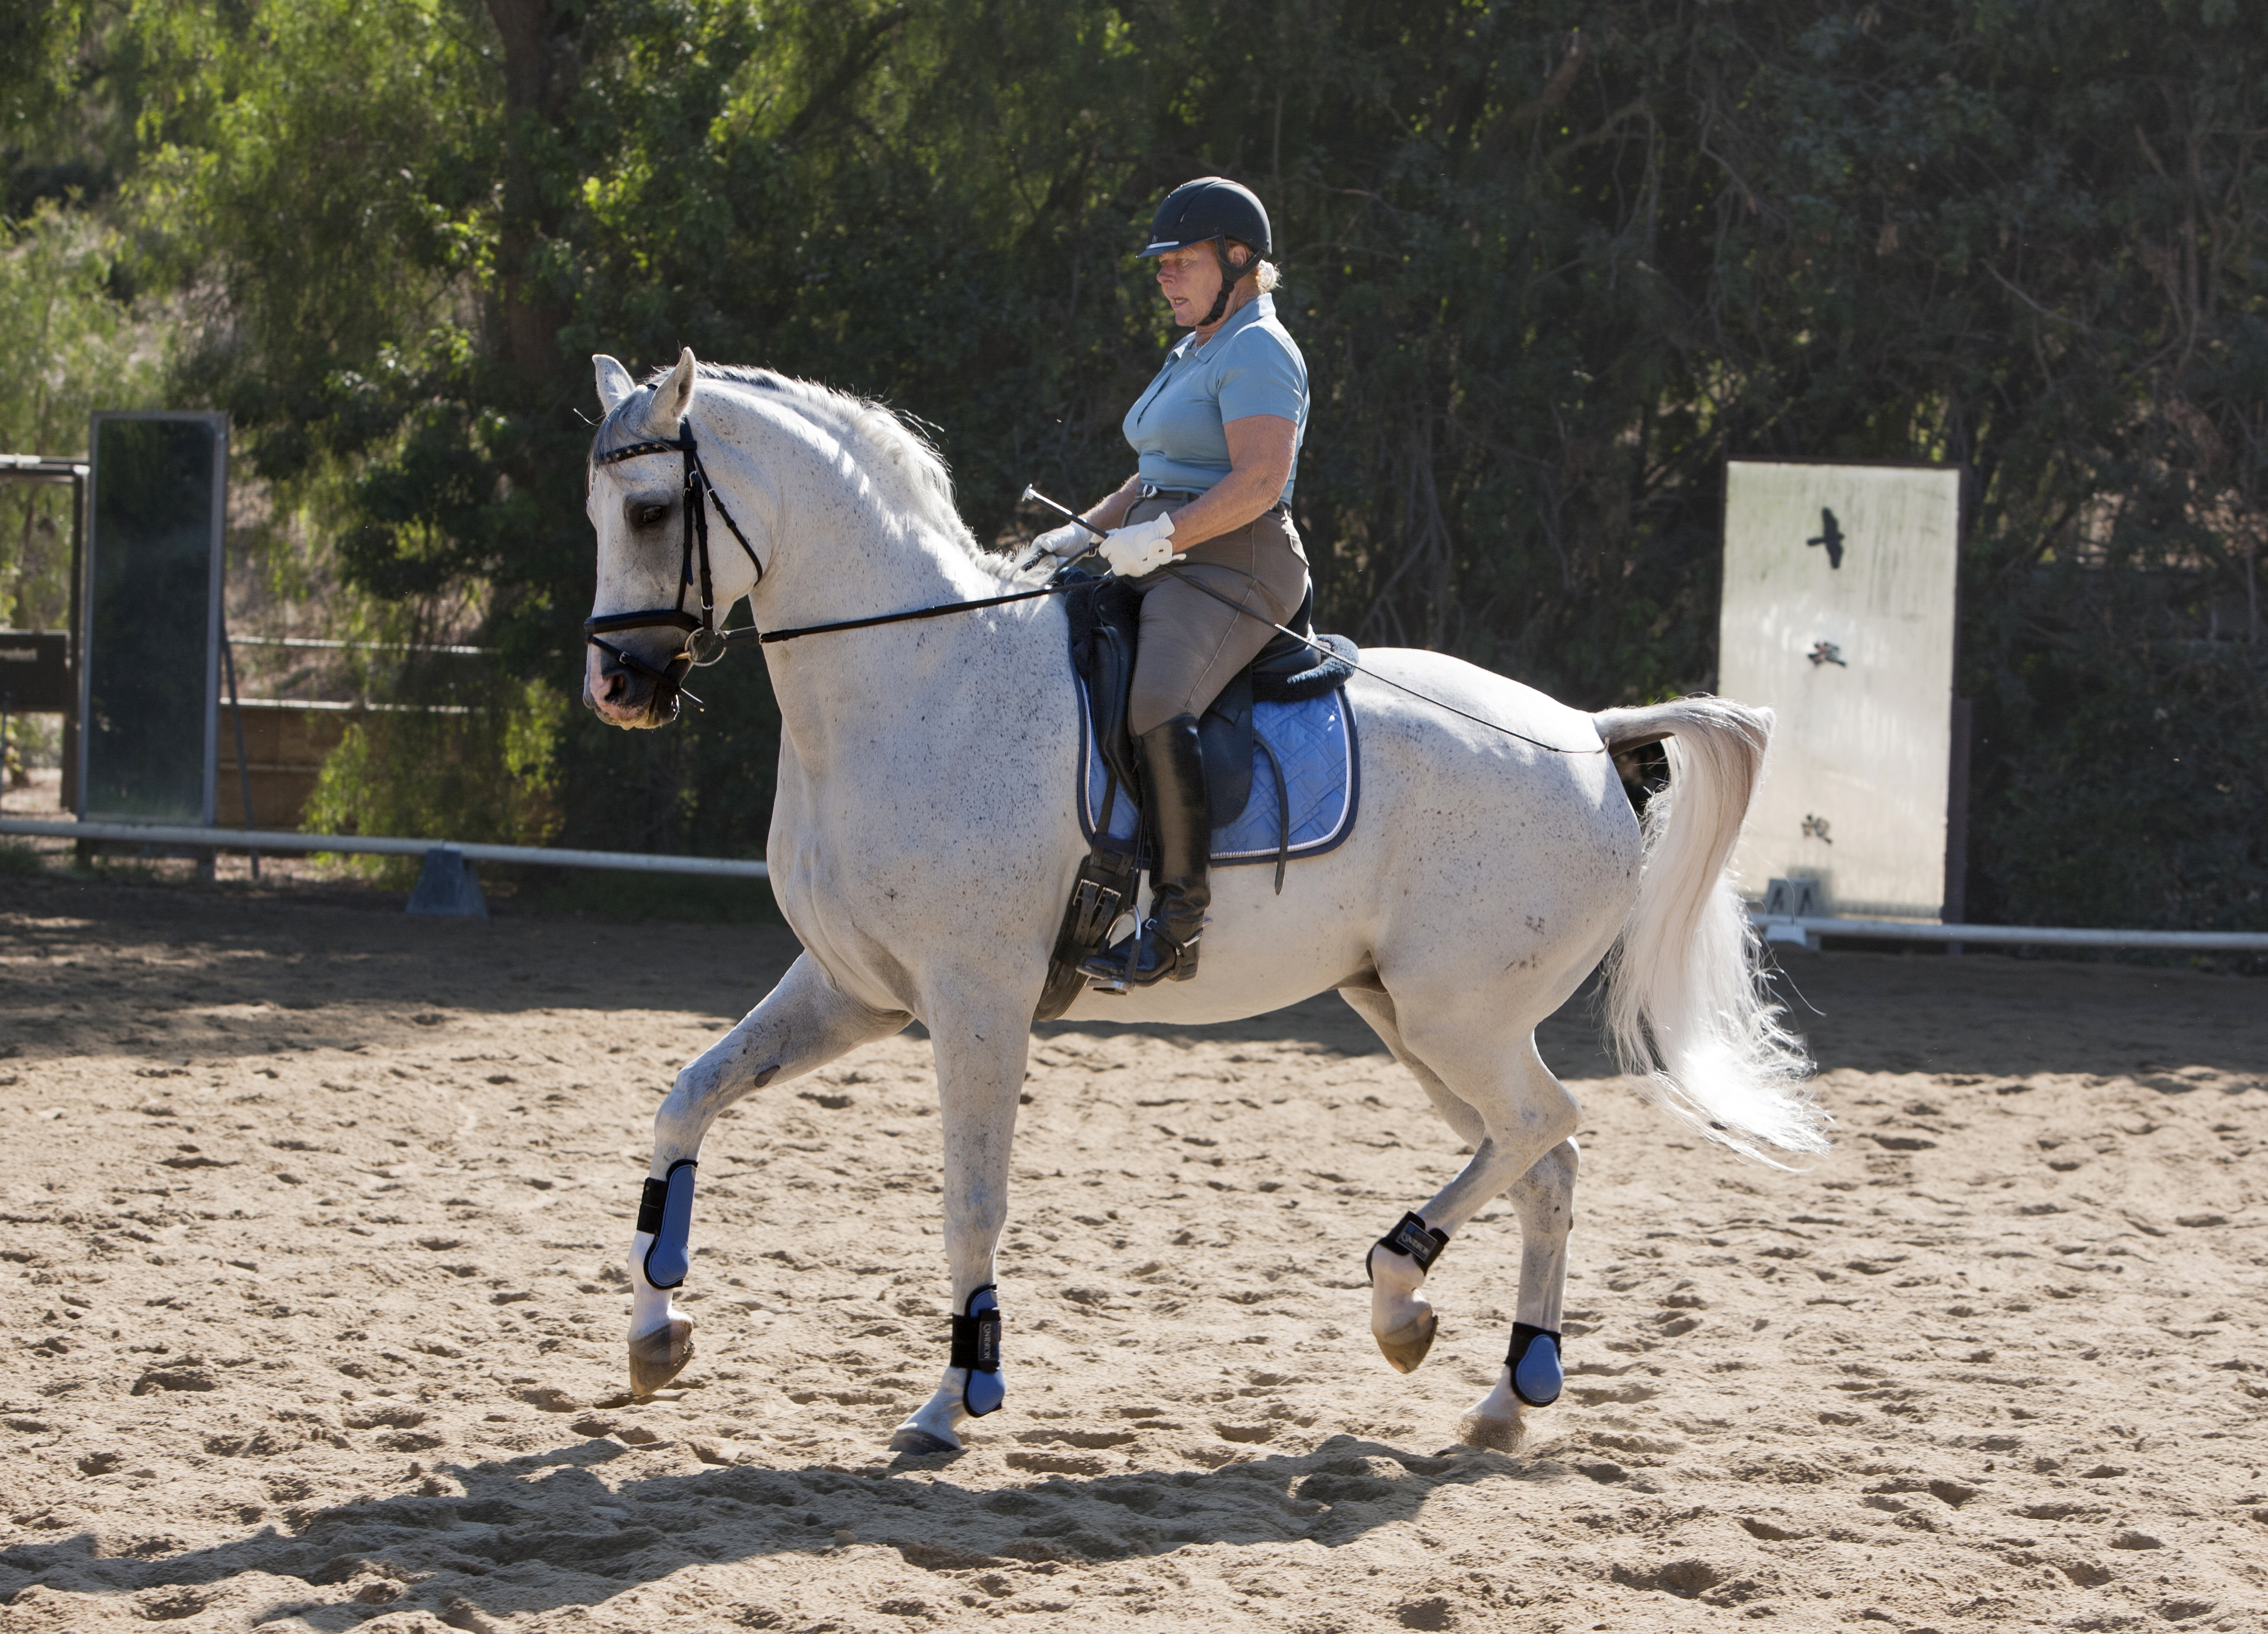
There are many methods of teaching piaffe—the trot in place with a clear diagonal rhythm—and most horses benefit by using a combination. Last month, we discussed how to begin piaffe by teaching “half steps” (short piaffe-like steps) in-hand (click here to read it). This month, I want to talk about how to use a rider. Some talented horses can be taught piaffe by schooling half steps under saddle. Schooling half steps can begin when the horse has developed enough topline muscling to enable him to do a collected trot (Second Level).
I introduce half steps under saddle by shortening my horse’s strides from collected trot until he takes just half a step. I use my legs slightly farther back behind the girth in a rhythmic manner to indicate to the horse that he needs to engage his haunches more. I am careful that my horse understands that my leg aids indicate that he should stay active with his hind legs without moving more forward. Some horses respond better to my using both legs at the same time, pressing in rhythm with their stride. Others respond better when my legs slightly alternate the pressure. I also use shorter strokes with my seat bones and a light restraining rein to shorten the horse’s stride. After several shorter steps, I again ask him to move forward into the collected trot before he loses activity with his hind legs.
When the horse understands to take just half a step while remaining in front of my leg into a connection with the bit, I begin to encourage him to undulate his pelvis and carry more weight on his haunches.
Here are the aids:
1. I brush my legs slightly farther back behind the girth, using them lightly with my swinging seat aids to maintain the horse’s activity behind without causing him to move too forward.
2. Light taps with the whip may be necessary to help the horse understand that I want him to engage his haunches when my legs brush backward. Try tapping on the top of his croup as well as on the sides of his haunches to see where he reacts best. It’s important not to overuse the whip, causing him to tighten his muscles.
3. I cluck along with rhythmic taps to help him maintain an active trot rhythm.
4. When the horse reacts by rounding his loin and engaging his haunches, I halt and praise him before repeating the exercise a few more times.
Talented horses will often begin to offer forward half steps with good lift and flexion of their haunches and joints. These special horses need this talent carefully nurtured. Take care not to practice piaffe for too long a period of time. Reward quickly and well whenever the horse takes a few good steps. Remember that dressage tests never ask for more than 15 steps of piaffe, so don’t do so many that he becomes stressed. I keep a tendency to move forward when schooling piaffe, and I immediately trot forward if I feel my horse losing activity.
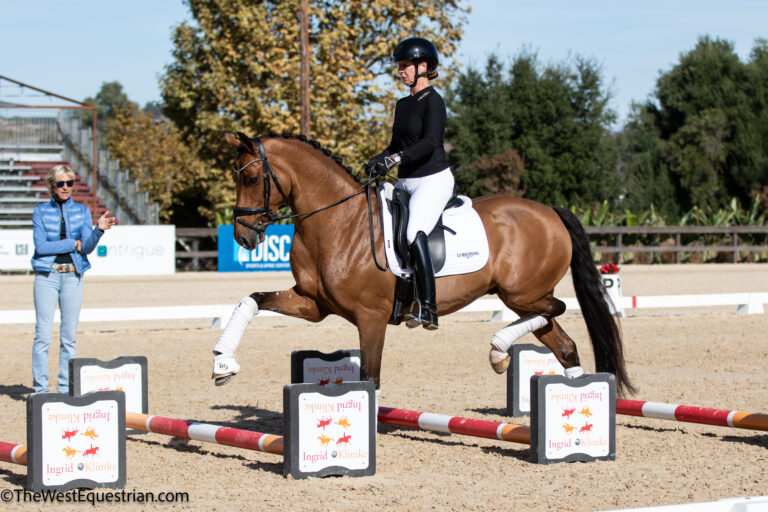
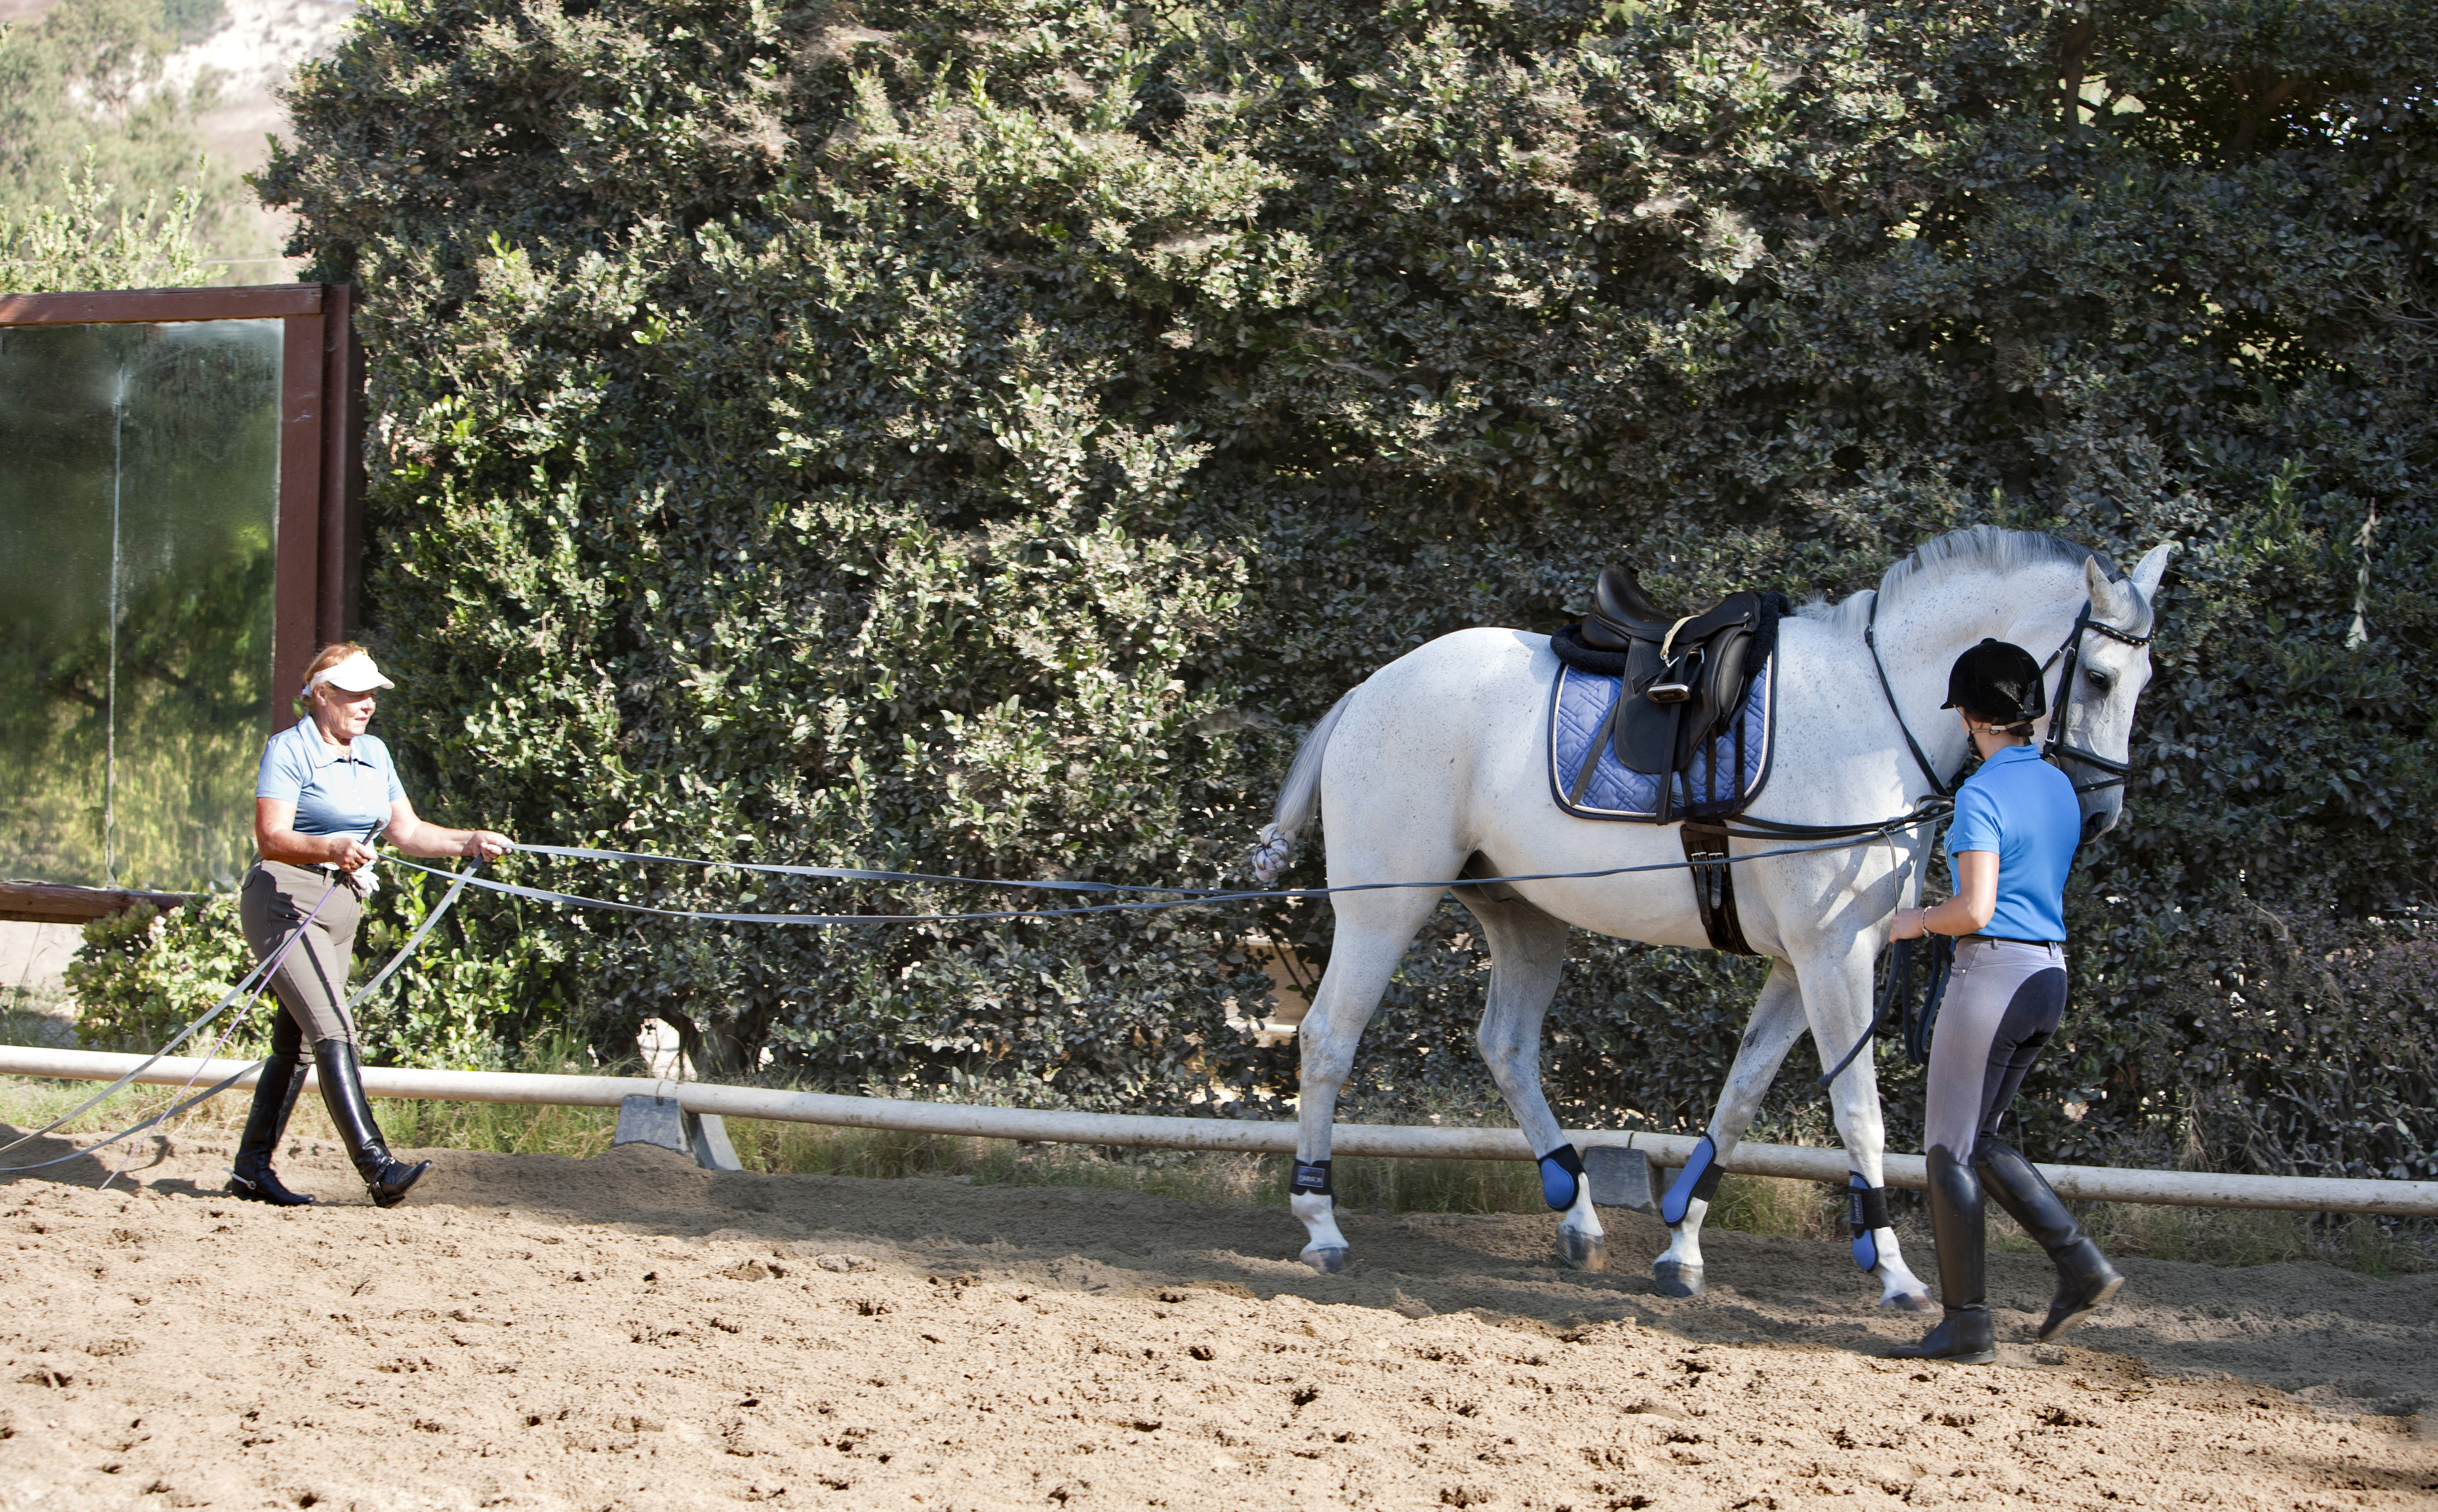
A horse and rider may benefit from using a ground person when training piaffe and passage. In some cases, help from the ground while the horse is ridden can be used effectively to replace work in-hand. However, carrying the rider’s weight may make learning to piaffe more difficult for the horse. The rider must sit quietly so as not to disturb the horse’s balance. It is also the rider’s responsibility to be aware of the safety of the ground person and make sure the horse never gets in a situation where he could injure any one.
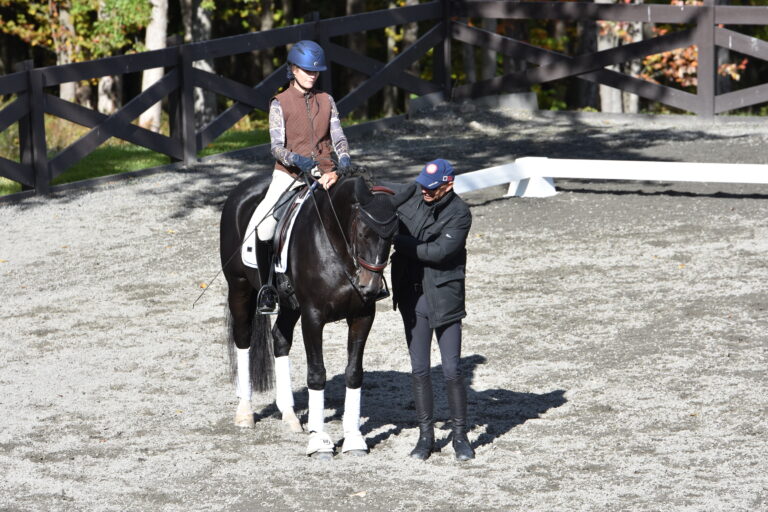
When introducing the ground person to the horse, it is advisable to position him in shoulder-fore so his haunches are angled toward the rail. I usually have the ground person stand near my horse’s shoulder and face rearward. When I am the ground person, I often begin at the halt and ask the horse to pick up each hind leg by giving light taps with the whip and a cluck, always alternating left and right. I reward the horse with pats and treats until he becomes accustomed to my presence.
After the horse willingly picks up his hind legs when I very lightly tap and cluck at the halt, I walk backward with him as he moves forward in half steps. If I feel he needs more activity with his hind legs, I can assist by tapping them with the whip. Tapping on the front of the hind cannon bone will stimulate the horse to pick up that leg, flexing the hock, while taking his weight on his other hind leg.
I tap as necessary to improve the piaffe. Tapping behind the hind leg brings it more forward under the horse’s body, better engaging his haunches.
Tapping the horse on his croup or behind his buttocks usually results in more engagement and a rounding of his back. Whenever the horse has developed enough understanding of piaffe, I have the rider begin to aid for the movement.
Feeling the horse’s tempo and giving the leg and seat aids within that tempo are important when riding piaffe. Aids that are either too quick or too slow may put the horse out of synch. I continue to assist from the ground as needed to help shape the horse so he can learn to perform a quality movement. As he develops understanding of piaffe, my roll as a ground person becomes less active physically and more about giving the rider feedback on the quality of the work the horse is performing.
Reward is the key to teaching piaffe to the horse. After a few improved steps, always halt and reward. I like to give treats when first teaching piaffe. It’s also important to analyze the biomechanics of the horse as he learns to piaffe. It’s easy to have him too engaged so he can’t balance himself without becoming unlevel or bringing his forelegs back under his body. Too much tension also may result in unlevel steps, crossing legs or stepping wide with the hind legs. It takes weeks and even months for a horse to develop the muscle strength to piaffe well. I avoid asking for a lot of lift at first. Maintaining a diagonal gait with the horse rounding his loin and taking more weight on his haunches is the highest priority. Only when a correctly executed piaffe is understood by the horse do I begin to ask for more lift. As the horse develops his understanding of piaffe and becomes physically stronger, I assist only when needed as the rider takes over asking for piaffe.
Long-Lining
Long-lining is another method of schooling that can be beneficial when teaching piaffe, but it is an article unto itself. The advantage is that the horse is worked from back to front, which helps develop his engagement, straightness, activity from behind and use of the back. But it can be difficult for the long liner to evaluate the piaffe unless there is a ground person to give feedback. Another ground person is necessary at the horse’s head to control his forehand when long-lining is first introduced.
Next month, we will discuss the problems that may develop when schooling half steps and piaffe, and I’ll give you strategies for fixing them.
This article first appeared in the January 2012 issue of Dressage Today.
Hilda Gurney is an FEI “I” dressage judge and two-time Olympian. She won a bronze medal in 1976, riding her Thoroughbred, Keen, and she was inducted into the U.S. Dressage Federation Hall of Fame in 2007. A respected judge and clinician, she breeds horses, trains and teaches in Moorpark, California.