I’ve always felt that every rider should have a certain level of fitness—especially trainers or advanced riders. We work toward improving our horse’s fitness daily, so we should at least try to improve our own fitness. Yoga, Pilates and dance are a few of the many forms of exercise that help a rider improve flexibility, strength and endurance. I encourage my students to find a form of exercise they enjoy and are committed to because it will help their riding. For me, I have found the most improvement in my riding and physical development through CrossFit.
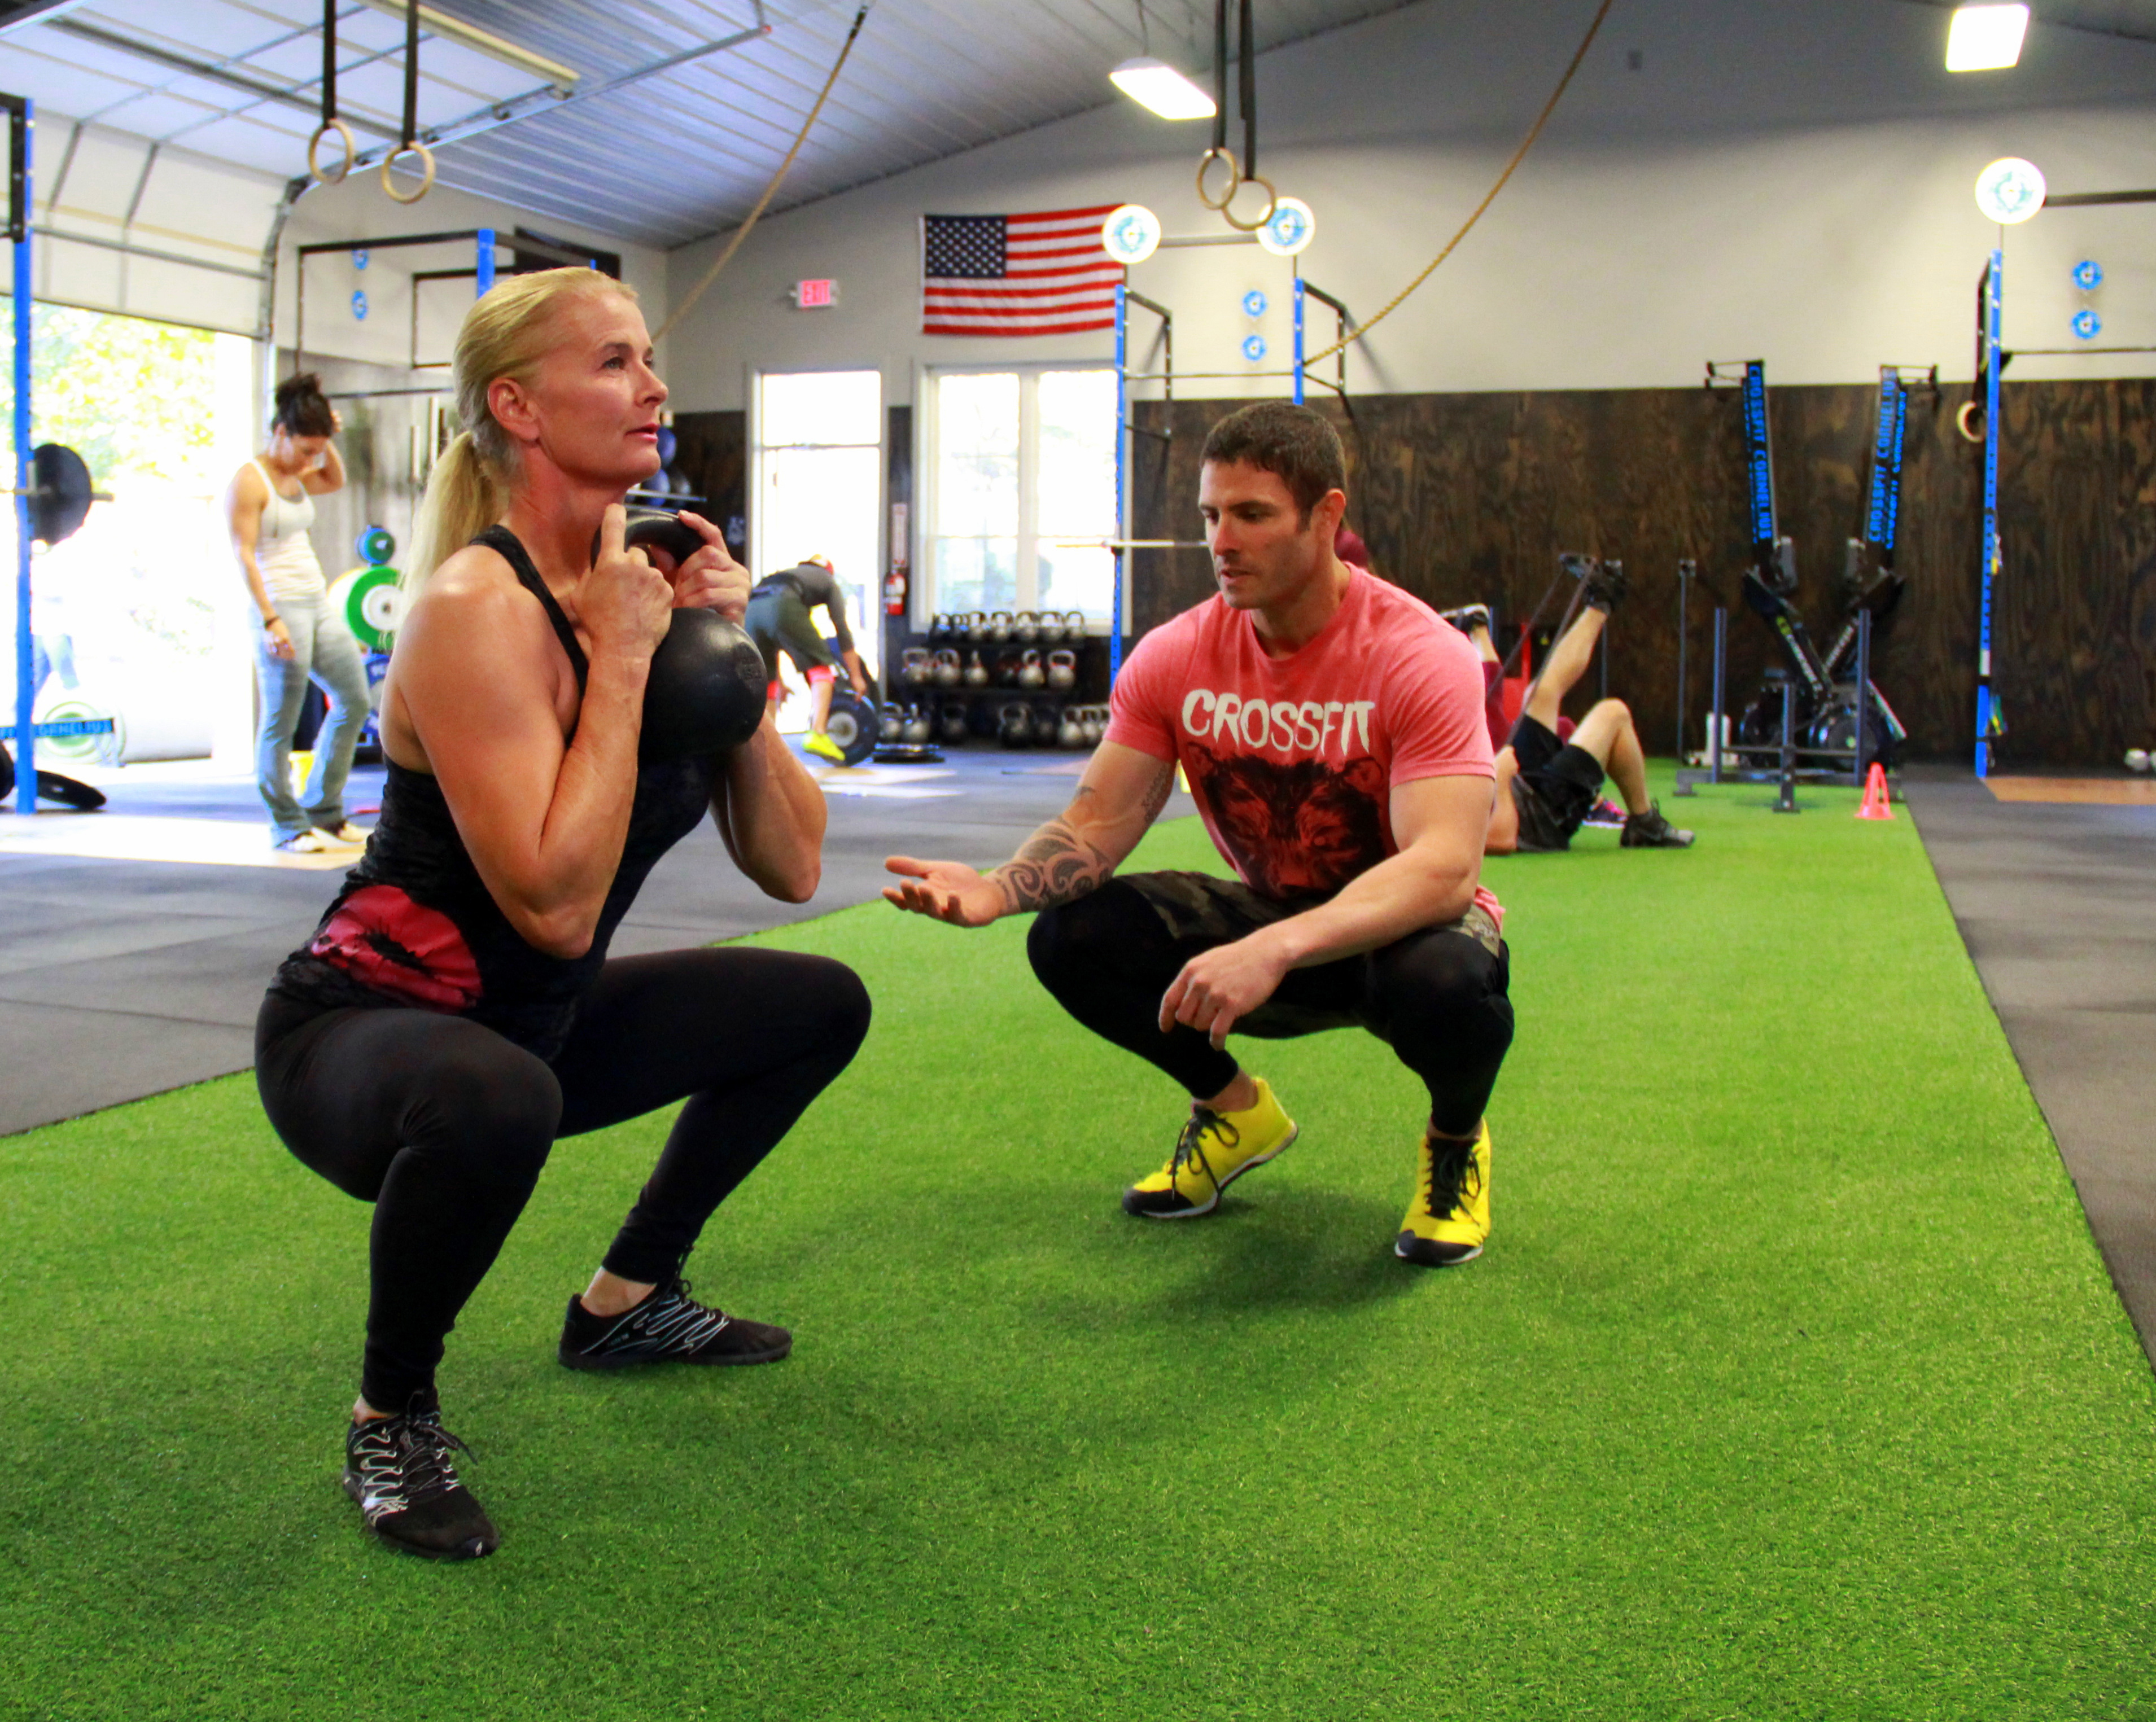
CrossFit is a combination of track and field, gymnastics and weightlifting. It’s like dressage in that there are building blocks toward advanced movements. The focus is on mobility (suppleness), core strength (balance), overall strength and endurance. The many movements (such as pull-ups, Olympic lifts, box jumps, muscle ups, double-unders and much more) in CrossFit develop the body systematically just as dressage does for your horse when he first learns shoulder-in and builds to tempi changes, piaffe, passage and pirouettes. CrossFit offers a systematic training process to develop people in the correct manner, so as each movement is presented, the person, like the horse, is ready to accept it and progress to a higher level. I also like its competitiveness. Most workouts are timed, so it’s fun to see how you compare with others, and I enjoy the camaraderie. The squat is the CrossFit exercise that has perhaps helped me the most, and I recommend it to my dressage students.
Why Squats?
The squat is a staple of CrossFit, and it’s especially beneficial for riders because it requires ankle, knee, hip and lower-back flexibility. It also requires core and back strength to maintain an upright upper body—just what we need for riding.
Squatting is also an essential movement pattern to our daily lives, from sitting in a chair to squatting down to tie shoelaces. Every able-bodied person should try to perfect the squat as it will improve stability, leading to better mobility and flexibility.
Despite widespread false information, squatting is not detrimental to your knees. In fact, squatting keeps your hips, back and legs functioning at a high level, even into your golden years. Mike Ratnofsky, owner of CrossFit Cornelius, the gym where I train, has all of his athletes begin with the air squat or body-weight squat.
Squatting is a great addition to your health-and-wellness plan, but seek the help of a trained professional to ensure proper mechanics. I am 50 years old and fitter than I was when I was 25. CrossFit is functional fitness that helps in everyday life. It gives me confidence, flexibility and strength in my riding. I have also seen improvements in my students who do CrossFit regularly or just incorporate some CrossFit into their own workout program.
Exercise 1: Air Squat

1. Stand with your feet hip-width apart with your toes pointed slightly outward. Your arms should be hanging loose by your side with your head in a neutral position. Look at the horizon and never down or up.
2. Engage your core muscles and push out your chest slightly by pulling your shoulder blades (scapula) toward each other.
3. Bend your knees and push your buttocks and your hips back and down. As you lower down, raise your arms in front of you. Make sure to keep your torso upright. Keep your weight on your heels and make sure your knees are over your toes but not beyond them.
4. Come down until your thighs are below parallel to the ground or as far down as you can get them. Make an effort to keep your knees externally rotated (don’t let them fall inward).
5. Straighten your legs and squeeze your glutes and hamstrings to come back up, lowering your arms back to your side. Be sure you do not lean forward or shift balance to the balls of your feet.
Points of Performance
• Keep your weight on your heels.
• Keep your torso upright with your shoulders pulled back.
• Keep your feet hip-width apart with your toes slightly pointing outward.
• Focus on spreading the earth apart with your feet as you ascend, rolling the pressure to the outside of your feet to ensure proper mechanics.
• Squeeze your buttocks at the top of the squat and try to do the same throughout the entire range of motion (aiming for neutral hips during the entire squat).
• Your buttocks, back and core muscles should be engaged the entire time.
• Raise your arms while squatting down and bring them back to your side on the way up, keeping your shoulders back.
• On the downward portion of the squat, aim to go below parallel.
Common Faults to Look For and Avoid
• Knees rolling or caving inside of ankles/feet as you sink down into the squat
• Head dropping down, which will typically bring the torso with it
• Rounding of the back or loss of core tension
• Heels rising off the ground
Form and mechanics should always trump the number of repetitions of the squat. Never progress to a loaded or goblet squat with weights until you have perfected the air squat.
If the air squat is too difficult or you need to correct one of the common faults, begin with the box squat.
Exercise 2: Box Squat
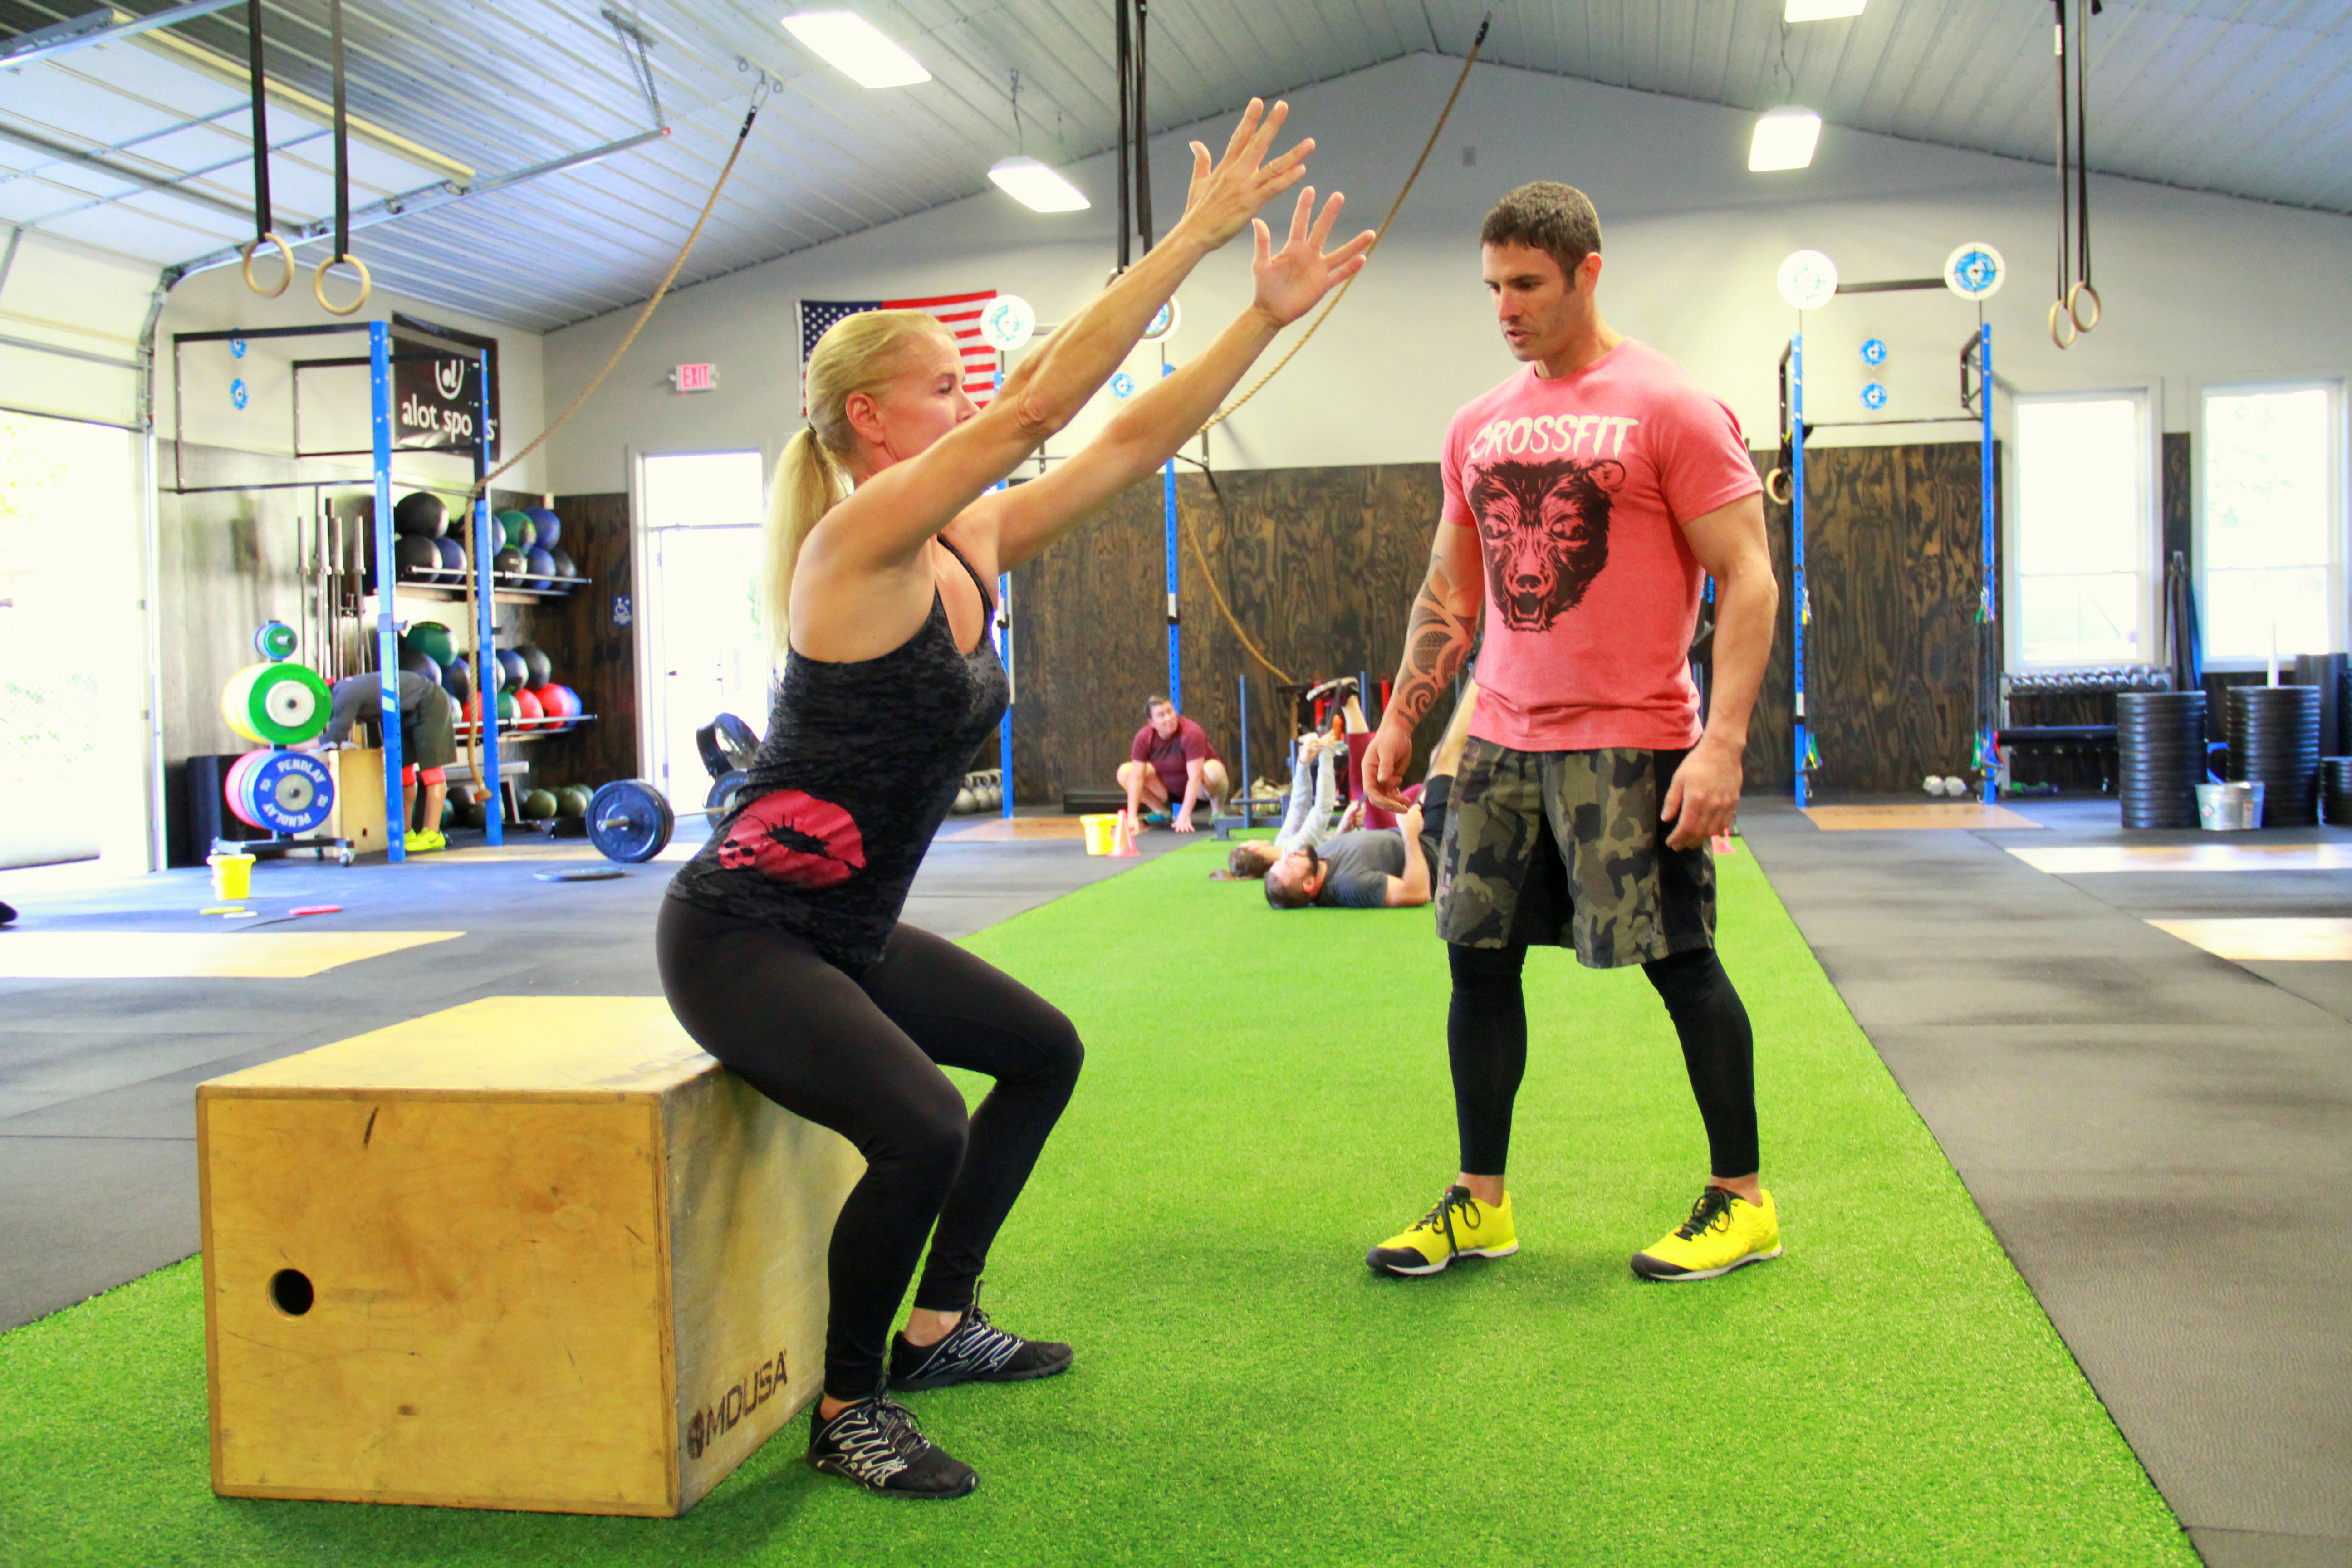
1. Maintain the same techniques as described in Exercise 1.
2. Squat to a box or chair.
3. Pause for two to three seconds on the box/chair without releasing your core tension (e.g., maintain proper form as if the box were not there).
4. Squeeze your glutes to come back up and do not shift your balance to the balls of your feet.
Stacey Hastings is a USDF Certified Instructor through the FEI level. She is a USDF bronze, silver and gold medalist, training out of Painted Meadow Farms in Mooresville, North Carolina. She and her students have won many regional and national USDF awards. In 2015, CrossFit’s world ranking put Stacey 108th in her age group out of about 2,000 women. She also competes locally in CrossFit in the masters division.