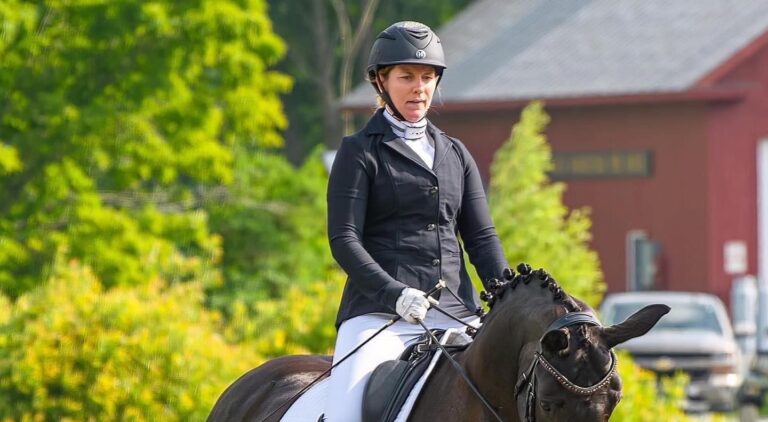
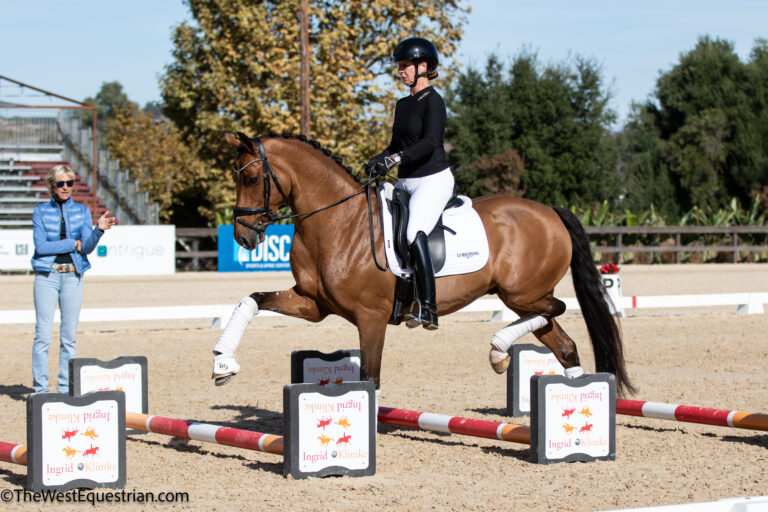
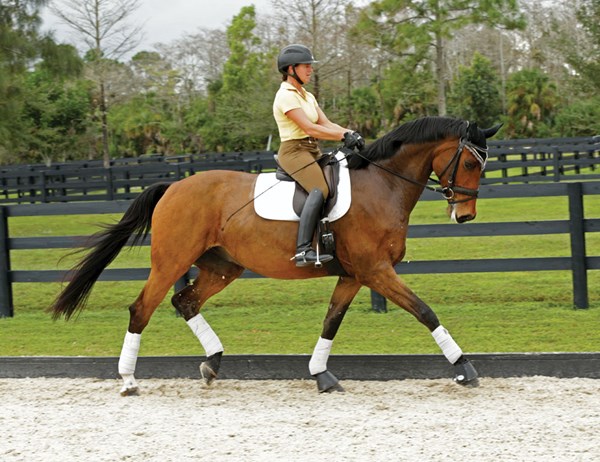
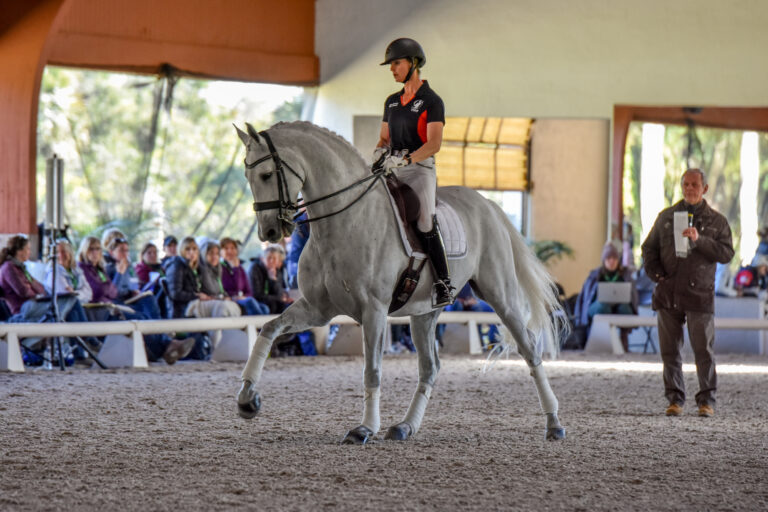
The piaffe is a very light, cadenced trot on the spot—or nearly so—which is introduced in the FEI Intermediaire II test. The judges want to see a horse who is regular, steady in the rhythm and engaged-lowered a little behind and raised in front. The piaffe should look effortless, straight and in the same tempo as the passage, so the horse is very fluid going in and out of it.
Some people ask about the different types and builds of horses who can learn to piaffe, but generalizing about favorable versus difficult conformation is hard for me. Some horses that you wouldn’t expect could possibly piaffe find it very easy. For example, I teach a 6-year-old Quarter Horse who is built downhill and is very stiff. The owner wanted to learn how to begin to train piaffe. She had been making the trot steps smaller, and I just asked her to make them even smaller. He’s doing it very easily-as if he knew what he was doing. One of my current horses has started the piaffe as if he already were trained to do it, and I’ve had a few others who have had to work to learn it because it didn’t come to them naturally. I can’t say that the conformation of one was better than another. There are many different ways to develop the piaffe. However, I generally think of the development of piaffe in three stages and, bit by bit, I always try to work toward the finished product. In this article, we’ll talk about the first two stages, and next month we’ll talk about stage three-developing the beauty of the movement as it appears in the test. Here are the three stages:
• In the first stage, the horse often doesn’t use his front legs or hind legs well. He is working toward an understanding of what the rider wants. Some horses who take to piaffe naturally will skip this stage.
• In the middle stage, the horse can do a few half steps at a time and eventually, after several months, is strong enough to do them in shoulder-fore all the way down the long side or on a 20-meter circle in each direction without losing the rhythm. While this marks a level of achievement, it is also a good exercise even after the piaffe is learned in order to
further develop strength.
• Finally, the horse can piaffe as he will in the test. In order to make the piaffe beautiful, we’ll do additional suppling exercises next month.
When to Start
The time for introducing the preliminary piaffe work depends upon you as well as your horse. I usually start thinking about it when the horse is 5 or 6 years old. However, throughout the 3- and 4-year-old years, the horse must always be round and
accepting the bit. From there, it takes me several years, little by little, to establish the prerequisite skills for piaffe. Before beginning, I make sure that I’ve covered the following bases: My horse has been trained to step forward to the bridle from the leg—not running as if he’s coming out of the starting gate or going into a lengthening—but he should step ahead with the hind legs into the hand. He must be engaged in the collected trot, working through the back, responsive to the aids and able to do medium trots and extensions. I achieve this by doing many transitions: walk-trot, trot-canter, walk-halt, trot-halt, walk-canter-walk-all things to get him engaged.
In addition, my horse should keep moving on his own after I stop closing my leg. This is important because my hand aids should not stop his hind legs in the piaffe. I don’t mean that I would have no leg because my leg does hang on his sides, but ideally I want my horse to maintain the walk, trot or canter on his own. Then when I use my hand, I won’t have to put my leg on unless he stops going on his own. Some horses keep going a little easier than others.
My horse also needs to understand the half halt. When my leg is quietly on and my hand closes, my horse yields to my hand and comes back. He brings his hind legs under and compresses his frame for just a few steps from my hands and my weight. I want to communicate to his mouth with just enough pressure to prevent him from going on as much as he would when I give the rein.
After my horse can go forward and come back, he further develops elasticity between my hand and leg so he can go forward and come back fluidly with rhythmic and relaxed steps—a little bit like a yoyo. It takes a few years of training to get to this point. Since the piaffe is a trot in place, I need to develop the trot in motion so my hand will allow a specific amount of going forward and a specific amount of coming back—whatever I want. It’s up to me to make this elastic connection.
Finally, my horse needs to develop strength as well as suppleness. To achieve this, I do lots of shoulder-in and shoulder-fore—not as it is in the tests but on long sides and circles, and more long sides and more circles. Shoulder-in is an excellent exercise for developing a horse to carry more weight behind. I also do leg yield, haunches-in and half pass until he’s strong and fluid.
The Key to Piaffe
Because I usually work alone, I do 99 percent of my piaffe training in the saddle. When I start to train a horse to piaffe, I never train the movement as it is in the test because the horse isn’t strong enough. I want the real piaffe “on the spot” to
come in another year or so. For now, you’ll be asking for “half steps,” which are piaffe steps that are allowed to advance six to 12 inches instead of being on the spot. In fact, at first you might not even get half steps. Your initial effort simply might produce shorter steps, which is fine.
From the collected trot, I introduce the half steps in a very slight shoulder-in in both directions. There are several reasons why I do this. First, I can keep my horse supple and between my aids. During the early learning stages, he can
accept being pressed with my leg and held back with half halts much more easily while he is in that slight angle and bend. The movement also helps me to keep my horse supple and on the bit. In my horse’s previous training, I have used
this very slight shoulder-in in my transitions, and the piaffe exercises in this article are just more transitions: bringing the trot down to smaller steps and back up to larger steps. The slight shoulder-in also develops equal strength left and right, and it averts common problems by controlling the straightness and the weight distribution. As a result, crookedness does not become a problem, and he won’t get “wide behind” or “swimmy” where his hind legs are out behind him—both of which are caused by the horse losing engagement.
And how will you get these shorter steps? You’ll keep your horse in a slight shoulder-in angle before you decrease the size of the steps. You’ll combine your half halts and your leg aids (for the moments when he doesn’t keep going on his own) so they become quite close together. Nudge him a little more with your leg and then take a feel with your hand (by closing the fingers-not by pulling) and hold against him a little. By telling him to keep
going with your leg, but not letting him go ahead much with the hand, you’ll ask your horse to respond by taking smaller and smaller steps. After one or two steps, go back to a normal, engaged collected trot in shoulder-in. Before trying the exercise again, check to be sure he is carrying himself quietly. Be as smooth and fluid as possible. Then tell him that he’s very good. It’s really simple. Keep developing that ability more and more. The development of the piaffe has to be so gradual that it takes six months, a year or two years to make it good enough for the show ring. And, if you’re not interested in showing, making your horse strong enough so he can piaffe on the aids when you ask for it will still take that long.
Before I explain three exercises to help you develop the piaffe in more detail, here are some additional guidelines:
• As you repeat the exercises, increase the number of half steps gradually so your horse stays happy.
• If your horse is getting nervous in any of the exercises, don’t drill. Review basic training, and try again tomorrow or the next day.
• If he’s calm and trying to figure out what you’re asking, try another series of steps.
• Ride the transitions as smoothly and as steadily as you can. Try not to disturb the rhythm, the tempo or your
horse’s brain.
Next, I’ll further explain the exercises.
Half Steps on the Long Side
You’ll do the first exercise on the long side of the arena.
Step 1: Traveling first in collected trot, ask for a slight shoulder-in on the long side from M to R. In this position, you
can control your horse’s straightness and suppleness.
Step 2: As you approach R, start asking with little half halts to shorten your horse’s steps while maintaining shoulder-in.
Be satisfied with only a few steps that are shorter, as long as they keep a good rhythm and he stays forward to the hand. He’ll feel compressed and slightly elevated but will keep the same rhythm.
Step 3: Before reaching B, return smoothly to the collected trot in shoulder-in. There are 12 meters between R and B, so make sure you’re back into trot again by B. I use that space as a guideline so that I don’t get carried away and do the piaffe longer than I should. Repeat these steps on the next long side. Go fluidly in and out of the short steps like an accordion
opening and closing smoothly. Practice the exercise equally in both directions.
Half Steps on a Circle
Now you’ll do the same exercise on a circle in shoulder-in. Be sure to stay on the track of one circle.
Step 1: Pick up a collected trot and work on a 20-meter circle. Ask for shoulder-in.
Step 2: At the half points of the circle (the centerline and A or C), half halt to bring your horse back to shorter steps for
five or six strides. Count them to make sure you don’t do too many.
Step 3: Proceed smoothly into collected trot in shoulder-in. At the next half marker, ask for the shorter strides. Over months, try to do the shorter strides on the quarter points of the circle. This helps make your horse much stronger for the time when he will be doing a real piaffe.
Half Steps from the Walk
Some horses who have a very good collected walk find it easy to learn piaffe from the collected walk. Since piaffe is a trot in place, I think of it as trot. In my own head, I make it that simple. I focus on the diagonal rhythm and think of piaffe as trot in the same way that I think of an extension as trot.
Step 1: From the collected walk, walk in a slight shoulder-in.
Step 2: Ask for trot, but work toward short, active steps and do little half halts to keep the trot from going very forward. Eventually your horse will start trotting more in place. Keep the shoulder-in during the half steps.
Step 3: Now go smoothly forward into collected trot in shoulder-in, then transition to walk. Repeat the exercise.
Common Problems
The piaffe, which represents the highest degree of collection, not only requires the horse’s basic training to be well established, but the list of common problems is as long as your arm. Each of these problems is linked to a problem with the horse’s basic training. One common problem is that sometimes your horse will lose his rhythm, which means the work is too hard for him. You’re either bringing him back too far, keeping the strides short for too long for his strength or doing the exercise too quickly instead of gradually decreasing and increasing his steps. Come back and go ahead as smoothly as possible. If you’re just thinking “stop and go,” that can interfere with the rhythm. I use the rhythm as a guideline, and if I lose the rhythm, I go back to the trot. As your horse gets stronger, all of a sudden you can stay in the half steps for 10 steps without losing the rhythm.
Your horse must be in front of the leg and on the aids. If he’s not, work him through more transitions within and
between the gaits. The degree of lightness reflects the amount of engagement, so the more engaged he is, the lighter he will be. Be sure that your horse is going in front of your leg so that he will keep stepping elastically into your hand when you apply the half halt to shorten his stride. If your hand is holding too hard, your horse might stop or even rear or back up. You have to feel how much the half halt will control the speed. Your hands don’t hold; they make little movements—slower, quicker or whatever your horse needs to communicate.
We all see riders who end up whacking with the whip and pulling with the hand. In this case, the forwardness and
elasticity within the aids are missing. Go back to exercises to redevelop your horse’s basic throughness. Many riders ask for too many series of steps, which can make the horse sore and unhappy in his work. In the beginning, two or three times in each direction for three to six steps at a time is enough. Your horse can be easily frustrated. I try not to do the piaffe work every day—maybe every other day for very short periods of time. Repeat short sessions instead of staying in it. I look at the piaffe as a weight-bearing exercise. Sometimes a horse can get hollow and resistant. I train piaffe from the shoulder-in, which will prevent this.
A horse who is “swimmy” is not engaged. He is too “floaty,” and his hind legs are behind him instead of under him. This horse needs to live in shoulder-in a little longer because he needs to be able to carry the hind legs under. The horse who is just jogging is usually a stiff horse who is not working through the back. He needs to redevelop elasticity in the trot. Do more transitions within the trot and work more on lateral exercises. Most horses have one weaker side. You need to be careful to work both sides equally. If one hind leg is slower, you don’t want to overdo that side. For example, if the right hind leg is slow, then shoulder-in right and haunches-in left will help it, and you might tap him with the stick a bit to help him to pick that leg up a little quicker. But I keep doing the exercises equally left and right each day.
Some horses step on themselves or cross the front legs in the piaffe—they just mechanically have a funny way of doing it. They’re either not quite ready or they don’t understand. You just need to develop the piaffe more slowly.
When you start to teach your horse to piaffe, if you do only a few half steps toward the movement, he’ll get used to the smaller steps and not mind your asking. Ask for an effort, praise him and then leave him alone. Make the effort again, praise and then move on to other work. Then he will start to understand and think it’s kind of fun.
Shelly Francis of Woodstock, Vermont, and Pikant represented the United States dressage team at the World Equestrian
Games last fall in Rome, where the team came in fourth. The two have been competing successfully since paired in 1991. They were selected as alternates for the 1996 U.S. Olympic dressage team and were the 1997 U.S. Equestrian Team Grand Prix champions.


