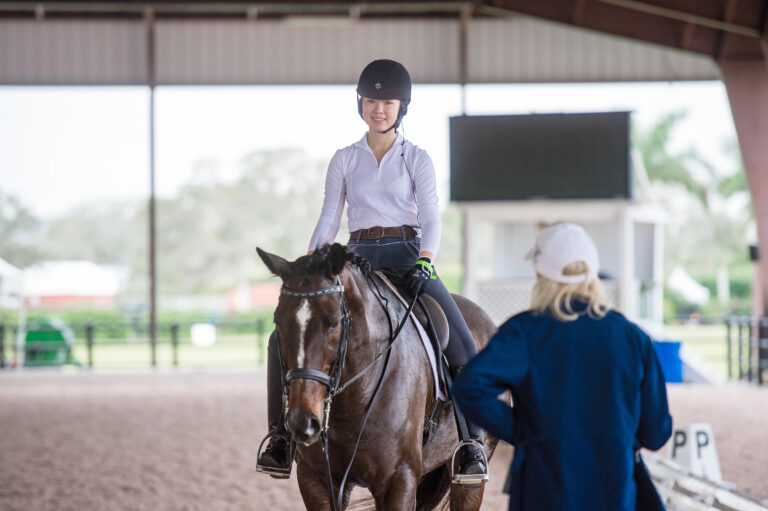
When some people hear the word “biomechanics,” their eyes glaze over at the thought of scientific mumbo jumbo, intricate explanations and hard-to-follow content. However, Mary Wanless, researcher, author and creator of The Naked Truth of Riding Symposium, demonstrated adjustments to the rider’s body that were easy to understand and showed immediate, positive effects on the horse. The two-day clinic was held in 2008 at Honeybrook Farm in Hockley, Texas.

Dr. Hilary Clayton opened the symposium by demonstrating exercises from her book Activate Your Horse’s Core. Then, we watched Wanless and her longtime student, Heather Blitz, illustrate biomechanics in action, utilizing Wanless’ three decades of studying elite riders. The audience of more than 100 from all over North America began to rethink their riding ways. Following are some of the most common adjustments made
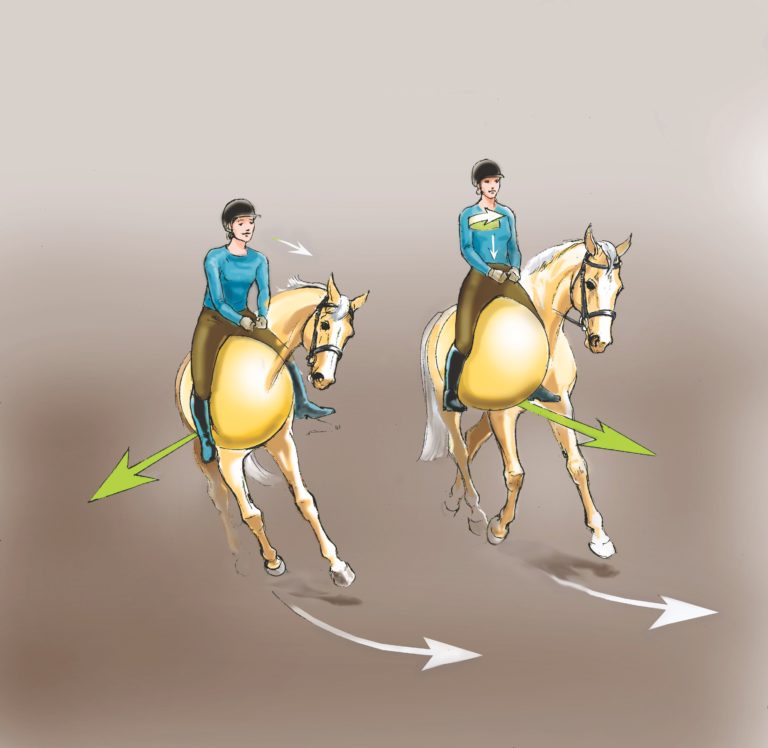
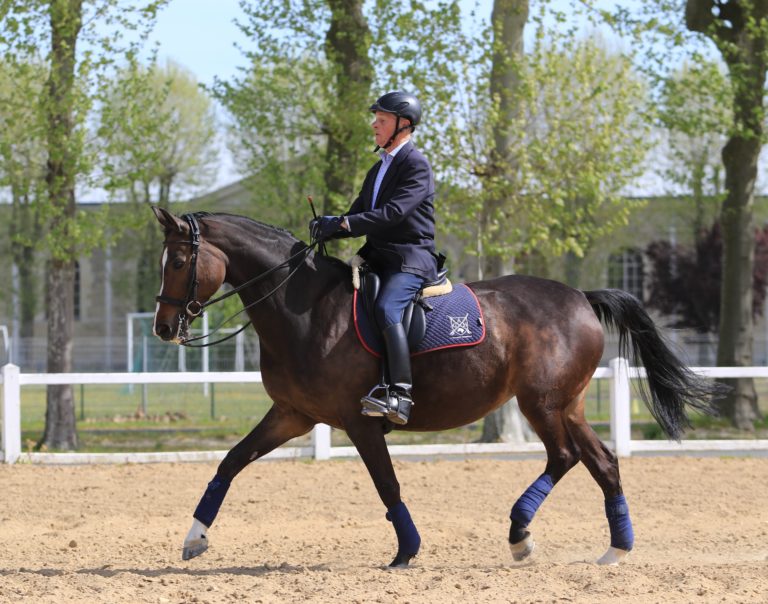
1. Plug in your seat bones. At the halt, Wanless had a rider momentarily lift her legs up so her knees were over the front of the saddle. Then, she could more easily feel where her seat bones were, put equal weight in them and point them straight down. This “plugged-in” seat created a vertical, more symmetrical rider position that helped the horse’s balance.
2. Rotate your thighs. From this position, Wanless brought the rider’s thighs into a 45-degree position and rotated them inward (like snow plowing on skis) until they rested on the inner seam of her breeches and her heels fell naturally under her hips. With calves neutrally off the horse, these rotated legs were quieter and more effective in giving subtle aids. The horse became more responsive.
3. Stack your torso. Wanless vertically lined up the rider’s collarbone, sternum, belly button and pubic bone. She pulled down the rider’s rib cage until the torso’s front and back were of similar length. Because this “stacked” torso gave the rider a lower center of gravity and more stability, the horse stretched into a steadier contact.
4. Connect your thighs. Wanless asked the rider to use the length of her inner thigh muscle to lightly push against the saddle. This connection spread the rider’s weight across the horse’s ribs and helped her sit closer to the saddle. Note: This isn’t gripping with the knees. At rising trot, the thighs rotated about the fixed point of the knee, like windshield wipers, as the rider’s pubic bone moved over the pommel. The posting became smooth and energetic, and the greater the thrust, the more active and expressive the horse’s trot became. At the sitting trot, these “connected” thighs helped the rider emulate the motion of the trot. This connection with the thighs also freed the rider’s lower legs to keep the horse nicely forward with light and sensitive aids.
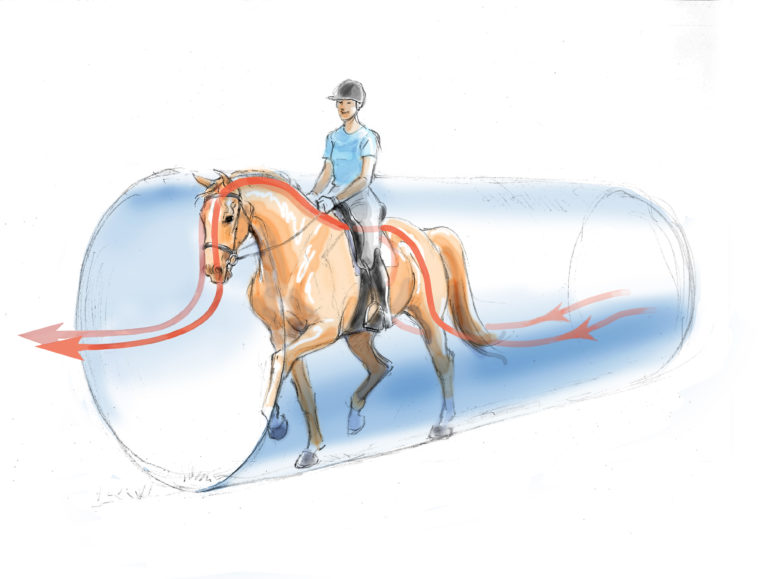
5. Bear down. To teach an easy way to activate deep core muscles, Wanless had a rider clear her throat so she could feel the push against her abdominal muscles and the tone in her back muscles. Bearing down enabled her to match the forces the horse’s movement exerts, giving her more stability, control and better half halts.
6. Lift the horse in the canter. By emphasizing the uphill beat of the canter, Wanless had a rider use her thighs to pull her pelvis backward like a sling shot. This creates a lifting sensation that helps the horse sit more on his haunches, making the canter rounder, uphill and expressive.
7. Develop stillness. Being still is not sitting passively but proactively matching the forces a horse’s movement exerts on the rider’s body. A skilled rider is relaxed but not a rag doll–toned but not tense. Blitz made “stillness” look easy, but she exclaimed, “My muscles burn! It takes a lot of isometric strength.”
8. Retain the adjustment. To help riders retain their new positions, Wanless had them describe it in their own words. For example, one rider who thought she sat tall and elegant (but was actually behind the vertical) now knew to feel “forward and scrunched down” to be correct. Wanless stressed the importance of being willing to ride differently than what feels “normal.” Familiar feels right, and correct feels weird or wrong. With a bit of patience and a lot of repetition, she said the adjustments would soon become second nature. Even though the demo riders differed in their skills and abilities, they were all motivated in the relearning process by the improvement in their horses that resulted from each little correction in their bodies.
Rider biomechanics goes beyond these necessary first steps. Ultimately, it shows the rider how to align with her horse in a muscle-to-muscle way that creates an optimum connection–the essence of harmony. A highlight was watching Blitz work with several demo horses that just looked happier in the end–“as it should be” (like Reiner Klimke used to say). What rider wouldn’t sign up for that?
This article originally appeared in the September 2009 issue of Dressage Today. To order back issues, call 301-977-3900.


