Performing an excellent 10-meter circle is simply a matter of:
- establishing the correct rhythm, tempo, bend and arc;
- balancing your horse equally and softly between both legs and reins;
- maintaining all of these things until you return to where you started.
Easier said than done, right? That’s why 10-meter circles are such good training tools, no matter what level you ride.
To watch a free video of Olivia Lagoy-Weltz’s 10-meter circle exercise on Dressage Today OnDemand, click here.
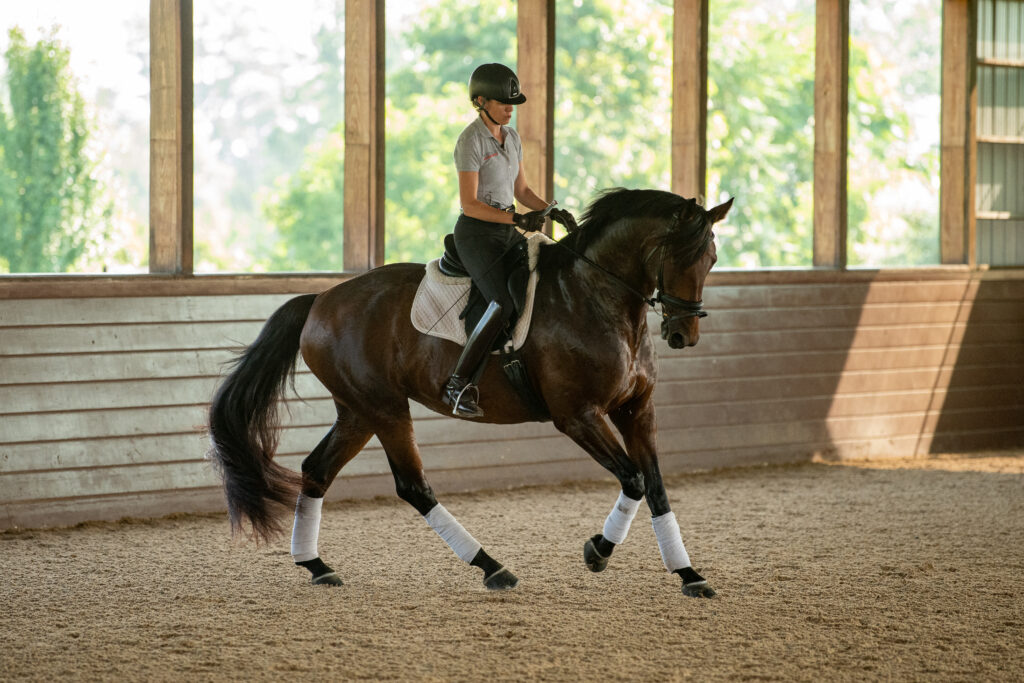
© Amy K. Dragoo
Even if you’re accustomed to nailing these circles, they can become surprisingly difficult as your horse grows more powerful. My Grand Prix partner, Rassing’s Lonoir, scored 8s in his 10-meter circles and 8-meter voltes through Intermediaire I. But the upper-level training transformed his trot into what I call his “fancy trot,” and these circles suddenly became much harder. He started to just power away with me. Even though he was no longer required to perform these movements in the ring, they helped me identify the skills we needed to keep working on at home.
So while 10-meter circles build power and suppleness in First through Fourth Level horses, they also help to keep that power and agility available to you in upper-level horses. I recommend practicing them frequently at home and using them to identify and fix problems in motion (more on that later).
What aspect of the 10-meter circle you need to focus on most depends on your horse. Some horses are better at straight lines; others are easier to bend around circles. Some are so wiggly that it’s hard to maintain the same bend all the way around a circle. Just like us, many horses are stiffer on one side and hollower on the other. Some have Energizer bunny engines and need frequent rebalancing through half-halts, while others need reminders to keep their RPMs going. It’s important to get to know both your horse’s and your own strengths and weaknesses.
Warm-up: Forward into Both Reins
Whatever level your horse is, begin each ride by asking him to swing forward freely in all three gaits in response to soft leg aids, stretching down and out into an equal connection in both reins. Imagine water running through a stream. Use your weight and aids to guide that flow gently in the right direction.
I start my warm-ups with an active, swinging walk on a long rein. I make plenty of circles and turns, checking that he follows my inside guiding rein with his entire body in both directions. For example, if I open my left hand to the left, I expect his nose to turn to the left, and then the rest of his body—his neck, back and haunches—to follow that same arc to the left.
Then I progress to leg-yields at the walk, followed by big, moving turns-on-the-forehand (moving the hind legs in a circle around the front end without disrupting the walk rhythm, instead of asking for the turn-on-the-forehand from a halt). So, for example, if I’m tracking right, after straightening on the long side, I’ll leg-yield right, asking my horse to step sideways away from my left leg. Depending on his level of training, I’ll continue the leg-yield to the center line or farther. Then, without stopping, I’ll half-halt to shorten the steps of the front legs, while asking my horse to step his hind legs around in a loose turn on the forehand.
Keep your warm-up as uncomplicated as possible. In all three gaits, simply ask your horse to maintain a good one-to-one ratio between forward energy and rein connection. You want him to use the two long muscles over his back equally so that the weight is even in your hands. When that feels good, take a walk break.
Doing this several times in both directions will confirm that your horse is coming through both sides of his body with equal energy. This will enable you to keep his weight centered in the middle of his body—rather than leaning in on the circles like a motorcycle or jackknifing his body like a tractor-trailer truck with his neck overbent to the inside and his shoulders bulging outward. This exercise also helps to engage the hindquarters, helping your horse rotate his pelvis and step his hind legs well underneath his body while stretching over his back into the contact.
Just as in any other part of your training, if your horse resists, or “bumps into,” the bridle, don’t brace against him. He’s telling you the exercise is hard. This is your opportunity to influence him in a positive way. Use gentle forward cues to encourage him to lift his energy and body up and over that difficult place.
Similarly, when you pick up the trot, watch for those difficult moments as you ask him to move forward into both reins on turns, straight lines, big circles, and changes of direction. Ask for a buoyant, powerful gait with your horse working over his back and reaching down into the contact—without running away with you. Whenever the energy fades, make a quick correction with your forward aids and then soften as soon as he responds, allowing him to settle back into the gait you want. If he gets too quick, be gentle with your half-halts. You don’t want to discourage the forwardness; just ask him to produce it in the way you want.
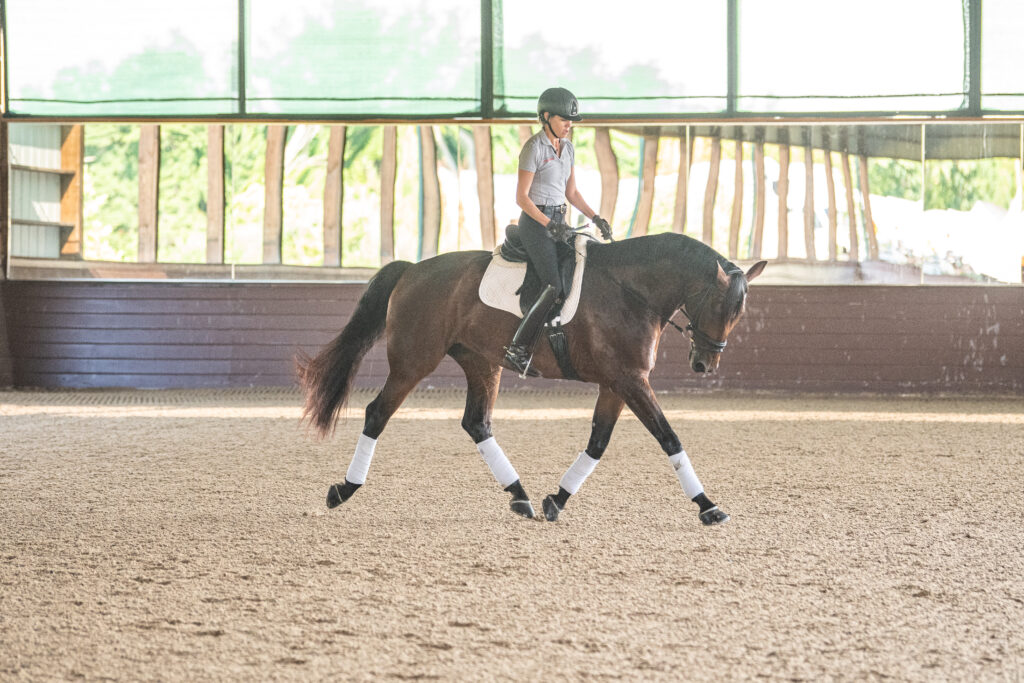
© Amy K. Dragoo
Perform the 10-Meter Circle

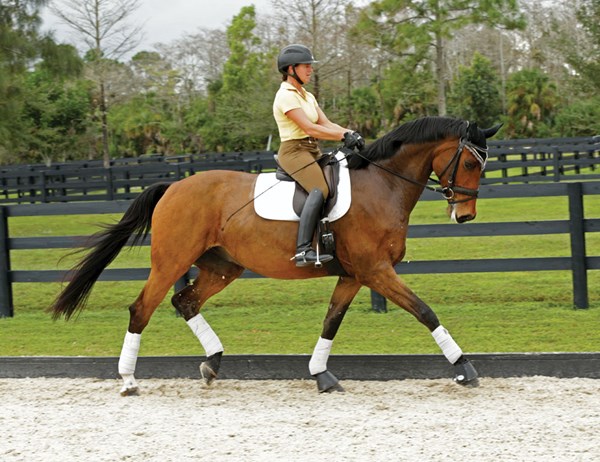
1. After you pick up the trot again, re-establish a nice forward tempo that creates a swing in your horse’s back and check that your rein contact is even. Try to feel like you have enough RPMs coming through from both hind legs to easily channel around any size circle or turn. Imagine your horse creating a conveyor belt of energy. “Plug” your back into his back, allowing your hips to swing in rhythm, so you stay with the motion. With the right amount of momentum, instead of wrestling him around the circle, you’ll be able to softly guide the energy in the right direction.
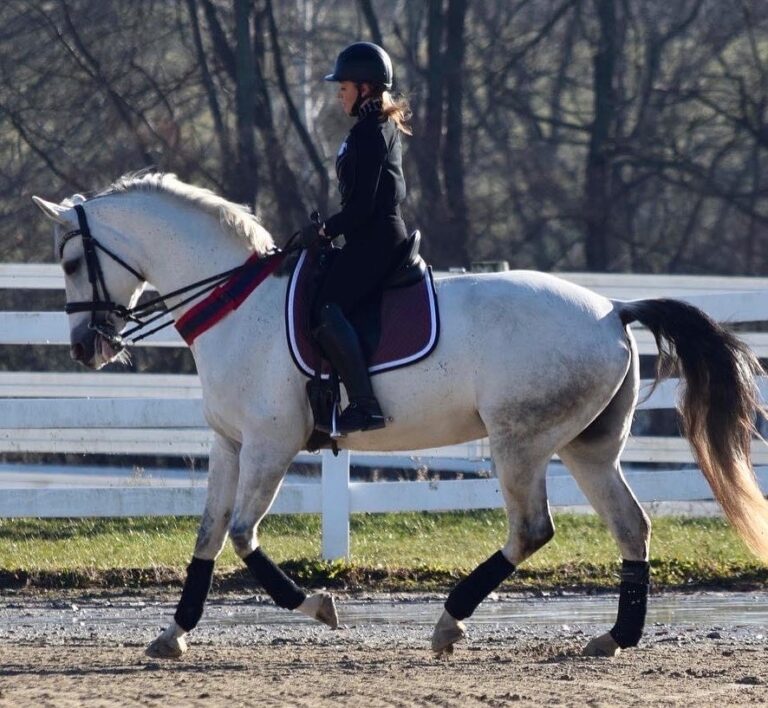
2. As you head down the next long side, prepare for the 10-meter circle with a shoulder-fore: ask your horse to flex his neck slightly to the inside but not bend so much through his body that he’s performing a shoulder-in. You want his nose to turn just enough so that you can see the eyelashes of his inside eye. (Ten-meter circles don’t actually require as much bend as most people think. Overbending is a common mistake.)
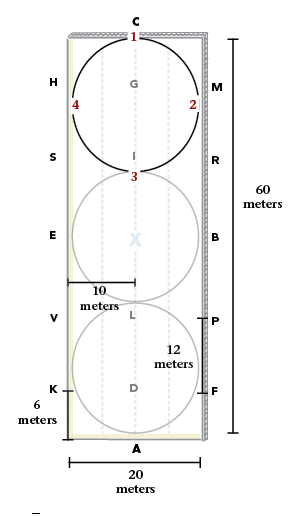
3. To initiate the circle, envision the arc that will take you exactly to the centerline and back to the rail without having to make any additional changes in direction. The goal is to keep turning the same amount along that arc with each step—not to turn, straighten, straighten, turn, etc. Your horse should bend his entire body along that arc evenly from his poll, through his neck and back, to his tail. To achieve that, turn his nose so that his forehead points in the direction of the arc.
Meanwhile, use your body weight and aids to help his body follow his nose around the arc. Sit in the middle of the saddle with your hips even. Stretch your upper body tall. Hold your hands in front of the saddle and imagine balancing a ruler on top of both thumbs, keeping it as level as possible. Use your inside leg at the girth to create uphill, flowing energy. Stay connected with your outside leg, just behind the girth, and steady contact on your outside rein. Follow your hands forward toward your horse’s mouth, allowing him to drape his head and neck down into the contact.
To keep him balanced, imagine that you’re driving two cars: One car is the inside of his body (for example, the left side if you’re circling left), and the other is the outside of his body (his right side, in this example). Use both legs and reins to keep the cars parallel all the way around the circle.
4. Try to maintain the same trot throughout the movement. And own the line! Once you’ve planned the arc and seen where you need to go, stick with the turn, riding every step along it. Don’t let your horse make it bigger or smaller, forcing you to continually change course to compensate. Guide the energy from your legs through even, quiet hands. If his nose wags left and right, you’re using too much rein to steer.
Be prepared for changes in the RPMs or bend in any given moment. Practice correcting any mistakes immediately, whether with a half-halt, cluck, counter flexion or whatever other tool is suitable at the time. For example, add more swing in your hips and/or leg pressure to increase the pace or apply half-halts to slow it whenever necessary. You may “get it” for a few strides, then lose it, then get it again several times in a single circle. This is the process of training—and the key to success!
5. As you complete the circle at the rail, return to shoulder-fore. Restore the quality of the trot as needed and then perform another 10-meter circle wherever you have room.
Depending on your horse’s level of training, take a break after several repetitions or change direction with a diagonal, half-circle or half-pass before repeating the exercise in the other direction. If your horse is advanced enough, do the same in the canter. Remember to keep turning every step of the canter, so you don’t risk drifting off the line.
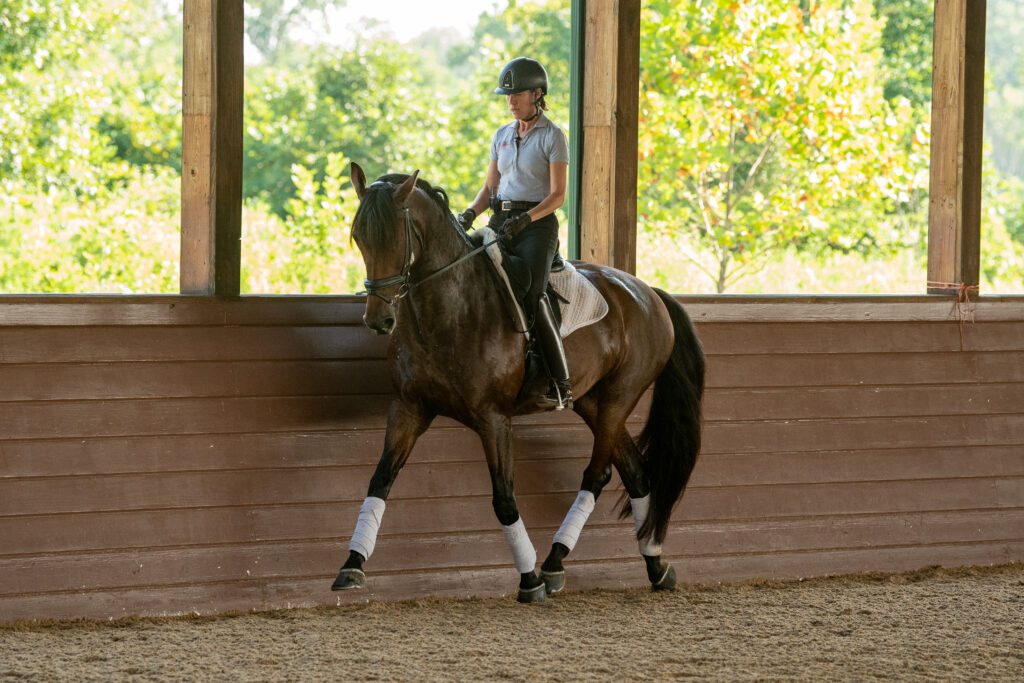
© Amy K. Dragoo
Evening Out the Stiff and Hollow Sides
You’ll likely discover that your horse’s right and left 10-meter circles are completely different. This is a great opportunity to address his stiff and hollow sides. When traveling in the direction of his easy, or hollow, side, don’t be tricked into overbending his neck and allowing his shoulders to drift outward. Instead, stay connected through your outside aids, using them to bring the outside of his body around the turn. Apply the aids for a slight counter flexion, thinking of shortening his body from his outside nostril to his outside shoulder. This will help to bring him into true straightness (without actually creating a counter flexion) and prevent his shoulder from bulging to the outside. Add an extra bump with your outside leg whenever you feel like he’s still drifting outside of the line of the circle. You’ll know you’ve finally balanced him correctly between your inside and outside aids when he arches up over the reins and gets soft in the contact on both sides.
When traveling in the direction of his stiff side, instead of pulling harder on the inside rein to force him to turn—which will likely encourage him to lean on that rein even more and can also make him crooked through his body—shorten your contact on the outside rein and cradle his ribs with your outside leg. Eventually, even though it may sound counterintuitive, this will give you something to push him into from your inside leg and help to elongate the outside of his body to produce a better bend. Think of your inside leg aid bringing his ribs and body up and over, just as if you were asking for a step of leg-yield, riding him into a soft, receiving outside rein.
At the same time, use your outside aids to control the line, channeling the energy around the circle. If he cuts in, open your outside hand to guide him back to the line you want to ride. If he is heavy on the inside rein, resist the urge to give up on the outside aids and grab the inside rein instead. Once the outside connection is finally solid, you will be able to use a gentle take and release on the inside rein to ask him to give and let go.
This is where the double-car image can help again. Initially riding with a little less bend when circling in the direction of your horse’s stiff side will align the “outside car,” bringing his outside shoulder in front of his outside hind leg. Use your aids on both sides of his body to keep his inside and outside shoulders square in front of you. Once the two “cars” feel parallel again, you can begin to apply inside leg to create the bend through his body, rather than just through the neck.
Most importantly, try not to make a big deal out of your horse’s asymmetry. It’s very normal—and takes patient strengthening and suppling over time to gradually correct.
Activating Individual Body Parts
As your horse’s training progresses, the 10-meter circle will help you zero in on weaknesses that need attention. For example, you may notice that he works harder with one hind leg than the other. Use the shoulder-fore before and after the circle to engage the weaker leg. For example, if his left hind isn’t stepping up underneath his body enough, track left and position him in a shoulder-fore left. Then stay connected with your outside rein while using just enough inside leg to activate that hind leg without making him run forward from it. When you feel the RPMs in that leg increase, swing that energy into the 10-meter circle. Then resume the shoulder-fore when you return to the rail.
Practice Makes Perfect
Remember, nobody’s perfect. You may rarely feel that the gait, bend and arc all stay the same throughout an entire circle. Correct mistakes as soon as you can while rewarding your horse for every good response. With lots of repetition, your ability to guide his energy around 10-meter circles will gradually improve. Carry this concept over into the rest of your training. Work in lots of turns, serpentines, figure eights and curvy lines, always testing that your horse is staying soft over his back and flowing forward into even contact on both reins. You’ll reap the benefits not only with higher scores in the show ring, but with better-quality gaits and connection throughout all of your work.
About Olivia LaGoy-Weltz
Raised in the San Francisco Bay Area, Olivia LaGoy-Weltz began riding at age 5. She traveled to Holland and Germany after high school to work in several top dressage barns. In 2011, she won the U.S. Equestrian Federation National Championships FEI Young Rider Grand Prix and was named the Brentina Cup Reserve Champion. Her many accomplishments since then have included winning the small tour at the Palm Beach Derby CDI twice and serving as an alternate for the 2015 U.S. Pan American Games dressage team. In 2021, she was short-listed for the Tokyo Olympics with Rassing’s Lonoir and won the Fourth Level Open Championship at the U.S. Dressage Federation Dressage Finals with Ici Bria VCG. Olivia is now based at Mountain Crest Farm, in Haymarket, Virginia, and winters in Wellington, Florida.
This article originally appeared in the Fall 2022 issue of Practical Horseman.


